Create an in-app messaging campaign on AWS Console
As an alternative to writing AWS Cloud Development Kit (CDK) code, you can use the AWS console to create a campaign that sends messages through any single channel that is supported by Amazon Pinpoint: Mobile Push, In-App, Email, SMS or Custom channels. Learn how to create a campaign using Amazon Pinpoint to continue integrating in-app messages in your app with Amplify.
-
Login to the AWS Console, and Search for Pinpoint.
-
Click on your project from the list of available project. Your project name would be the name you provided when you created the pinpoint project using CDK.
-
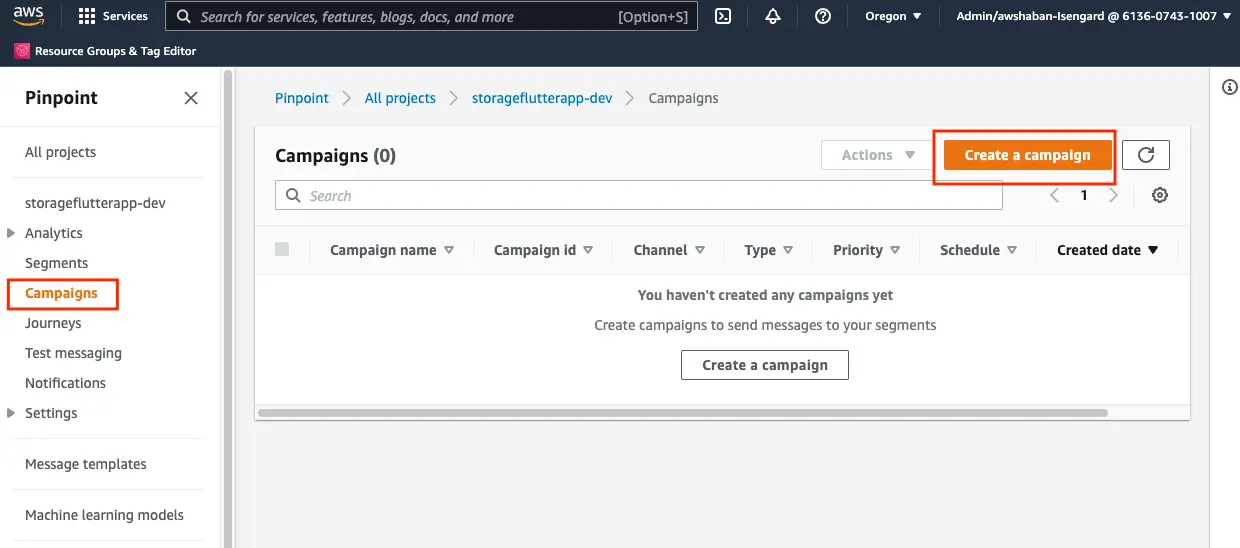
Click on Campaigns from the left navigation menu, and then click on Create a campaign
-
Add a name to your campaign, and keep the following options as follows and then click Next:
- Campaign type: Standard campaign
- Channel: In-App messaging
- set prioritization: Fairly important
-
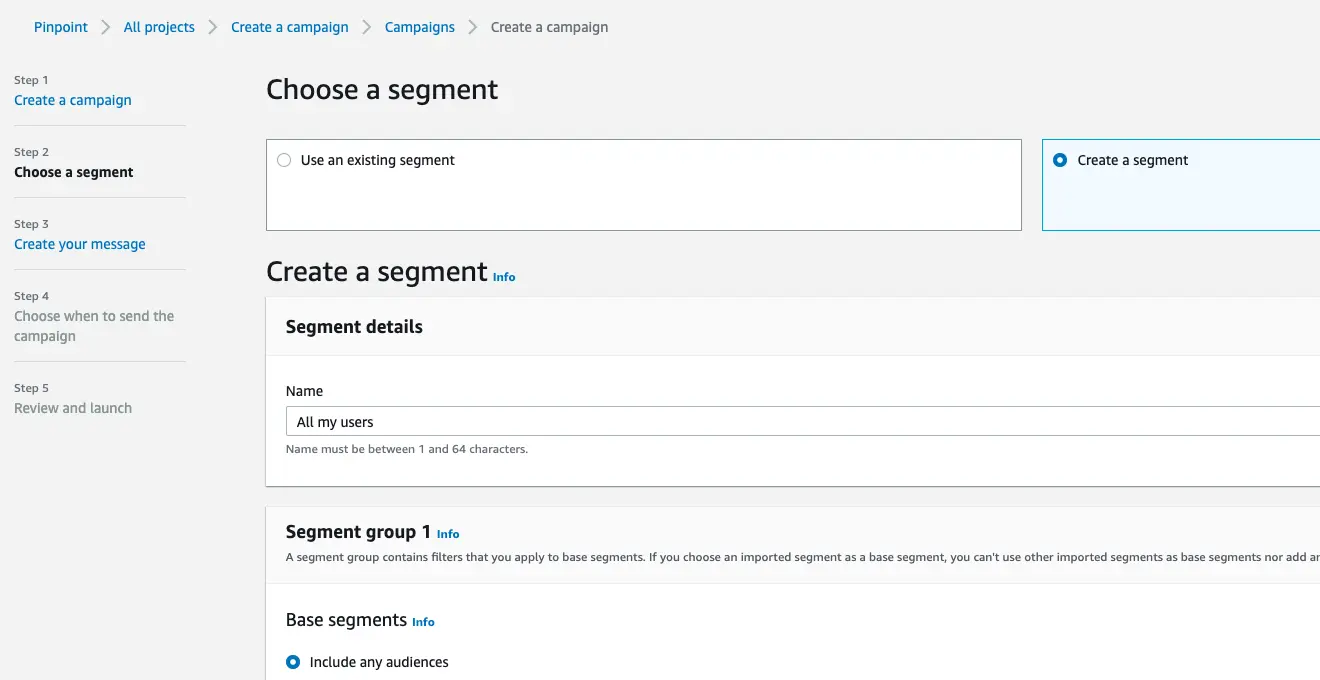
Click on the Create a segment radio button, add a name for your segment, and then click Next.
- You can add as many segments as needed to the campaign. For this quickstart, you can use Include any audiences under the Segment group 1 section.
- You can add a criteria to your segments to ensure that audiences that satisfy that criteria can receive the in-app message.
- If you see an error message titled Segment might include multiple channels, click I understand to proceed.
-
Click on the Create a new in-app message radio button.
-
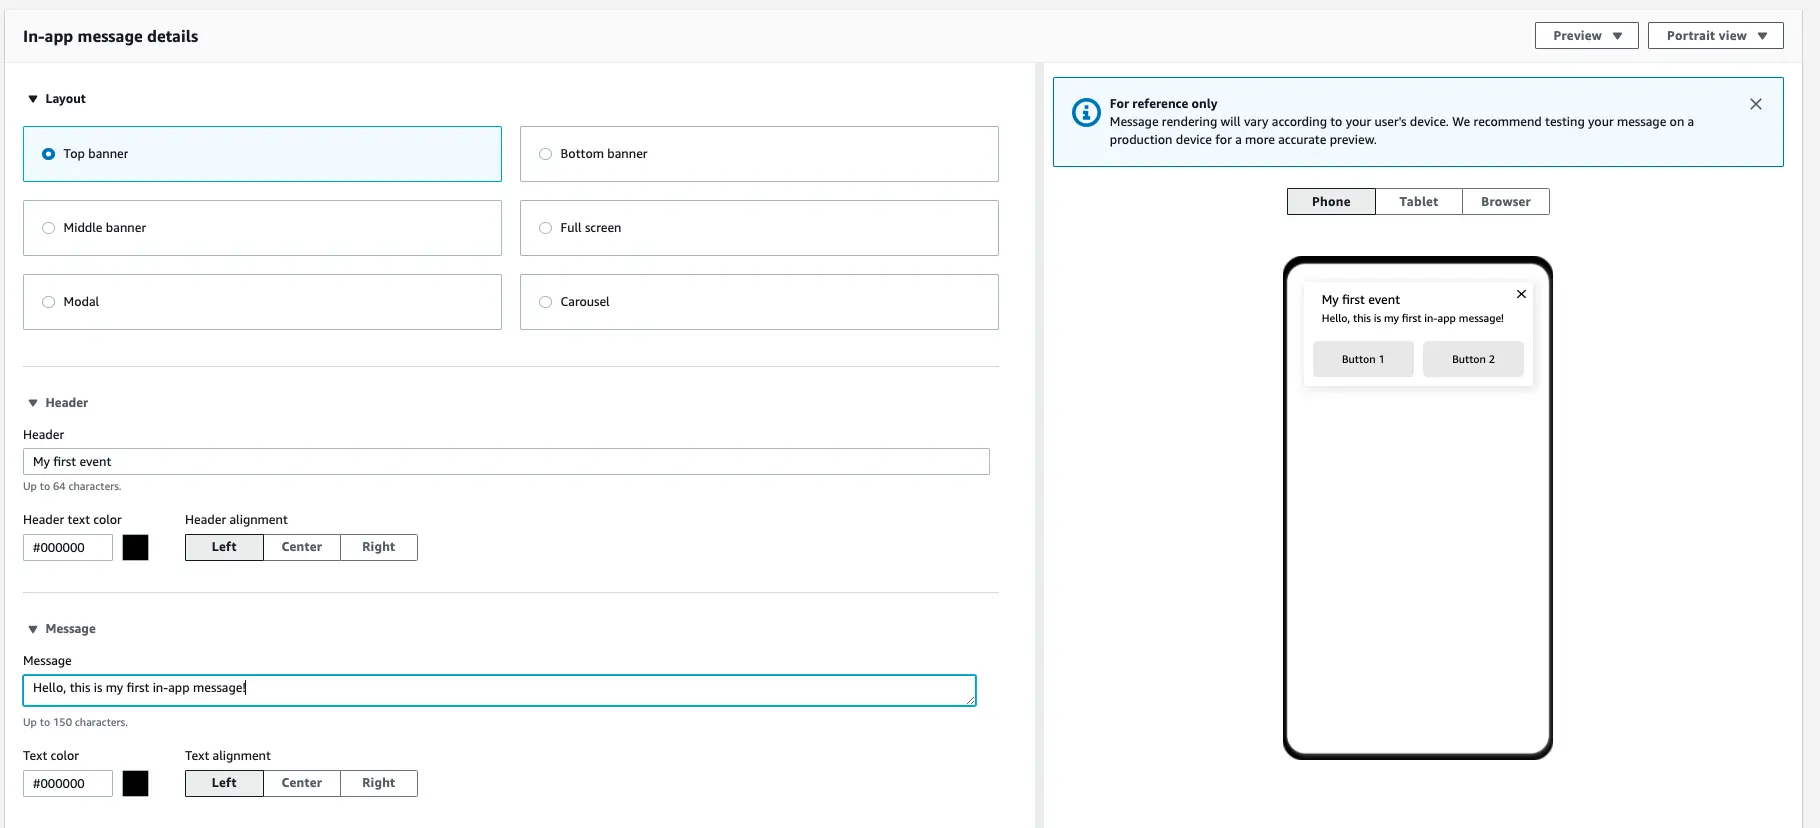
You have the ability to customize the following attributes of the in-app message:
- Layout: Which includes all of the different messaging layout options.
- Header: Title of the in-app message, including the text color/alignment.
- Message: The body of the Message, including the text color/alignment.
- Background: Control the background color of the in-app message.
- Image URL: Add an image to be displayed as part of the in-app message body.
- Primary button: Allows the addition of a button to add functionality to the in-app message.
- Secondary button: Allows the addition of an extra button for additional functionality.
- Custom Data: Allows the in-app message to pass additional data to the frontend app once it is triggered by an event.
For this tutorial you can create a simple message as shown below. Customers in your application will see the same message once the event is triggered.
- Once you have finished customizing your in-app message, click on Next.
- Under Trigger events, add the name of the analytics trigger that will be sent from your frontend app.
- You have the ability to customize the trigger to allow only certain attributes or metrics that are passed with the analytics event to trigger the in-app message. (Optional)

- By default, the number of messages shown per session is 1. You can update this threshold during campaign setup.

- Review your campaign, and then click on Launch campaign.
Your campaign is now setup, and you are ready to start integrating the In-App Messaging functionality into your app.