Deploy and host app
You've successfully built an Amplify project with Next.js! Now that you've built something, it's time to deploy it to the web with Amplify Console!
Add hosting to your app
You can deploy Next.js SSR apps with AWS Amplify's CI/CD and hosting service. In this guide you'll cover how to deploy and host your SSR web apps to quickly share with others. If you want to learn more about continuous deployment, please see this guide.
Set up CI/CD for your app
From the root of your project, run the following command and select the bolded options.
amplify add hosting? Select the plugin module to execute: # Hosting with Amplify Console (Managed hosting with custom domains, Continuous deployment)? Choose a type: # Continuous deployment (Git-based deployments)The Amplify Console opens and displays your deployed backend environment.
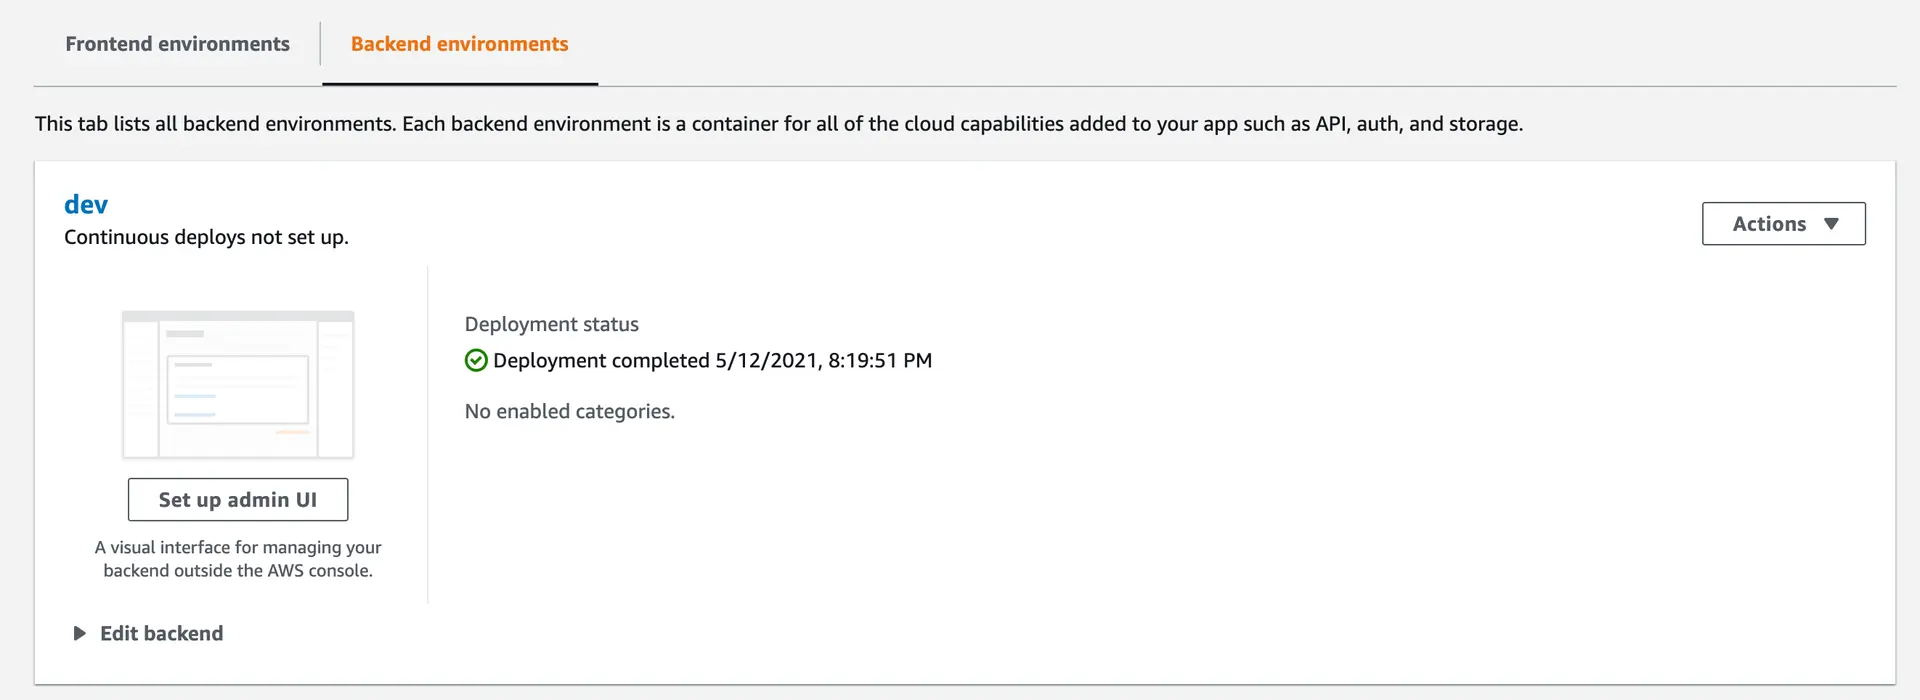
Choose the Frontend environments tab, select a Git provider, then choose Connect Branch.
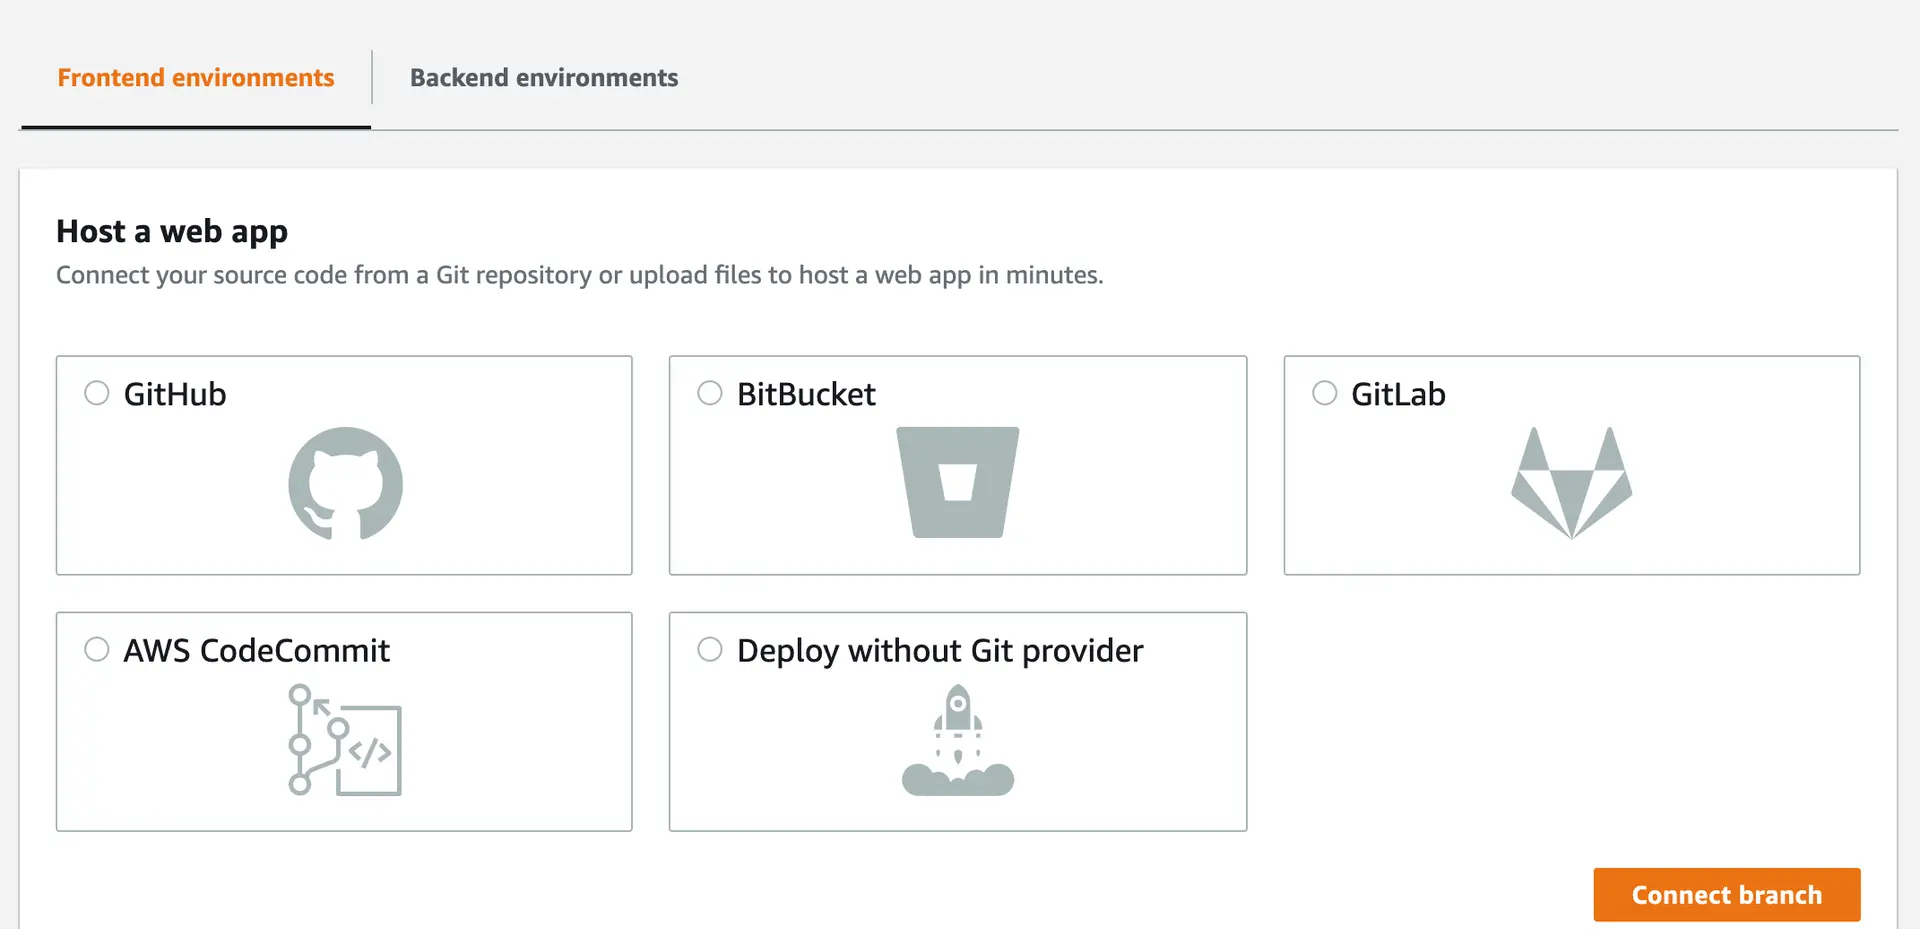
Follow the steps in the Amplify console to choose the branch to connect, and deploy your app.
After your site is successfully deployed, you'll see four green checkmarks. To view the live site, click on the automatically generated URL circled in red in the following screenshot.
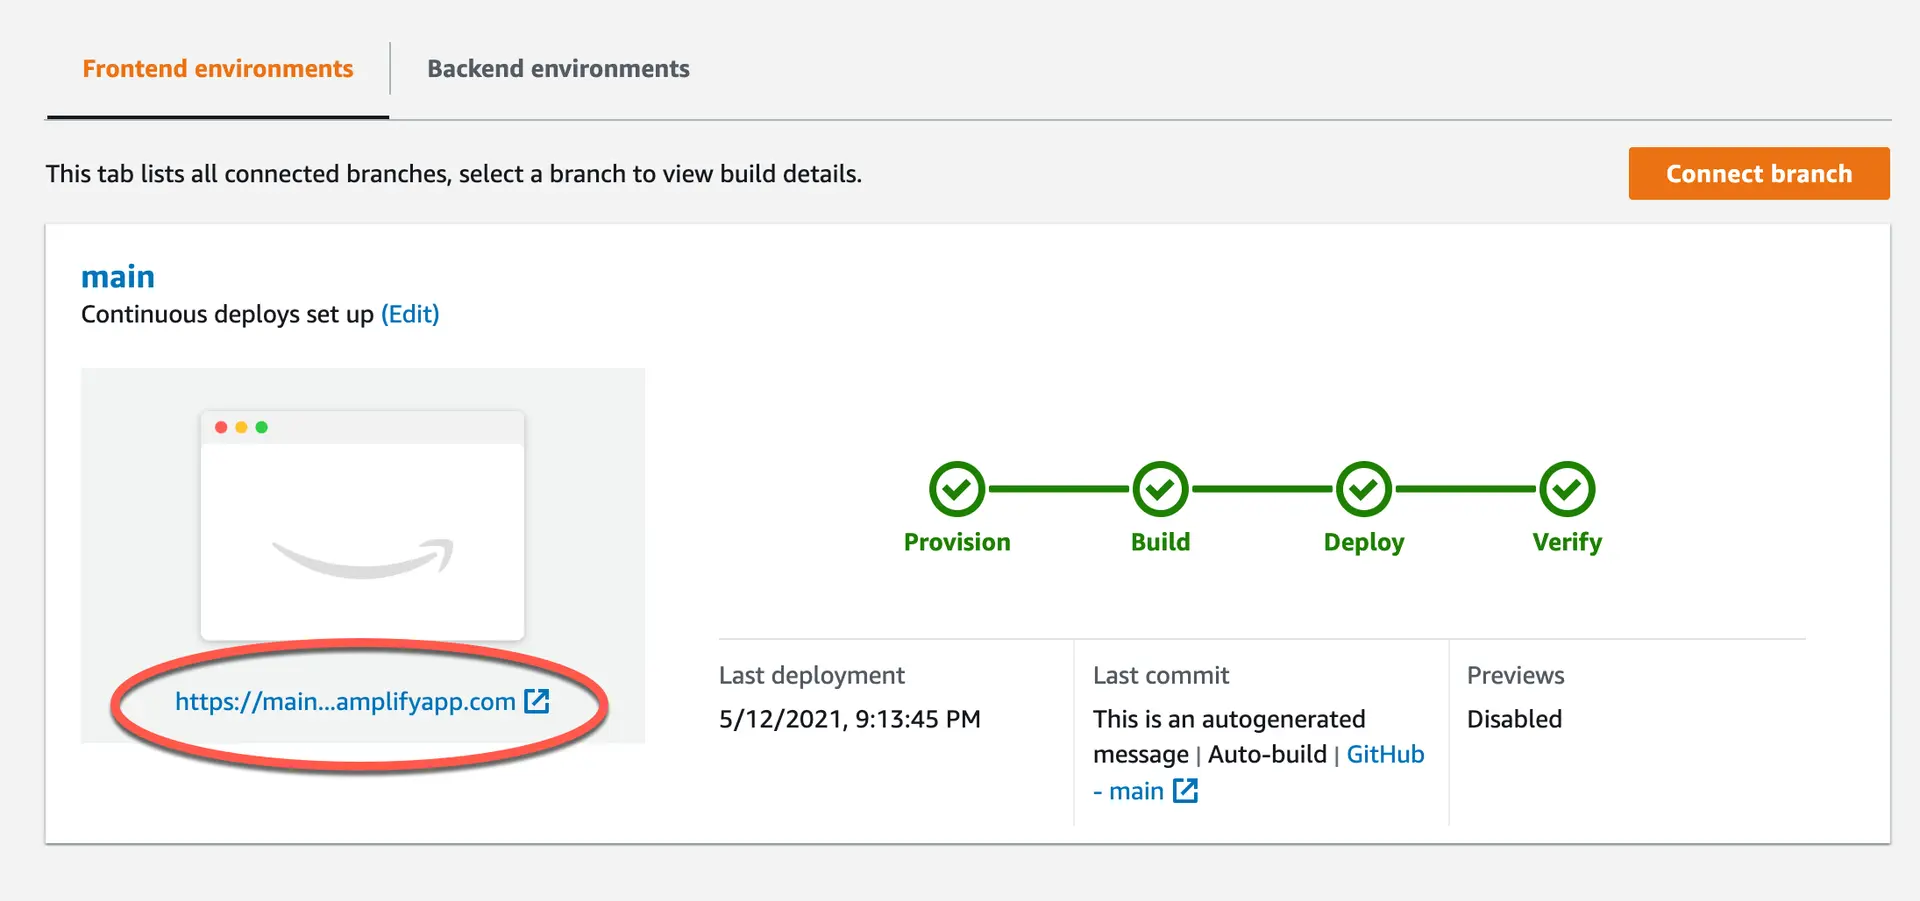
👏 Congratulations, your app is online!