Build UI
With Studio’s new UI Library, you can sync components from Figma to React code. Amplify also provides you with a handy Figma file to get started faster. The Amplify Figma file includes both UI primitives and component templates. You can also create your own component in Figma! In this tutorial, you'll create a home listings app using Amplify Studio.
Create UI components in Figma
-
Clone the Amplify UI Figma file
The Amplify UI Figma file provides a starting point for your app. It includes common UI primitives and pre-built UI components.
-
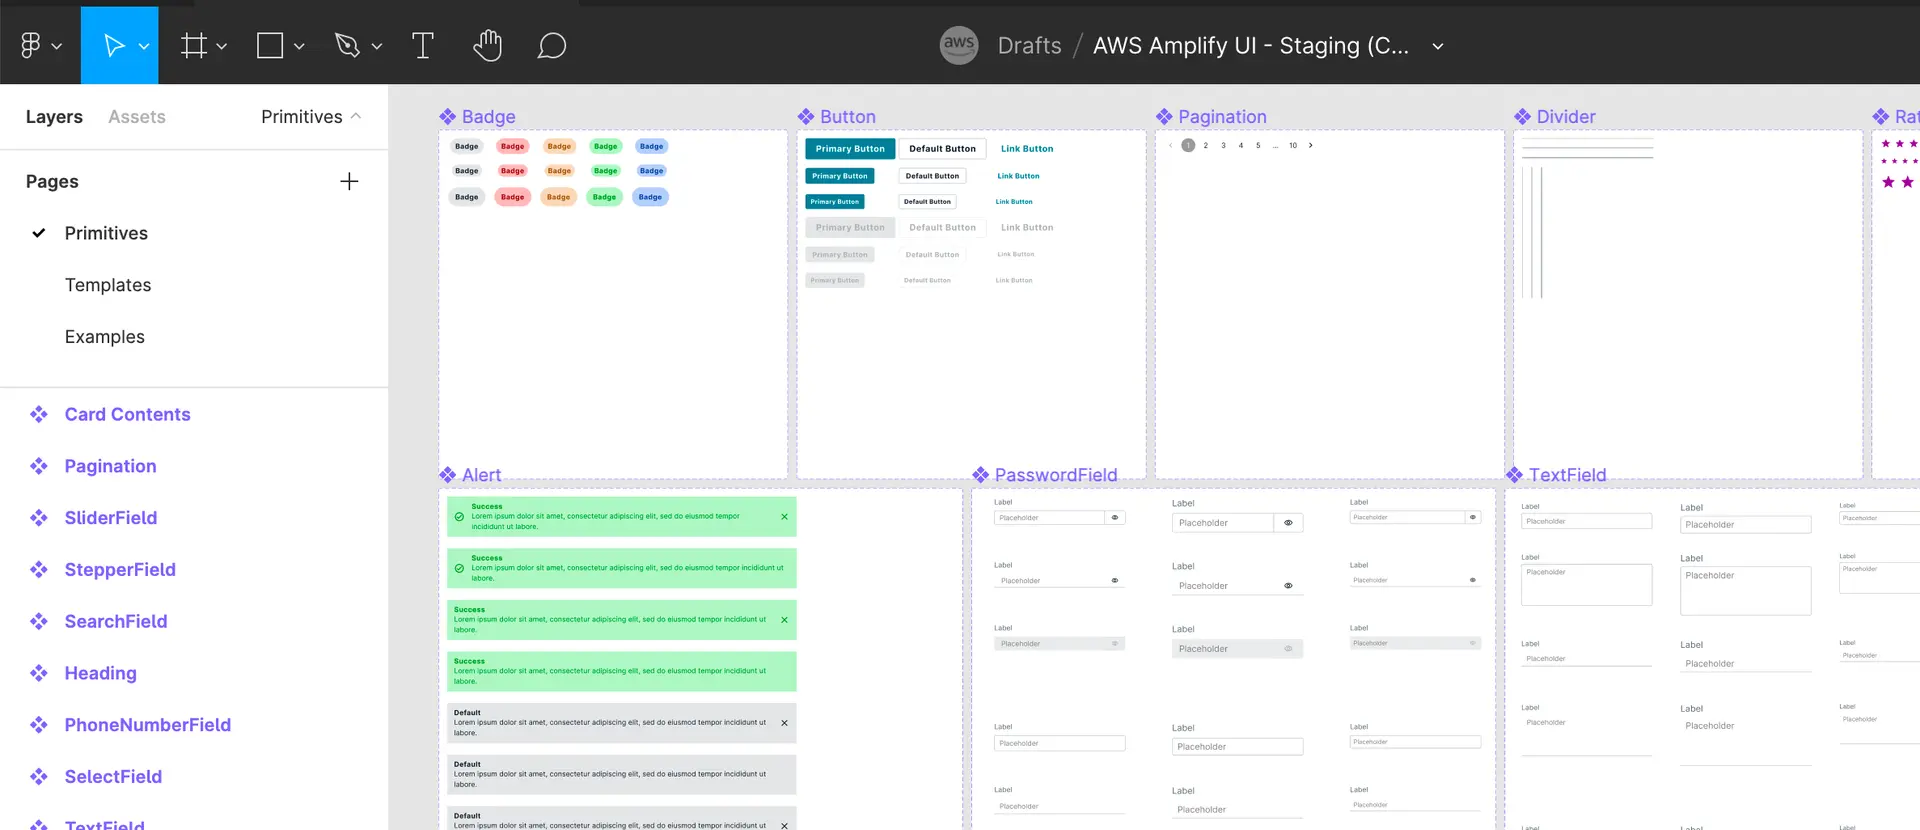
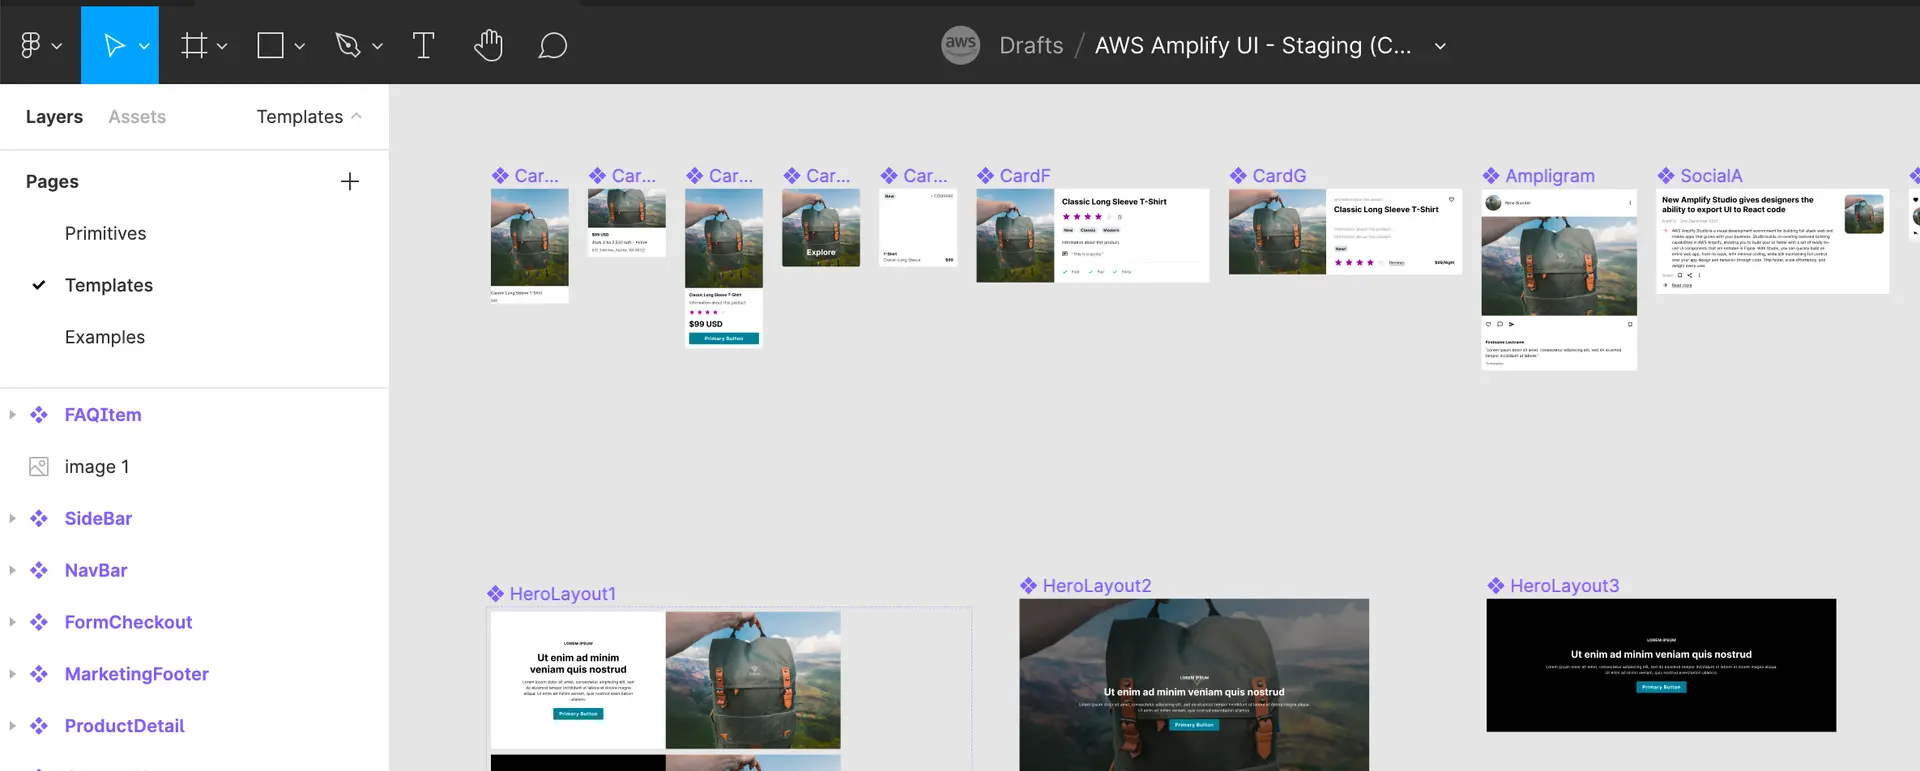
Explore the UI primitives and templates
Primitives are common UI components that allow you to build complete applications that fit your brand, like Buttons, Text Fields, and Badges.
Templates are Figma components that leverage the primitives to enhance your UI even further, such as Hero Cards, Profile Cards, and Product Detail Cards.
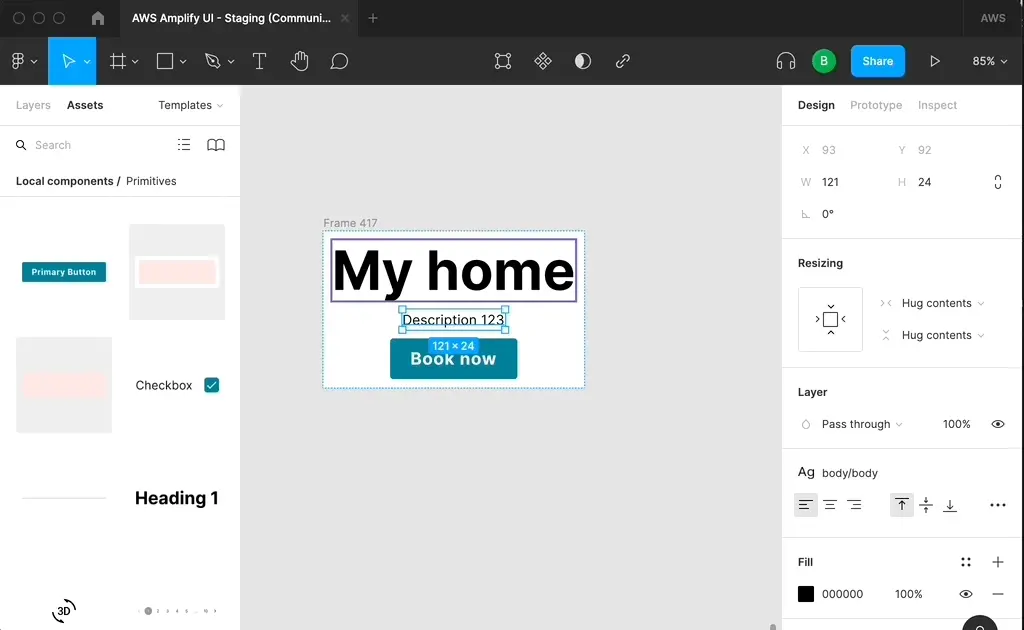
- Create a custom component in Figma
Sync components with Figma
In Amplify Studio, choose the “Sync from Figma” button to review all the components from your Figma file.
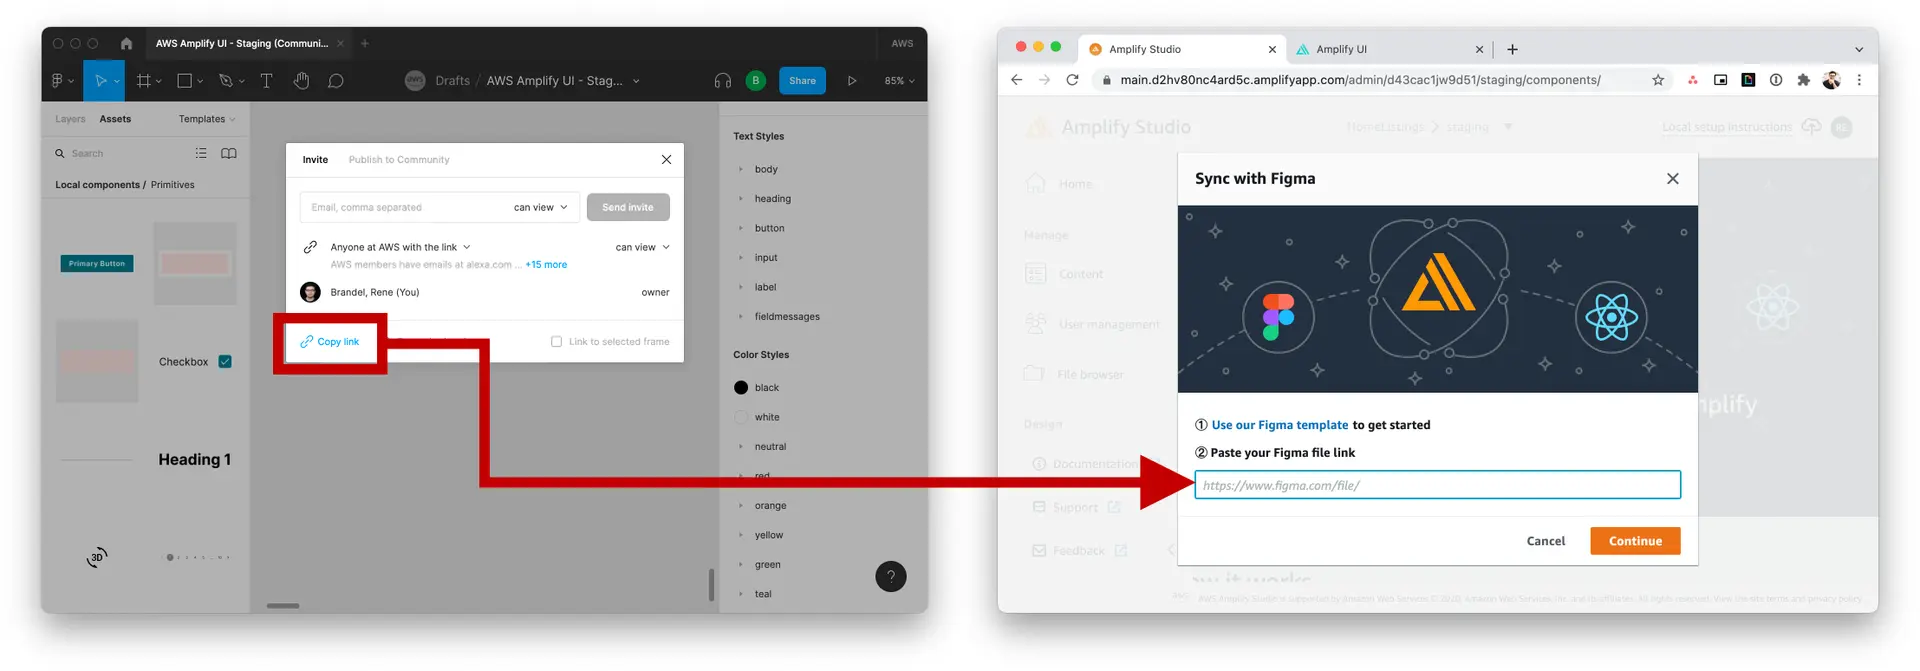
Paste in the URL of your Figma file to start syncing. If this is your first time syncing from Figma, you need to grant Amplify Studio access to your Figma account.
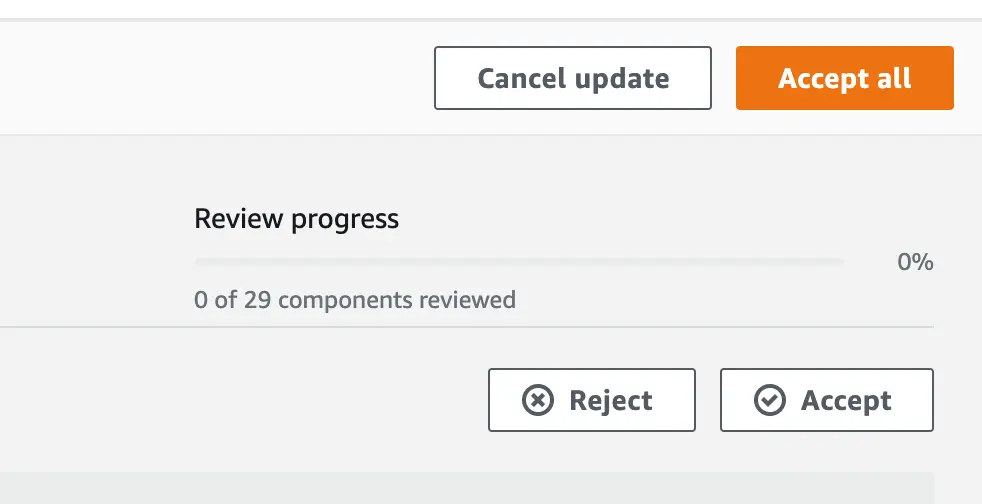
Either choose Accept all or review individual components with the Reject and Accept buttons.
Use component in code
Now that your components are synced, select a component and choose Configure. To get your React code, choose Get component code.
Follow the instructions in the modal. If this is your first time setting up the UI components in your app, make sure to complete Initial project setup first to install all dependencies.
Next, run amplify pull to sync all your components into your local code base. A new ui-components folder with all the UI components is created.
Import the UI component you want from ./ui-components and then render it in your React app. For example:
import { CardB } from './ui-components';
return (  <div>    <CardB />  </div>);
Removing multiple UI components
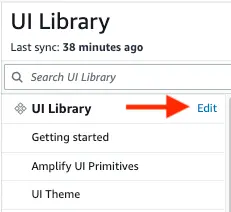
- In UI Library, click on the
editbutton.
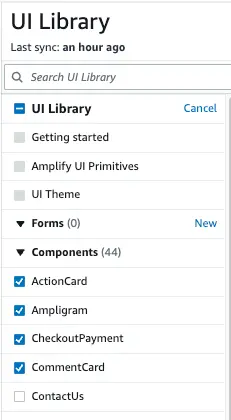
- Select the UI components you would like to delete.
- Then, click on
Delete selected componentsto remove the selected UI components.
