Separate frontend and backend teams
You might have different frontend and backend teams that maintain their own repositories. With Amplify Gen 2, you can deploy repositories that have backend-only code, so frontend and backend teams can operate independently of each other.
Deploy the backend app
-
Run
mkdir backend-app && cd backend-app && npm create amplify@latestto set up a backend-only Amplify project. Commit the code to a Git provider of your choice. -
Connect the
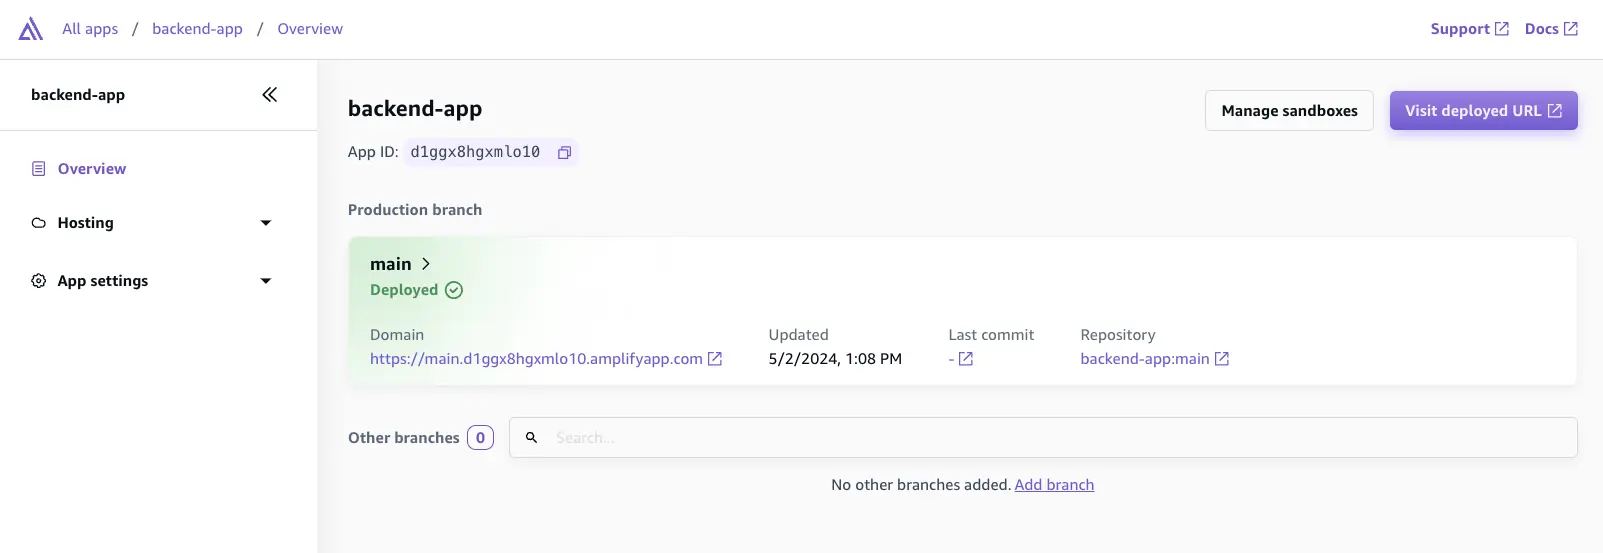
backend-appin the new console. Navigate to the Amplify console and select Create new app. -
When you connect the repository, notice the only auto-detected framework is Amplify.
- Once you choose Save and deploy, your backend project will build.
Deploy the frontend app
- Now let's set up the frontend app and connect to the deployed backend.
npm create next-app@14 -- multi-repo-example --typescript --eslint --no-app --no-src-dir --no-tailwind --import-alias '@/*'- Install Amplify dependencies.
cd multi-repo-examplenpm add @aws-amplify/backend-cli aws-amplify @aws-amplify/ui-react- To connect to the deployed backend, run the following command. To locate the
App IDfor your backend application, navigate to the Amplify console and select your backend-app. On the Overview page, theApp IDis displayed under the project name.
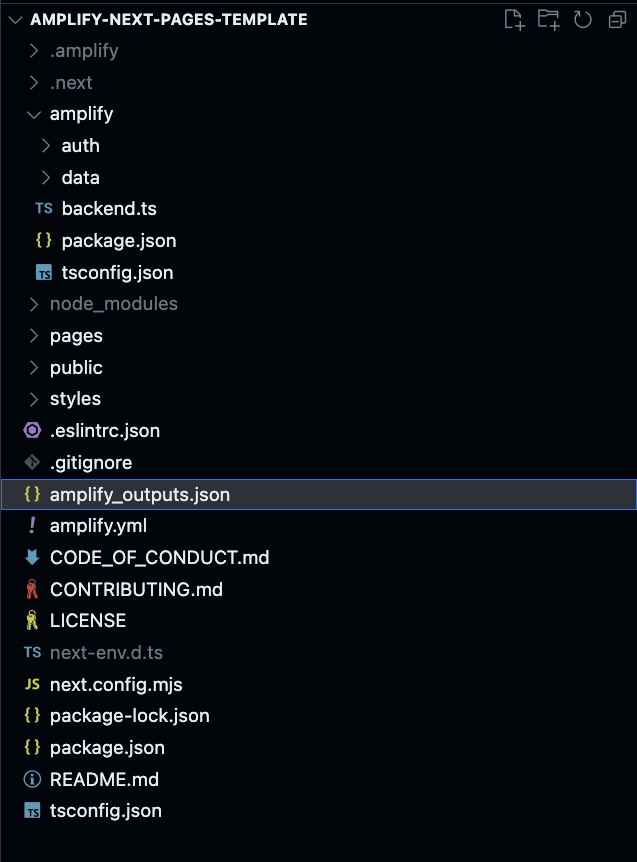
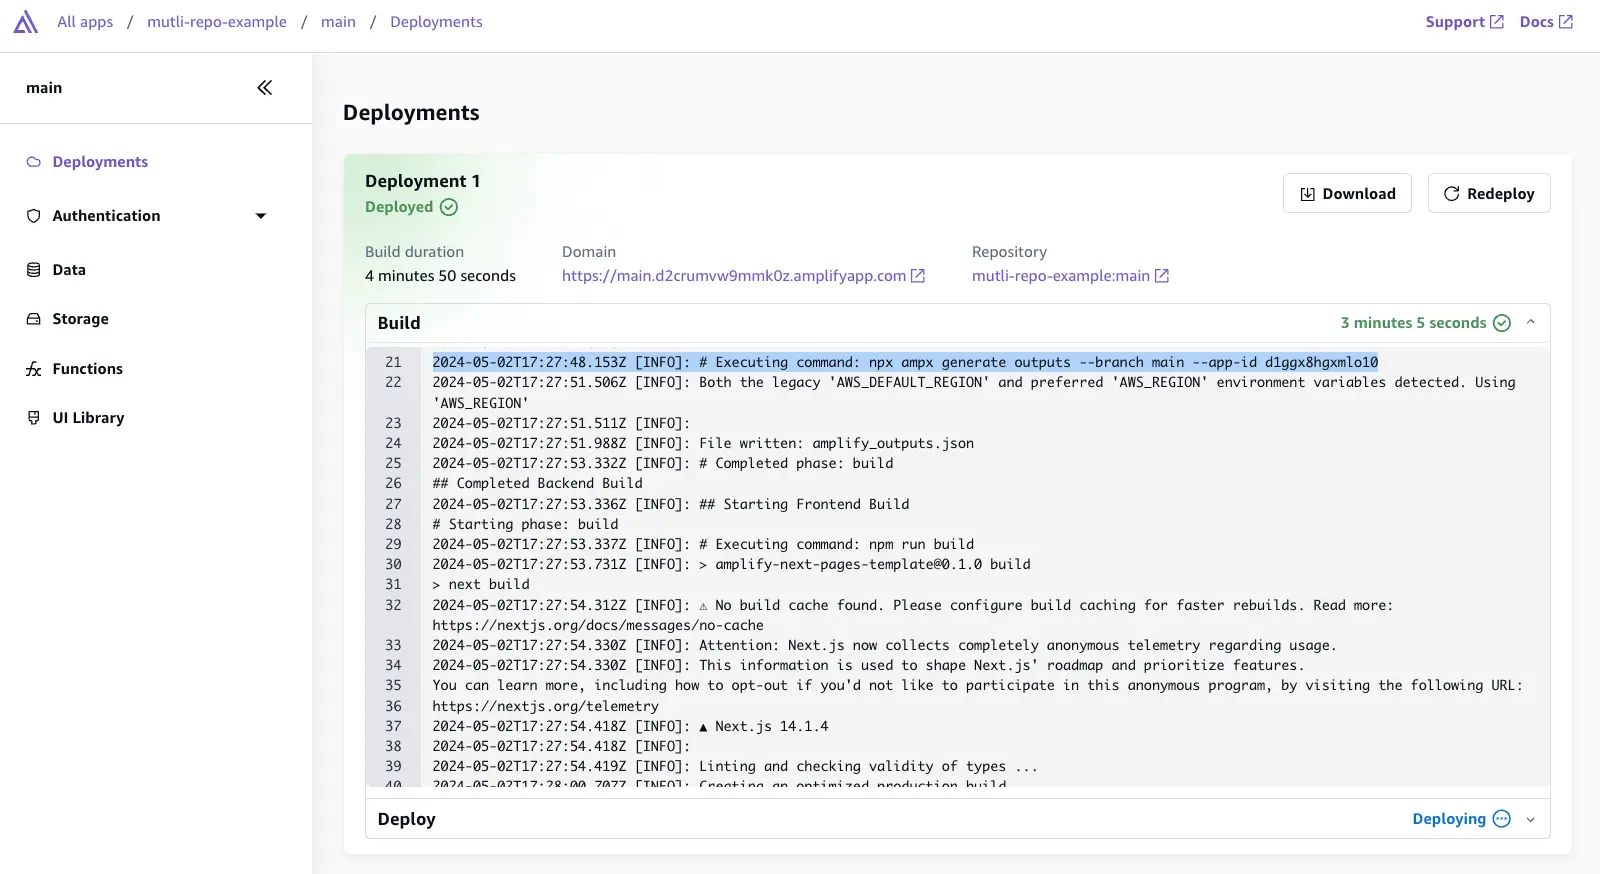
npx ampx generate outputs --branch main --app-id <your-backend-app-id>This will generate the amplify_outputs.json file that contains all the information about your backend at the root of your project.
- To validate that your frontend can connect to the backend, add the
Authenticatorlogin form to your app.
import { withAuthenticator } from '@aws-amplify/ui-react';import { Amplify } from 'aws-amplify';import outputs from '@/amplify_outputs.json';import '@aws-amplify/ui-react/styles.css';import '@/styles/globals.css';import type { AppProps } from 'next/app';
// configure the Amplify client library with the configuration generated by `ampx sandbox`Amplify.configure(outputs);
function App({ Component, pageProps }: AppProps) {  return <Component {...pageProps} />;}
export default withAuthenticator(App);- Let's also add an
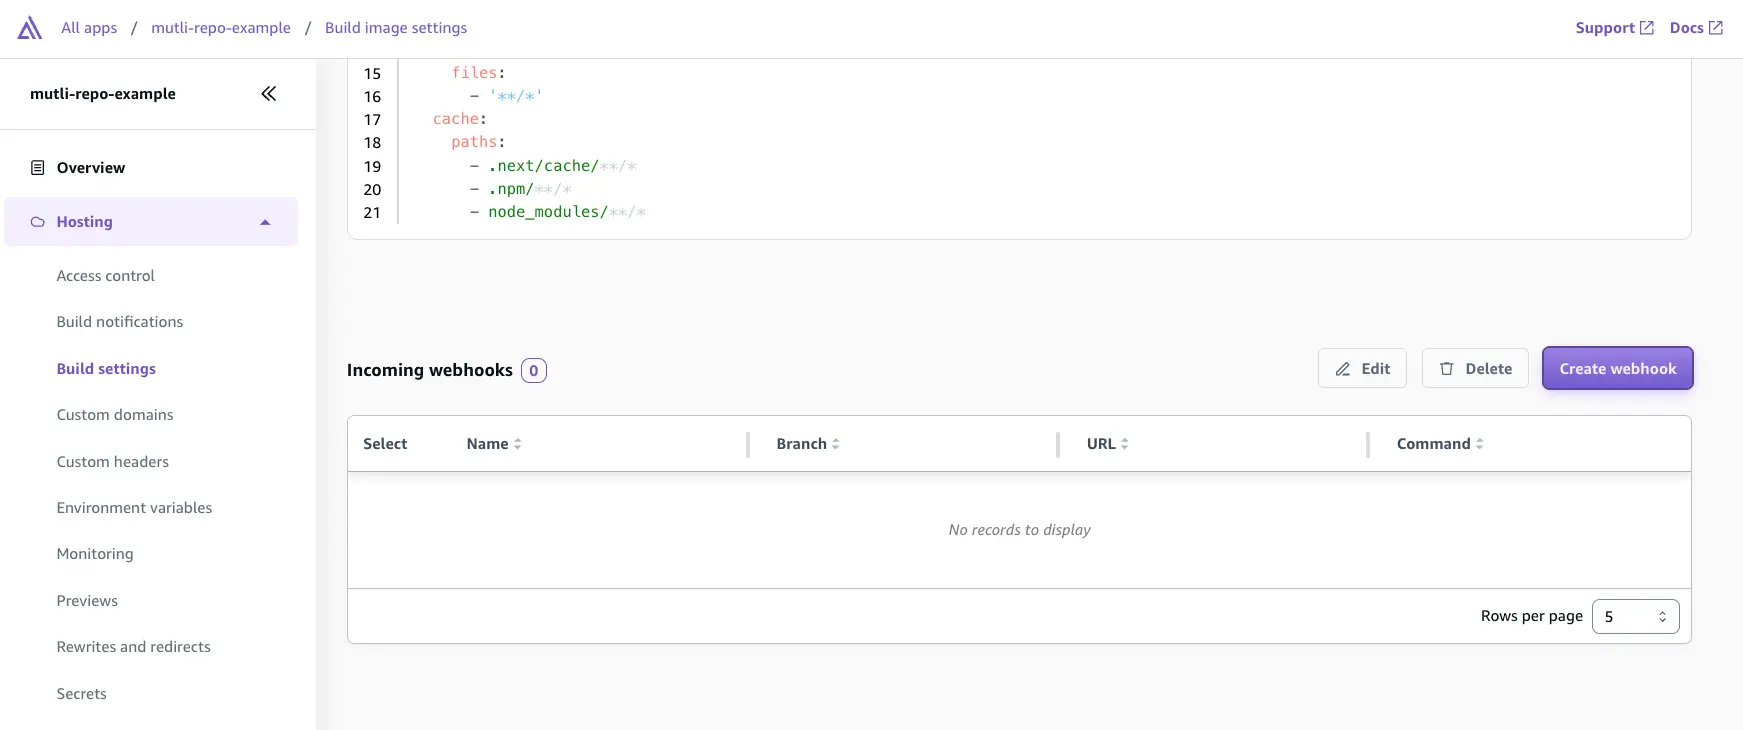
amplify.ymlbuild-spec to our repository.
version: 1backend: phases: build: commands: - npm ci --cache .npm --prefer-offline - npx ampx generate outputs --branch main --app-id BACKEND-APPIDfrontend: phases: build: commands: - npm run build artifacts: baseDirectory: .next files: - '**/*' cache: paths: - .next/cache/**/* - .npm/**/* - node_modules/**/*- Now let's deploy the app. In the Amplify console, choose Create new app. Connect the repository with the default settings. You should see that the build generates the output and does not deploy a frontend. Validate that your app is working fine.
Trigger a frontend build on backend updates
The ideal scenario is that the frontend automatically retrieves the latest updates from the backend every time there is a modification made to the backend code.
-
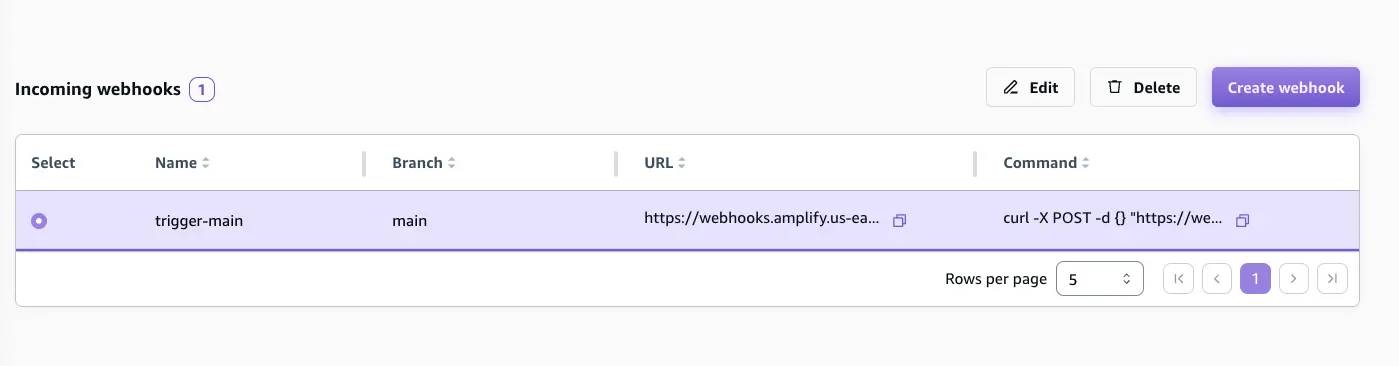
Use the Amplify Console to create an incoming webhook.
-
Navigate to the multi-repo-example app, under Hosting > Build settings select Create webhook. Provide a name for the webhook and select the target branch to build on incoming webhook requests.
- Next, select the webhook and copy the
curlcommand which will be used to trigger a build for the multi-repo-example app.
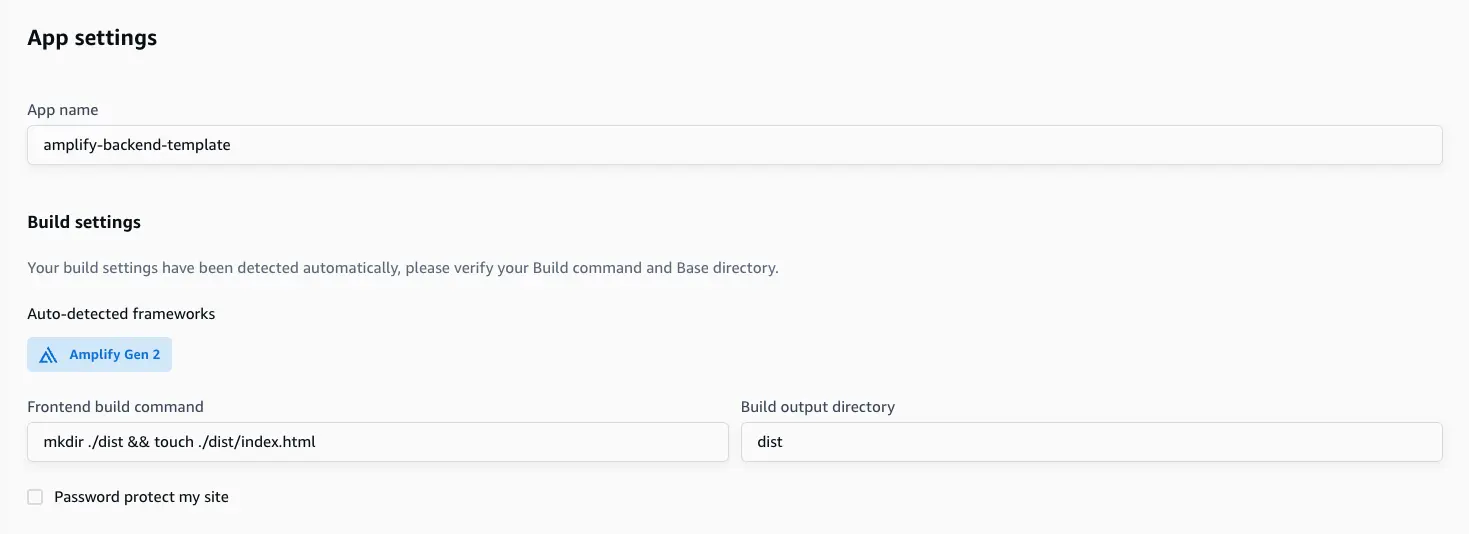
- Now update the build settings for the
backend-appto include thecurlcommand to trigger a frontend build any time there are changes to the backend.
version: 1backend: phases: build: commands: - npm ci --cache .npm --prefer-offline - npx ampx pipeline-deploy --branch $AWS_BRANCH --app-id $AWS_APP_IDfrontend: phases: build: commands: - mkdir ./dist && touch ./dist/index.html - curl -X POST -d {} "https://webhooks.amplify.ca-central-1.amazonaws.com/prod/webhooks?id=WEBHOOK-ID&token=TOKEN&operation=startbuild" -H "Content-Type:application/json" artifacts: baseDirectory: dist files: - '**/*' cache: paths: - node_modules/**/*Sharing schema type definitions
If you're using Amplify Data, we recommend adding a paths entry in the tsconfig.json of your frontend app that points to the amplify/data/resource.ts file in your backend app to easily access your schema type definitions from your frontend apps.
First, cone your backend repo into the same parent directory as your frontend app, then add the following entry:
{ "compilerOptions": { "paths": { "@/data-schema": ["../backend-app/amplify/data/resource"] } }}You can then import the Schema type from this path in your frontend code to get code completion and strong typing for your API calls:
import { generateClient } from "aws-amplify/data";import type { Schema } from "@/data-schema";
const client = generateClient<Schema>();
const createTodo = async () => {  await client.models.Todo.create({    content: window.prompt("Todo content?"),    isDone: false,  });}