Fullstack branch deployments
Amplify code-first DX (Gen 2) offers fullstack branch deployments that allow you to automatically deploy infrastructure and application code changes from feature branches. This enables testing changes in an isolated environment before merging to the main branch.
Set up feature branch deployments
After you've deployed your first branch, you can manually connect more, but the recommended workflow is to use the branch auto-detection feature.
-
Log in to the Amplify console and choose your app.
-
Navigate to App settings > Branch settings, select Edit and enable Branch auto-detection and Branch auto-disconnection. The following video uses the default settings, which will connect any branch in your repo automatically. Branch auto-disconnection will ensure that if you delete a branch from your repository, the branch will also be deleted.
- Push a commit to your
feature/Aandstagingbranches that match the pattern. You should start seeing deployments on the console page. You will now have three fullstack branches deployed.

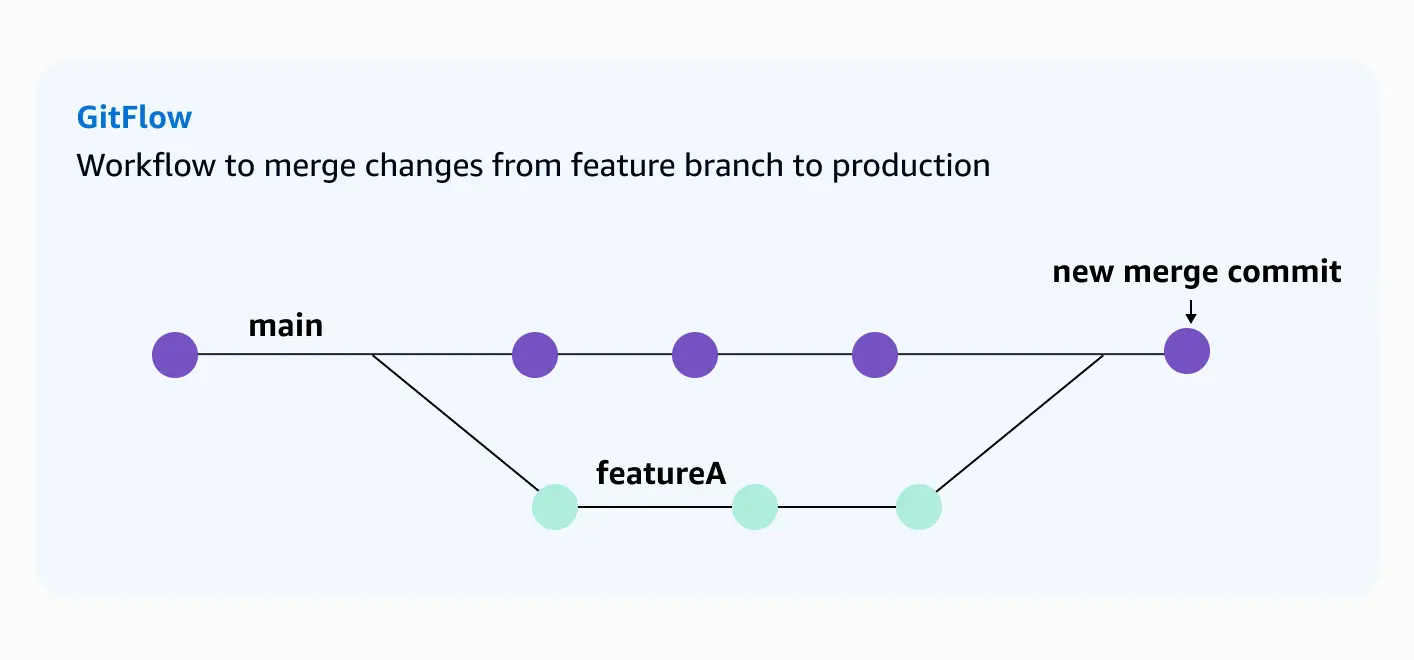
Promote changes to production
In Gen 2, promoting changes to production follows the normal Git-based workflow.
- Make a change in your
feature/Abranch.
git checkout -b feature/A
## make some edits to your code
git commit --am "New data model to track comments for todos added"
git push origin feature/A- Submit a pull request to your
mainbranch. Once your team has validated the changes, merge the pull request tomain. This will initiate a build on yourmainbranch and update any frontend or backend resources that you changed.
Generate client config
You can generate the config for a branch environment by running:
For Web and React Native, generating the config with the default format and output directory.
npx ampx generate outputs --app-id <your-amplify-app-id> --branch <your-git-branch-name> --out-dir <path/to/config>