Deploy a Gatsby site
In this guide you will learn how to deploy a Gatsby site with Amplify hosting.
Getting started
If you haven't already, install the Gatsby CLI:
# Using YARNyarn global add gatsby-cli
# Using npmnpm install --global gatsby-cli
Next, create a new site and change into the new directory:
gatsby new gatsby-amplifycd gatsby-amplifyCreating the Git repository
Next, create a new Git repository and copy the URI of the repo to your clipboard.
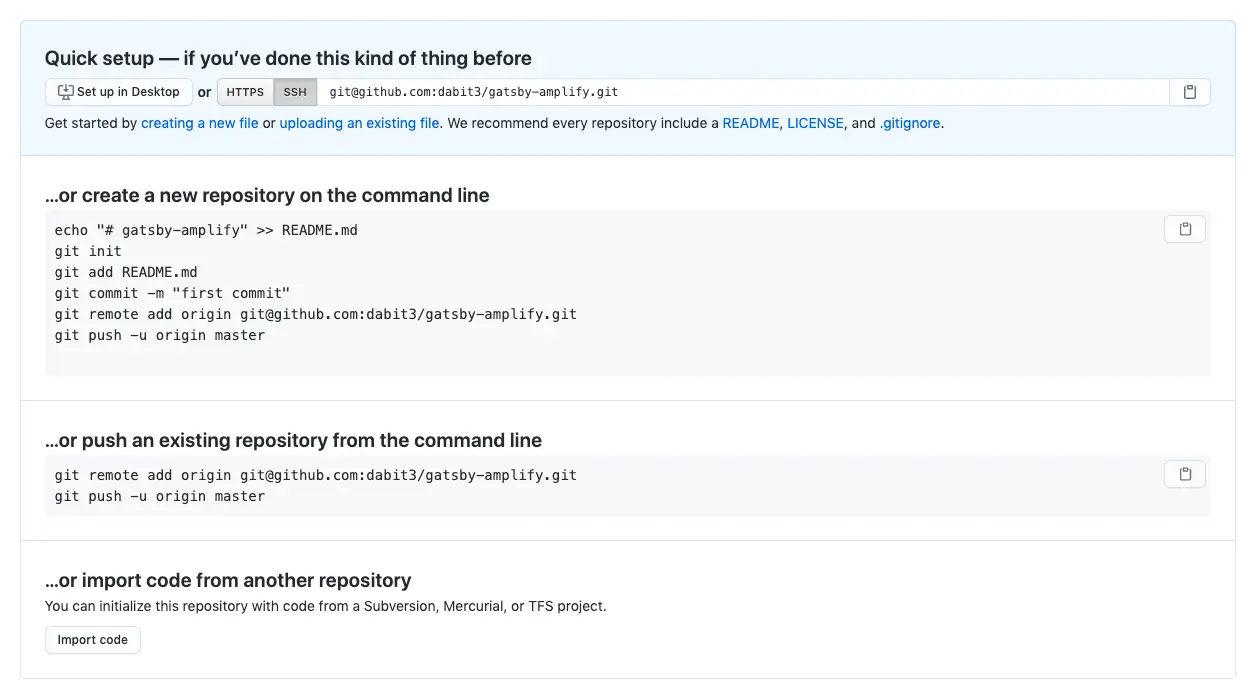
Now, initialize the new repository within the root of your project and push the code to Git.
git initgit remote add origin git@github.com:username/project-name.git # or your git repository locationgit add .git commit -m 'initial commit'git push origin mainDeploying the site to Amplify Console Hosting
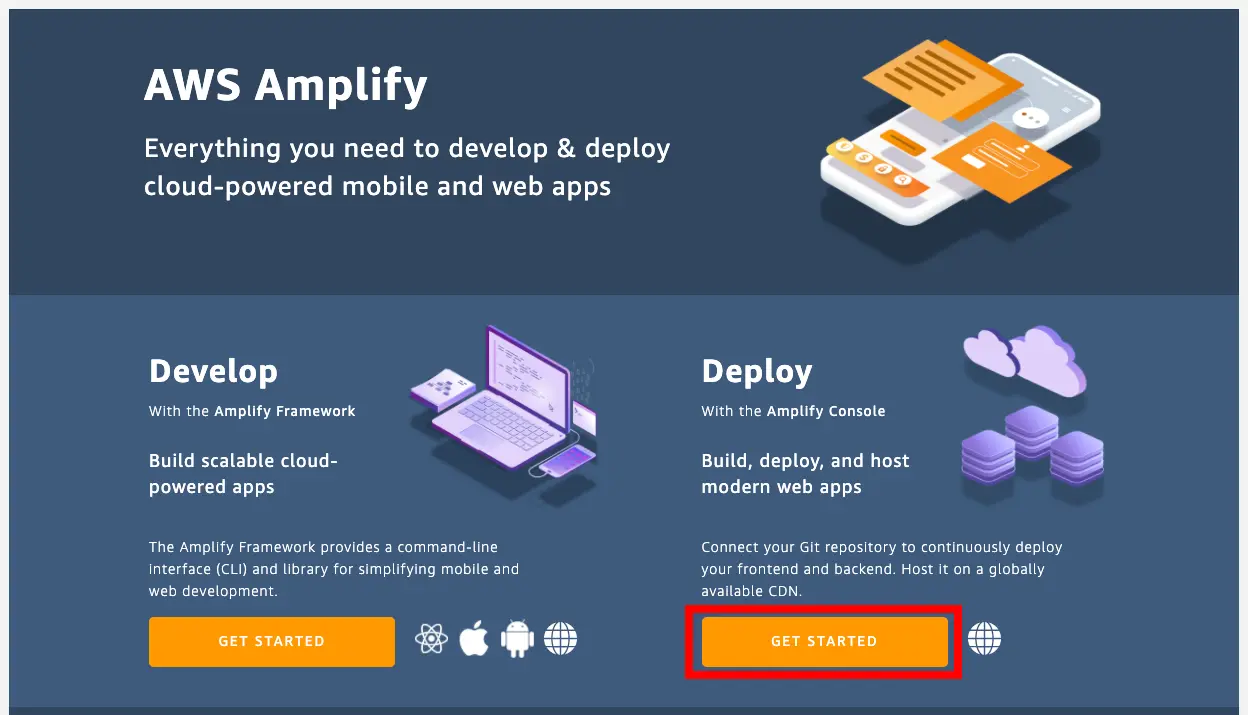
Visit the Amplify Console and click GET STARTED under Deploy.
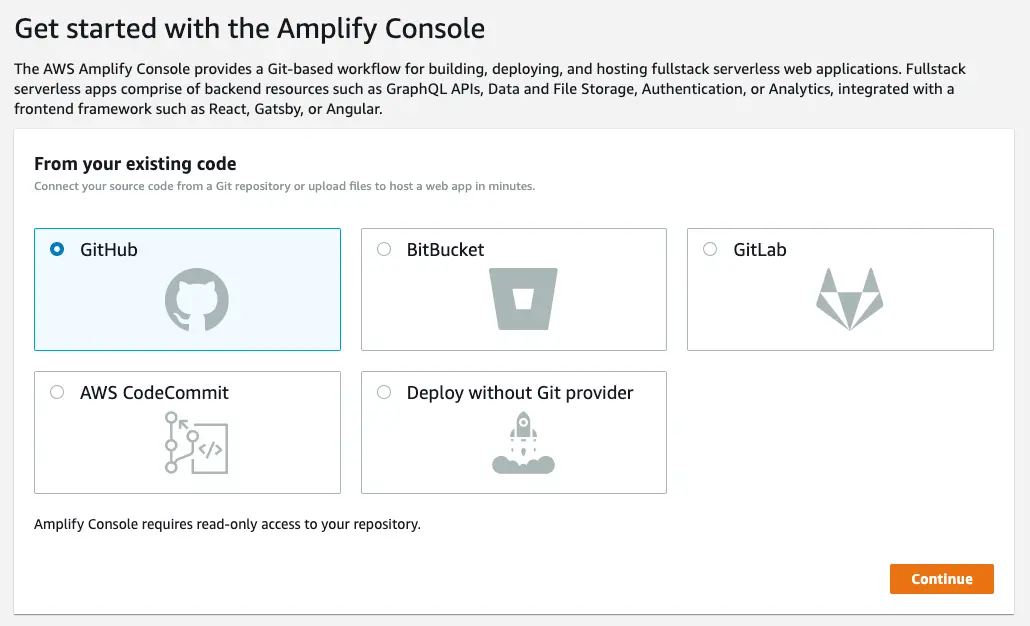
Next, choose the Git provider that you are using and click Continue:
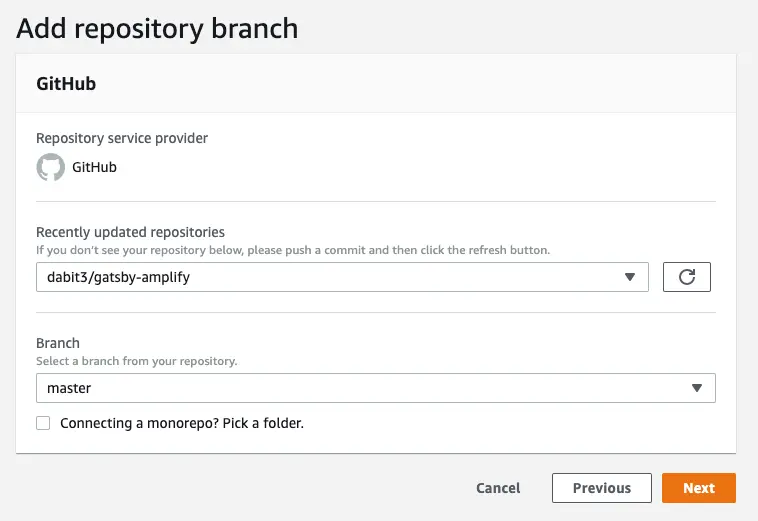
In the next screen, choose your repository and branch and click Next:
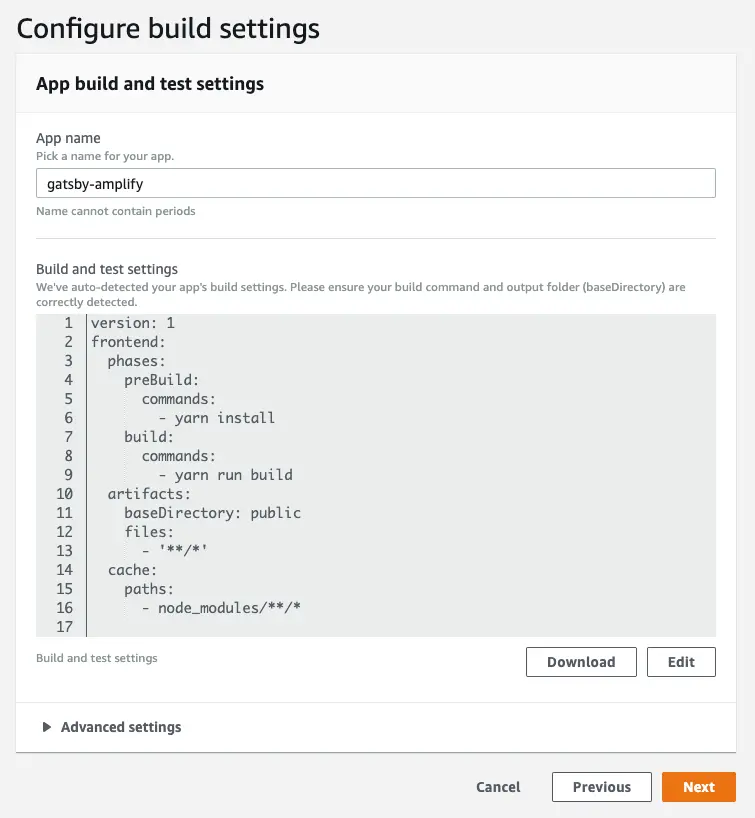
In the App build and test settings view, click Next:
Finally, click Save and deploy.
Once your site has successfully deployed, you should see three green checkmarks:
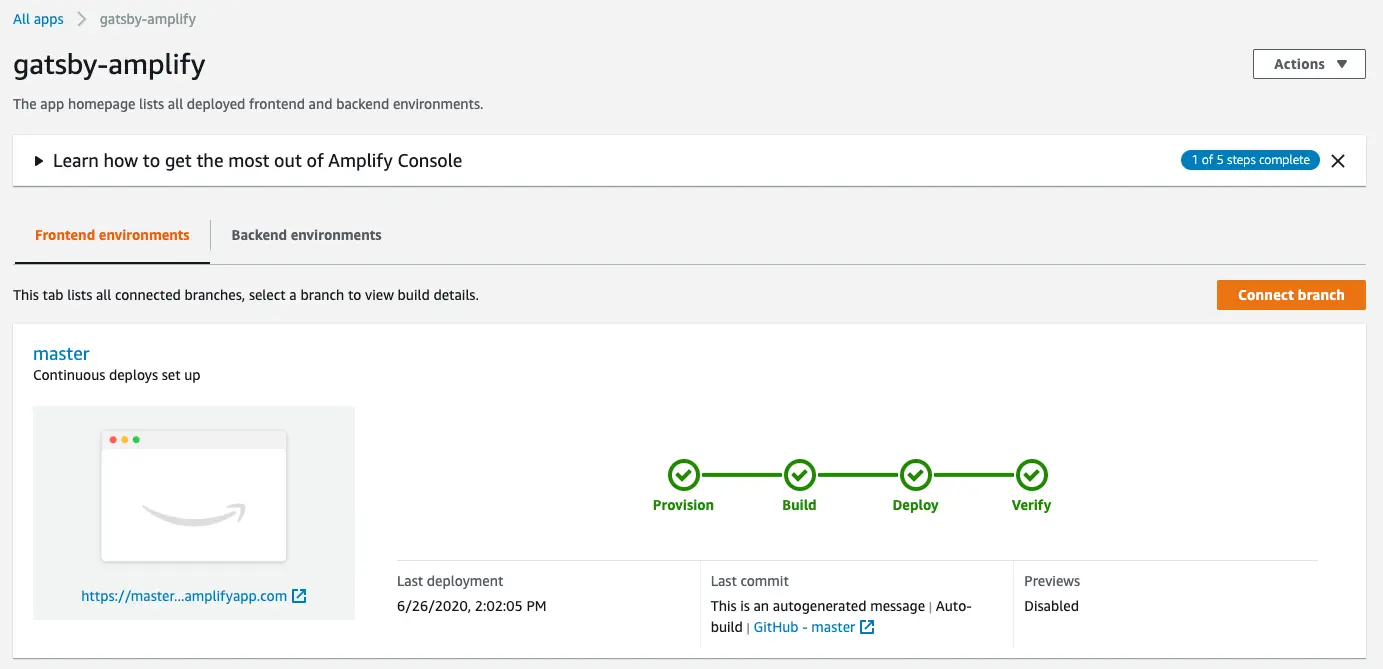
To view the live site, click on the automatically generated URL given to you by the Amplify Console.
Setting up rewrites for SPAs
Most SPA frameworks support HTML5 history.pushState() to change browser location without triggering a server request. This works for users who begin their journey from the root (or /index.html), but fails for users who navigate directly to any other page. Using regular expressions, the following example sets up a 200 rewrite for all files to index.html, except for the specific file extensions specified in the regular expression.
To set up rewrites, follow the guide on AWS Amplify Hosting's documentation.