Set up Amplify Interactions
AWS Amplify Interactions category enables AI-powered chatbots in your web or mobile apps. You can use Interactions to configure your backend chatbot provider and to integrate a chatbot UI into your app with just a single line of code.
Interactions with AWS
AWS Amplify implements Amazon Lex as the default chatbots service. Amazon Lex supports creating conversational bots with the same deep learning technologies that power Amazon Alexa.
Setup AWS LexV2 bot
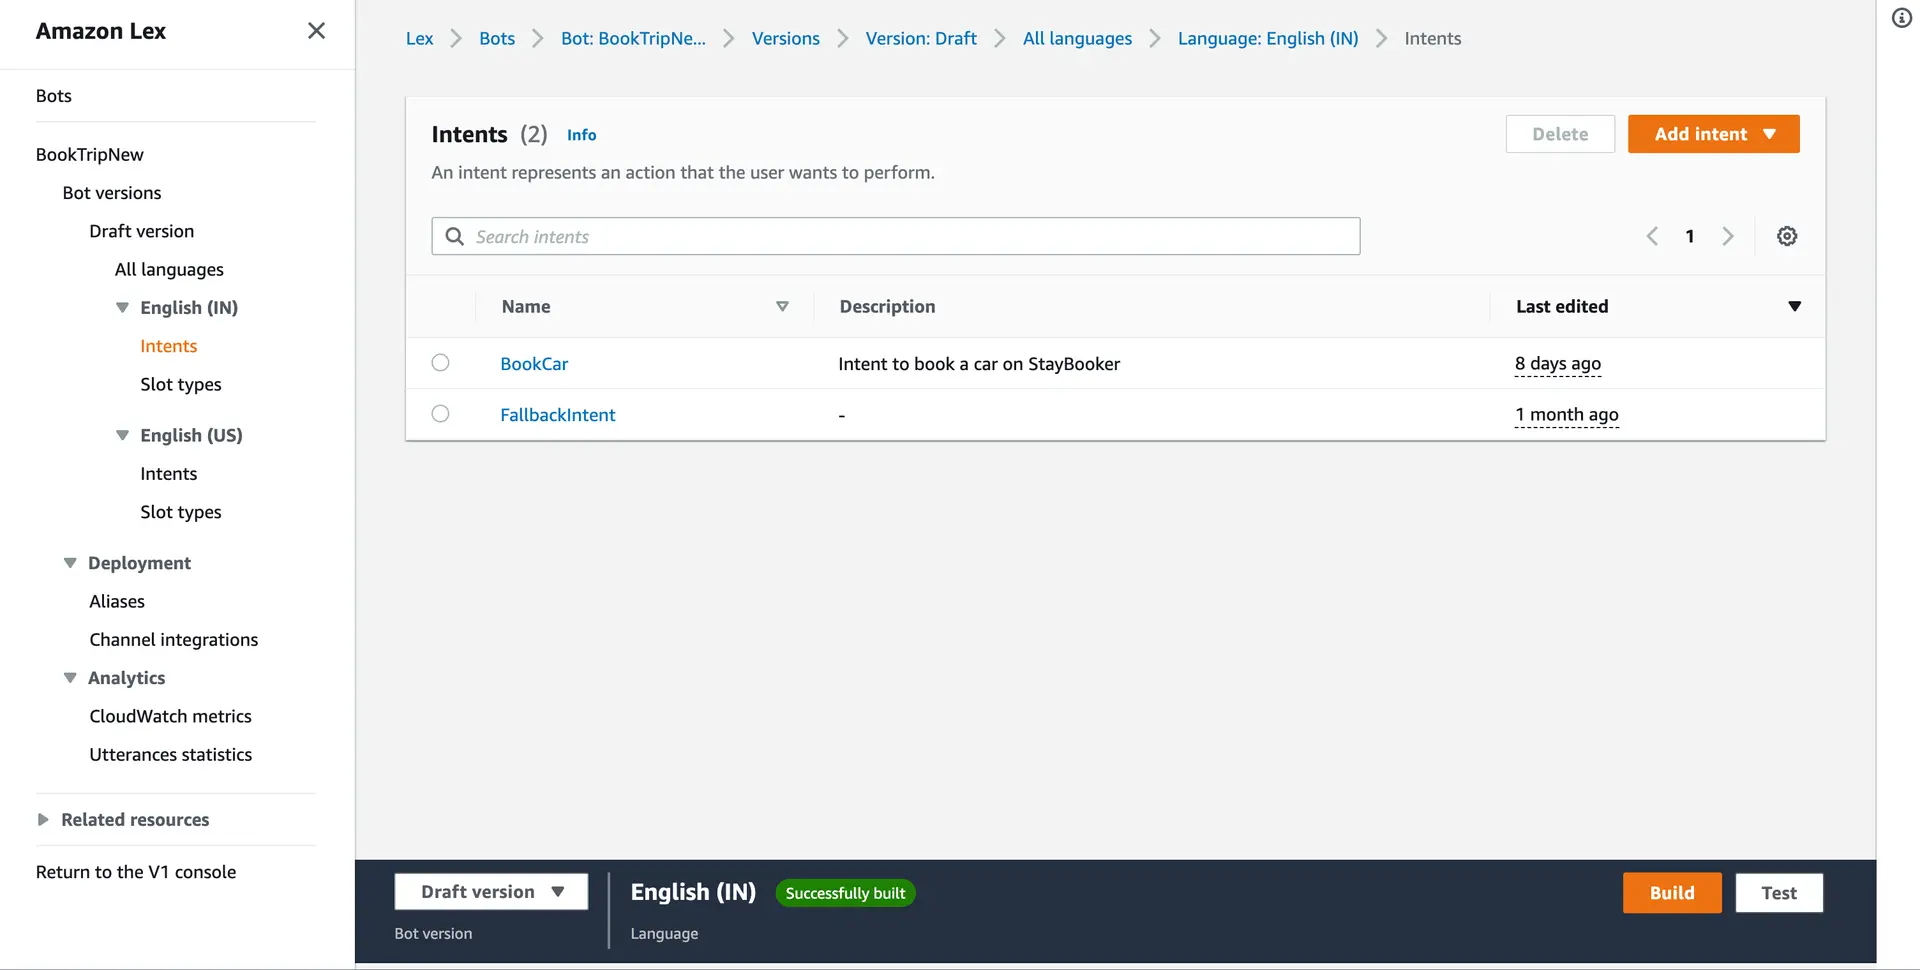
You can create Amazon Lex V2 chatbot in Amazon Lex console. To create your bot, follow the steps shown in Amazon Lex V2 Developer Guide.
With manual setup, you also need to add AWS Lex V2 API permissions to IAM roles and bot details to configure your app.
For adding IAM permissions, find you IAM role and attach the policy below (remember to replace the template with real value):
{ "Version": "2012-10-17", "Statement": [ { "Effect": "Allow", "Action": ["lex:RecognizeText", "lex:RecognizeUtterance"], "Resource": "arn:aws:lex:<Region>:<Account>:bot-alias/<BotId>/<BotAliasId>" } ]}import { Amplify } from 'aws-amplify';import { parseAmplifyConfig } from "aws-amplify/utils";import amplifyconfig from './amplifyconfiguration.json';
Amplify.configure({ ...parseAmplifyConfig(amplifyconfig), Interactions: { LexV2: { '<V2BotName>': { aliasId: '<V2BotAliasId>', botId: '<V2BotBotId>', localeId: '<V2BotLocaleId>', region: '<V2BotRegion>' } } }});Setup AWS LexV1 bot
Create new LexV1 chatbot with Amplify CLI
Prerequisite: Install and configure the Amplify CLI
Run the following command in your project's root folder:
amplify add interactionsThe CLI will lead you through the steps to specify the chatbot to be created.
You can choose to start from a sample chatbot or start from scratch. If you choose to start from scratch, the CLI will prompt you with a series of questions to set the intents and slots for the chatbot.
You are allowed to run the amplify add interactions command multiple times to add multiple chatbots into your project.
The add command automatically creates a backend configuration locally. To update your backend in the cloud, run:
amplify pushUpon successful execution of the push command, a configuration file called amplifyconfiguration.json will be copied to your configured source directory, for example ./src.
If your Interactions resources were created with Amplify CLI version 1.6.4 and below, you will need to manually update your project to avoid Node.js runtime issues with AWS Lambda. Read more
Manual setup
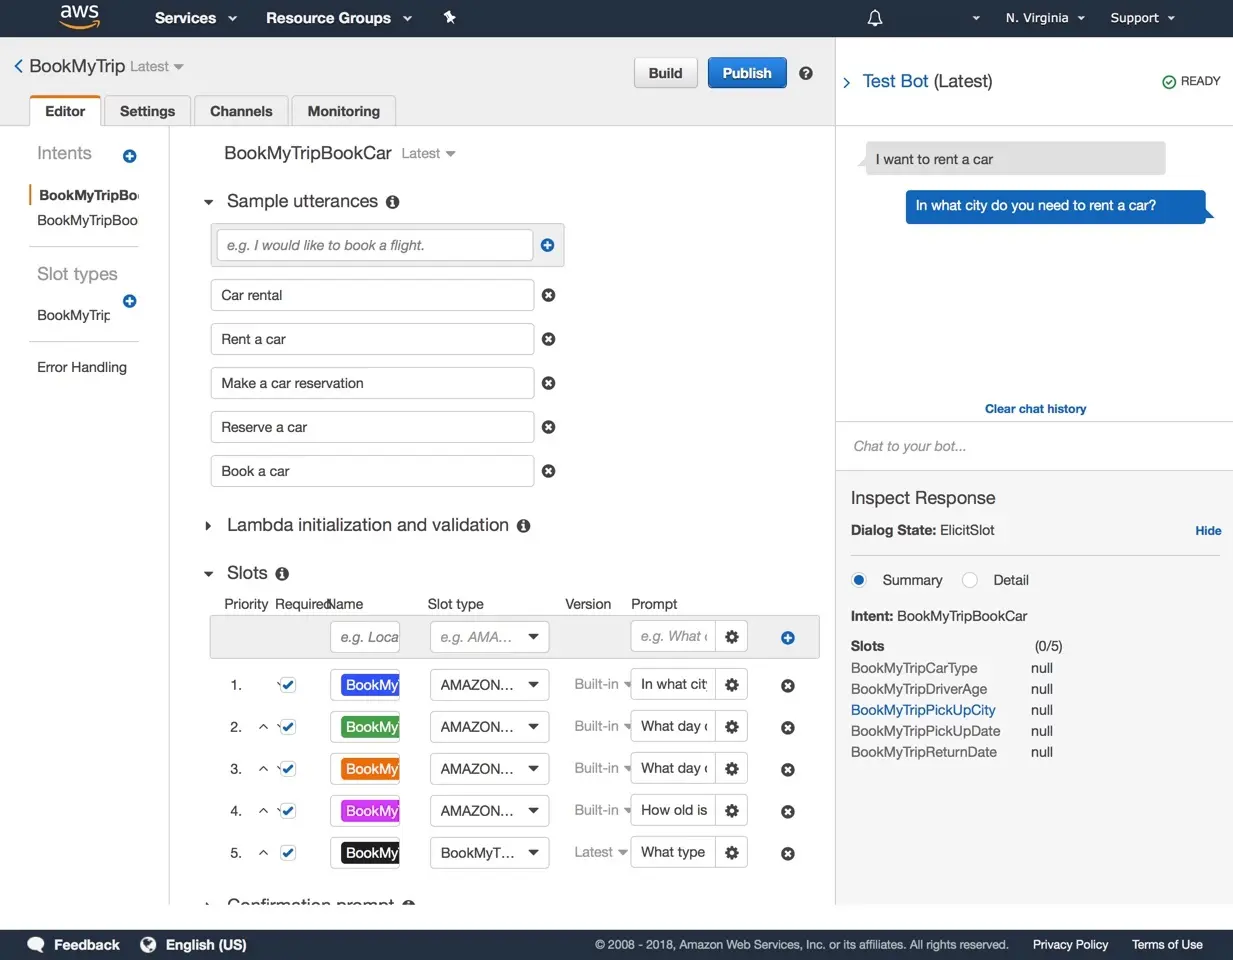
You can create Amazon Lex V1 chatbot in Amazon Lex console. To create your bot, follow the steps shown in Amazon Lex V1 Developer Guide.
With manual setup, you need to add AWS Lex API permissions to IAM roles and bot details to configure your app.
For adding AWS Lex API permissions, find you IAM role and attach the policy below (remember to replace the template with real value):
{ "Version": "2012-10-17", "Statement": [ { "Effect": "Allow", "Action": ["lex:PostText", "lex:PostContent"], "Resource": "arn:aws:lex:<Region>:<Account>:bot:<BotName>:<BotAlias>" } ]}Configuring bot details in your web app like this:
import { Amplify } from 'aws-amplify';import { parseAmplifyConfig } from "aws-amplify/utils";import amplifyconfig from './amplifyconfiguration.json';
Amplify.configure({ ...parseAmplifyConfig(amplifyconfig), Interactions: { LexV1: { '<V1BotName>': { alias: '<V1BotAlias>', region: '<V1BotRegion>' } } }});Configure frontend
Add the interactions package with npm:
npm install --save @aws-amplify/interactions aws-amplifyor with yarn:
yarn add @aws-amplify/interactions aws-amplifyImport and load the configuration file in your app. It's recommended you add the Amplify configuration step to your app's root entry point. For example index.js in React or main.ts in Angular.
import { Amplify } from 'aws-amplify';import amplifyconfig from './amplifyconfiguration.json';
Amplify.configure(amplifyconfig);