Create an in-app messaging campaign
A campaign is a messaging initiative that engages a specific audience segment. A campaign sends tailored messages according to a schedule that you define. You can use the AWS console to create a campaign that sends messages through any single channel that is supported by Amazon Pinpoint: Mobile Push, In-App, Email, SMS or Custom channels. Learn how to create a campaign using Amazon Pinpoint to continue integrating in-app messages in your app with Amplify.
-
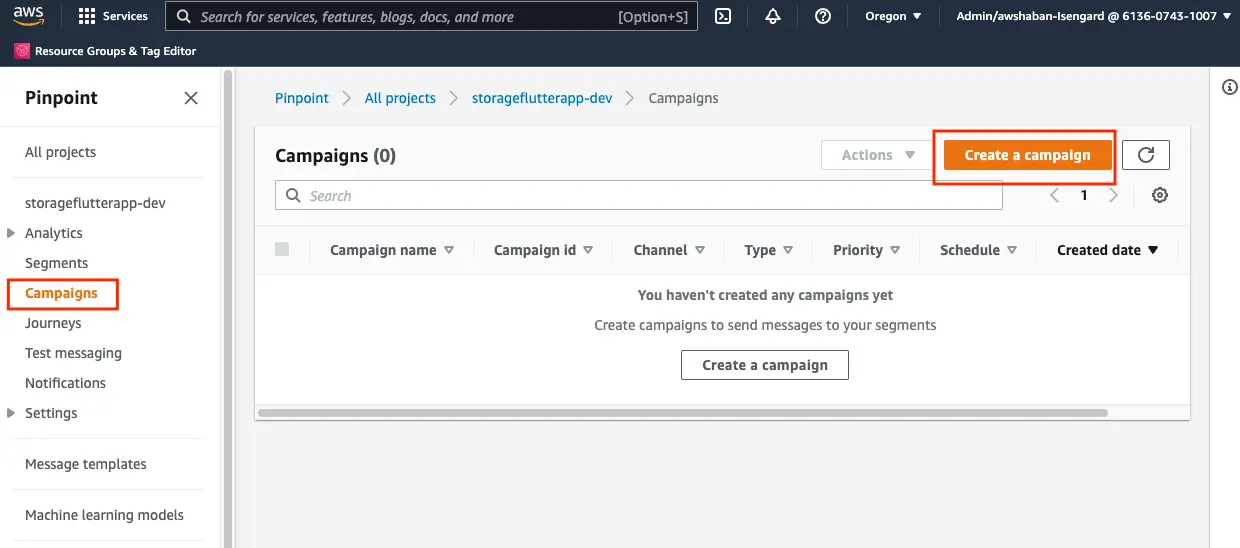
Login to the AWS Console, and Search for Pinpoint.
-
Click on your project from the list of available project. Your project name would have been setup with the CLI as your Pinpoint resource name when the
amplify add notificationscommand was used. -
Click on Campaigns from the left navigation menu, and then click on Create a campaign
-
Add a name to your campaign, and keep the following options as follows and then click Next:
- Campaign type: Standard campaign
- Channel: In-App messaging
- set prioritization: Fairly important
-
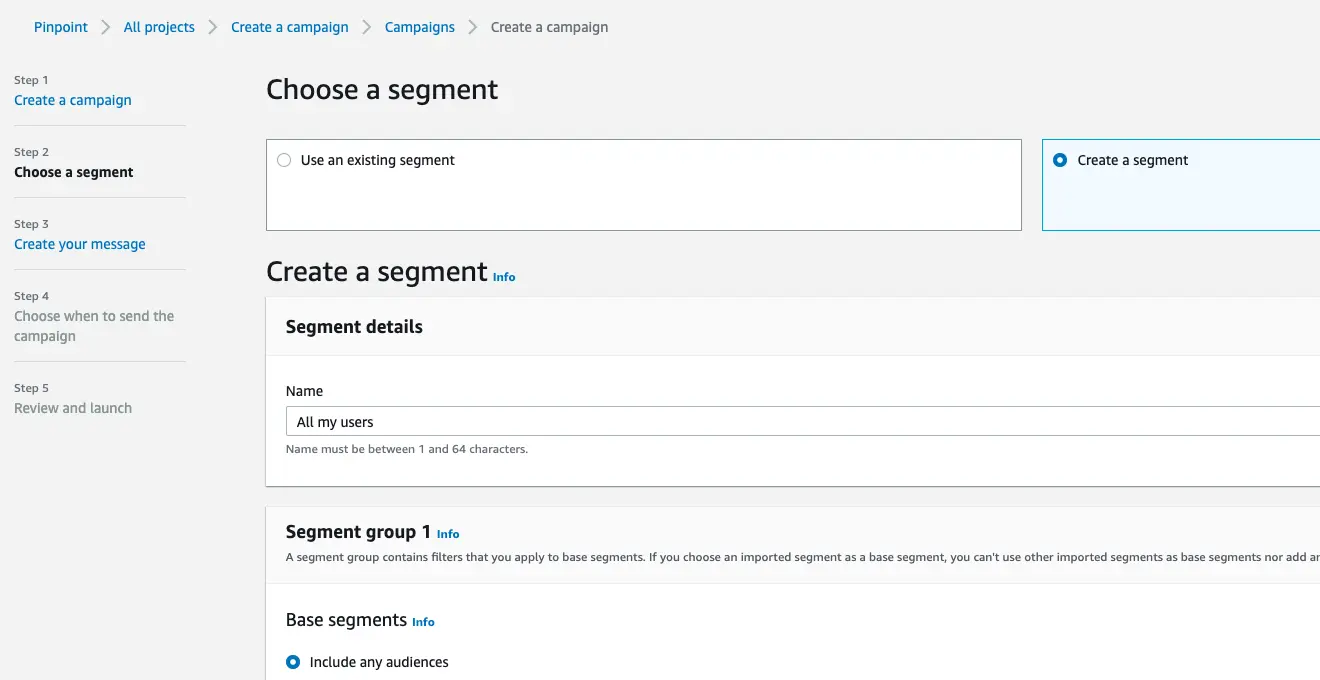
Click on the Create a segment radio button, and add a name for your segment, and then click Next.
- You can add as many segments as needed to the campaign. For this quickstart, you can use Include any audiences under the Segment group 1 section.
- You can add a criteria to your segments to ensure that audiences that satisfy that criteria can receive the in-app message.
- If you see an error message titled Segment might include multiple channels, click I understand to proceed.
-
Click on the Create a new in-app message radio button.
-
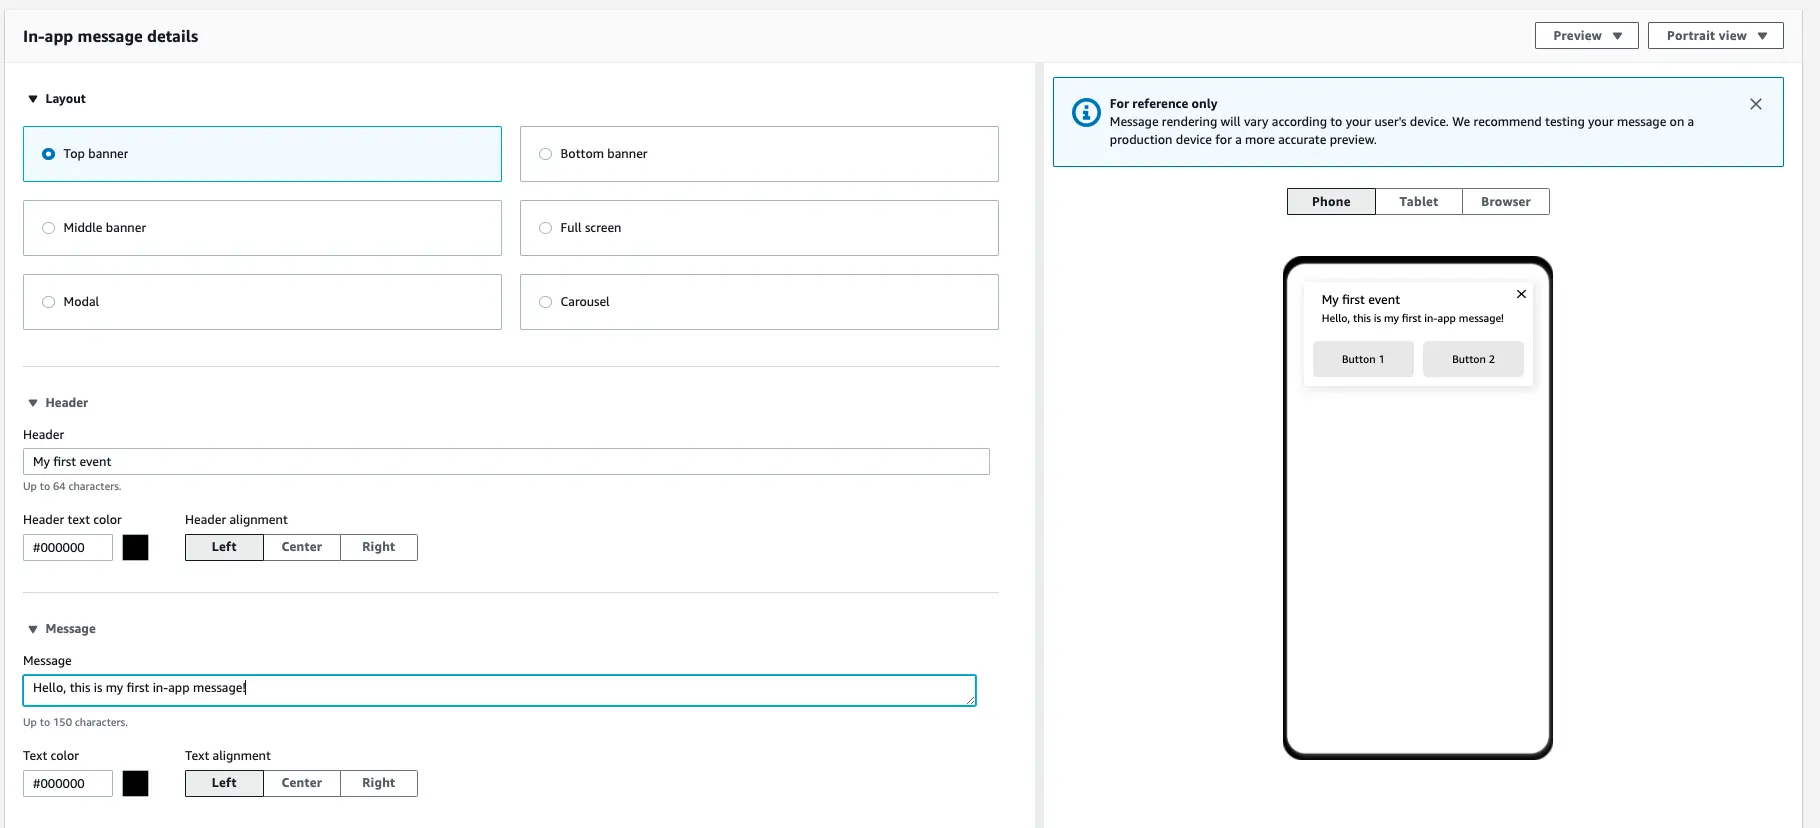
You have the ability to customize the following attributes of the in-app message:
- Layout: Which includes all of the different messaging layout options.
- Header: Title of the in-app message, including the text color/alignment.
- Message: The body of the Message, including the text color/alignment.
- Background: Control the background color of the in-app message.
- Image URL: Add an image to be displayed as part of the in-app message body.
- Primary button: Allows the addition of a button to add functionality to the in-app message.
- Secondary button: Allows the addition of an extra button for additional functionality.
- Custom Data: Allows the in-app message to pass additional data to the frontend app once it is triggered by an event.
For this tutorial you can create a simple message as shown below. Customers in your application will see the same message once the event is triggered.
- Once you have finished customizing your in-app message, click on Next.
- Under Trigger events, add the name of the analytics trigger that will be sent from your frontend app.
- You have the ability to customize the trigger to allow only certain attributes or metrics that are passed with the analytics event to trigger the in-app message. (Optional)

- By default, the number of messages shown per session is 1. You can update this threshold during campaign setup.

- Review your campaign, and then click on Launch campaign.
Your campaign is now setup, and you are ready to start integrating the In-App Messaging functionality into your app.