Migrate from Google Maps
Are you using Google Maps or another similar Map Provider and would like to switch over to using Amplify Geo or Amazon Location Service? This tutorial will show you how to take your existing Google Maps APIs and switch over to using Amplify Geo.
Getting Started
Amplify Geo provides APIs for using location based functionality. Under the hood Amplify uses Amazon Location Service and is designed to work with open source mapping library MapLibre.
This guide assumes that you are already familiar with the Google Maps JavaScript API and with front-end web development concepts including HTML, CSS, and JavaScript.
To complete this tutorial, you will need:
- Amplify Geo
- A text editor
Key differences between Amplify Geo and Google Maps
Coordinates Conventions
A key difference to notice between using Amplify Geo and Google Maps is with Google Maps Platform their convention for specifying coordinates is [lat, lng]. When migrating over to Amplify Geo the order is swapped to be [lng, lat]. This was done to match the geojson spec which is also used by MapLibre.
Authorization
When using Google Maps Platform or other similar services like Mapbox you will first be prompted to go to the Google Cloud Console to set up APIs and create an API key where you will then use the API key when requesting the Google Maps JS API. With Amplify Geo you will instead setup Amplify Auth using Amplify CLI and the MapView component will read the auth configuration from the amplifyconfiguration.json file. Behind the scenes Amplify Auth uses Amazon Cognito to set up client credentials with access to Location Service and Geo will use those credentials when making any location related API calls. More information on setting Amplify Auth and Geo can be found below in the Setting Up Amplify section.
Create a webpage
- Open your text editor and create a new file called
index.html. - Paste the following code into the file to set up the framework for a webpage with a map.
<!DOCTYPE html><html>
<head>    <meta charset="utf-8">    <title>Display a map on a webpage</title>    <meta name="viewport" content="initial-scale=1,maximum-scale=1,user-scalable=no">    <!-- Import MapLibre  -->    <script src="https://cdn.amplify.aws/packages/maplibre-gl/1.15.2/maplibre-gl.js"        integrity="sha384-rwYfkmAOpciZS2bDuwZ/Xa/Gog6jXem8D/whm3wnsZSVFemDDlprcUXHnDDUcrNU" crossorigin="anonymous"        referrerpolicy="no-referrer"></script>    <link href="https://cdn.amplify.aws/packages/maplibre-gl/1.15.2/maplibre-gl.css" rel="stylesheet"        integrity="sha384-DrPVD9GufrxGb7kWwRv0CywpXTmfvbKOZ5i5pN7urmIThew0zXKTME+gutUgtpeD" crossorigin="anonymous"        referrerpolicy="no-referrer">    </link>    <!-- Import Amplify  -->    <script src="https://cdn.amplify.aws/packages/core/5.0.5/aws-amplify-core.min.js"         integrity="sha384-eM2urkpomL9SRm/kuPHZG3XPEItAiUAAyotT/AqlhSus8iAqs/EfHaYy1Jn5ih7K" crossorigin="anonymous"        referrerpolicy="no-referrer"></script>    <script src="https://cdn.amplify.aws/packages/auth/5.0.5/aws-amplify-auth.min.js"        integrity="sha384-H25CFLYd7YHa1Oib73fs3kJN36VhaHHkLjo4AhGrhJ4HuKam05pg2/0t2MR6epun" crossorigin="anonymous"        referrerpolicy="no-referrer"></script>    <script src="https://cdn.amplify.aws/packages/geo/2.0.5/aws-amplify-geo.min.js"        integrity="sha384-Esc9xx0X7ckb/yeYHuYsZGqBB4FwYr98NFHS3BRXLeRE/eB0uVrad2w+G6cGxYb5" crossorigin="anonymous"        referrerpolicy="no-referrer"></script>    <script src="https://cdn.amplify.aws/packages/maplibre-gl-js-amplify/1.5.0/maplibre-gl-js-amplify.umd.min.js"        integrity="sha384-9kJyZavd3Jk6QzHeaLpugVonfZmZZZdixek6uglOwzKtZvDS9K3W4dshw1uswmlV" crossorigin="anonymous"        referrerpolicy="no-referrer"></script>    </link>
    <style>        body {            margin: 0;            padding: 0;        }
        #map {            position: absolute;            top: 0;            bottom: 0;            width: 100%;        }    </style></head>
<body>    <div id="map"></div>    <script type="module">        import amplifyconfig from "./amplifyconfiguration.json" assert { type: "json" };        const { Amplify } = aws_amplify_core;        const { createMap } = AmplifyMapLibre;        Amplify.configure(amplifyconfig);
        // Add code from below steps here    </script></body>
</html>
This code imports the MapLibre GL JS library and CSS, one of the popular options for map rendering we recommend for use with Amplify Geo. In the HTML body you create a <div> element with an id of 'map' that will be the map's container. Finally in the script section you'll setup some Amplify configuration that is required for Amplify Geo to understand what Amplify AWS resources have been created.
Setting up Amplify
- You will need to use the Amplify CLI to setup Amplify Geo Map resources. Follow instructions for creating a map.
- Once the CLI workflow has completed you should have an
amplifyconfiguration.jsonfile in the same directory as yourindex.htmlfile. - Save your
index.htmlfile.
Display a map
In this step we will show you how to add code to display a map in your application.
With Amplify Geo and MapLibre you can add the following code to your index.html file inside the <script> tags, after the Amplify.configure command:
const map = await createMap({ container: document.getElementById('map'), // div ID center: [-122.4783, 37.8199], // initial coordinates [long, lat] zoom: 13 // initial zoom level, high number being more zoomed in});Save your HTML file and open it in a web browser to see your rendered map.
With the Google Maps JS API you can display a map like so.
const map = new google.maps.Map(document.getElementById('map'), { center: { lat: 37.8199, lng: -122.4783 }, zoom: 13});Display a marker
Here you will add a marker to your map
With Amplify Geo and MapLibre you can do the following.
const marker = new maplibregl.Marker().setLngLat([-122.4783, 37.8199]).addTo(map);Save your changes and refresh your page and you should see a default blue marker icon on your map.
Using the Google Maps JS API you would add a marker as show below.
const marker = new google.maps.Marker({center: { lat: 37.8199, lng: -122.4783 },map: map});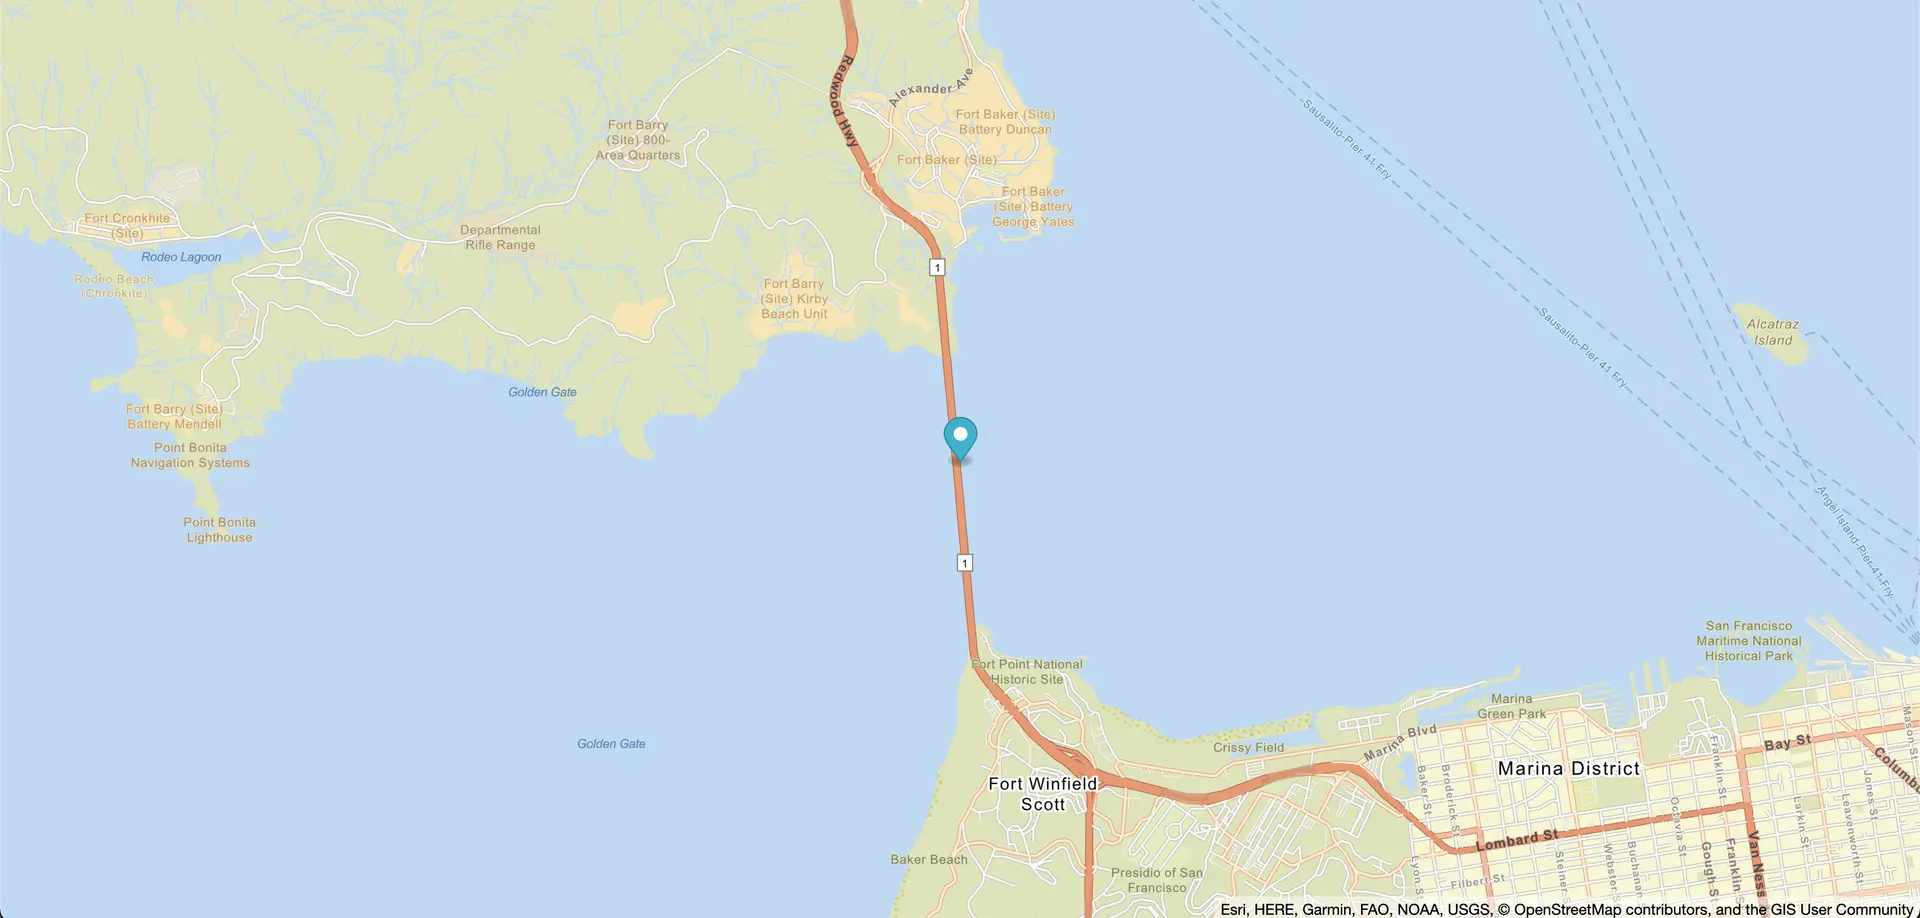
Add a Popup
Now you can add a popup that displays information when a user clicks on a marker.
With Amplify Geo and MapLibre you can do the following.
const popup = new maplibregl.Popup().setHTML(  `<h3>Golden Gate Bridge</h3><p>The hex code for the bridge's color is: #c0362c</p>`);
const marker = new maplibregl.Marker()  .setLngLat([-122.4783, 37.8199])  .setPopup(popup)  .addTo(map);
Save your changes and refresh your page and now when you click on the icon a popup should appear on the screen.
Using the Google Maps JS API you would add a marker as shown below.
const marker = new google.maps.Marker({  center: { lat: 37.8199, lng: -122.4783 },  map: map});
const infowindow = new google.maps.InfoWindow({  content: `<h3>Golden Gate Bridge</h3><p>The hex code for the bridge's color is: #c0362c</p>`});
marker.addListener('click', () => {  infowindow.open(map, marker);});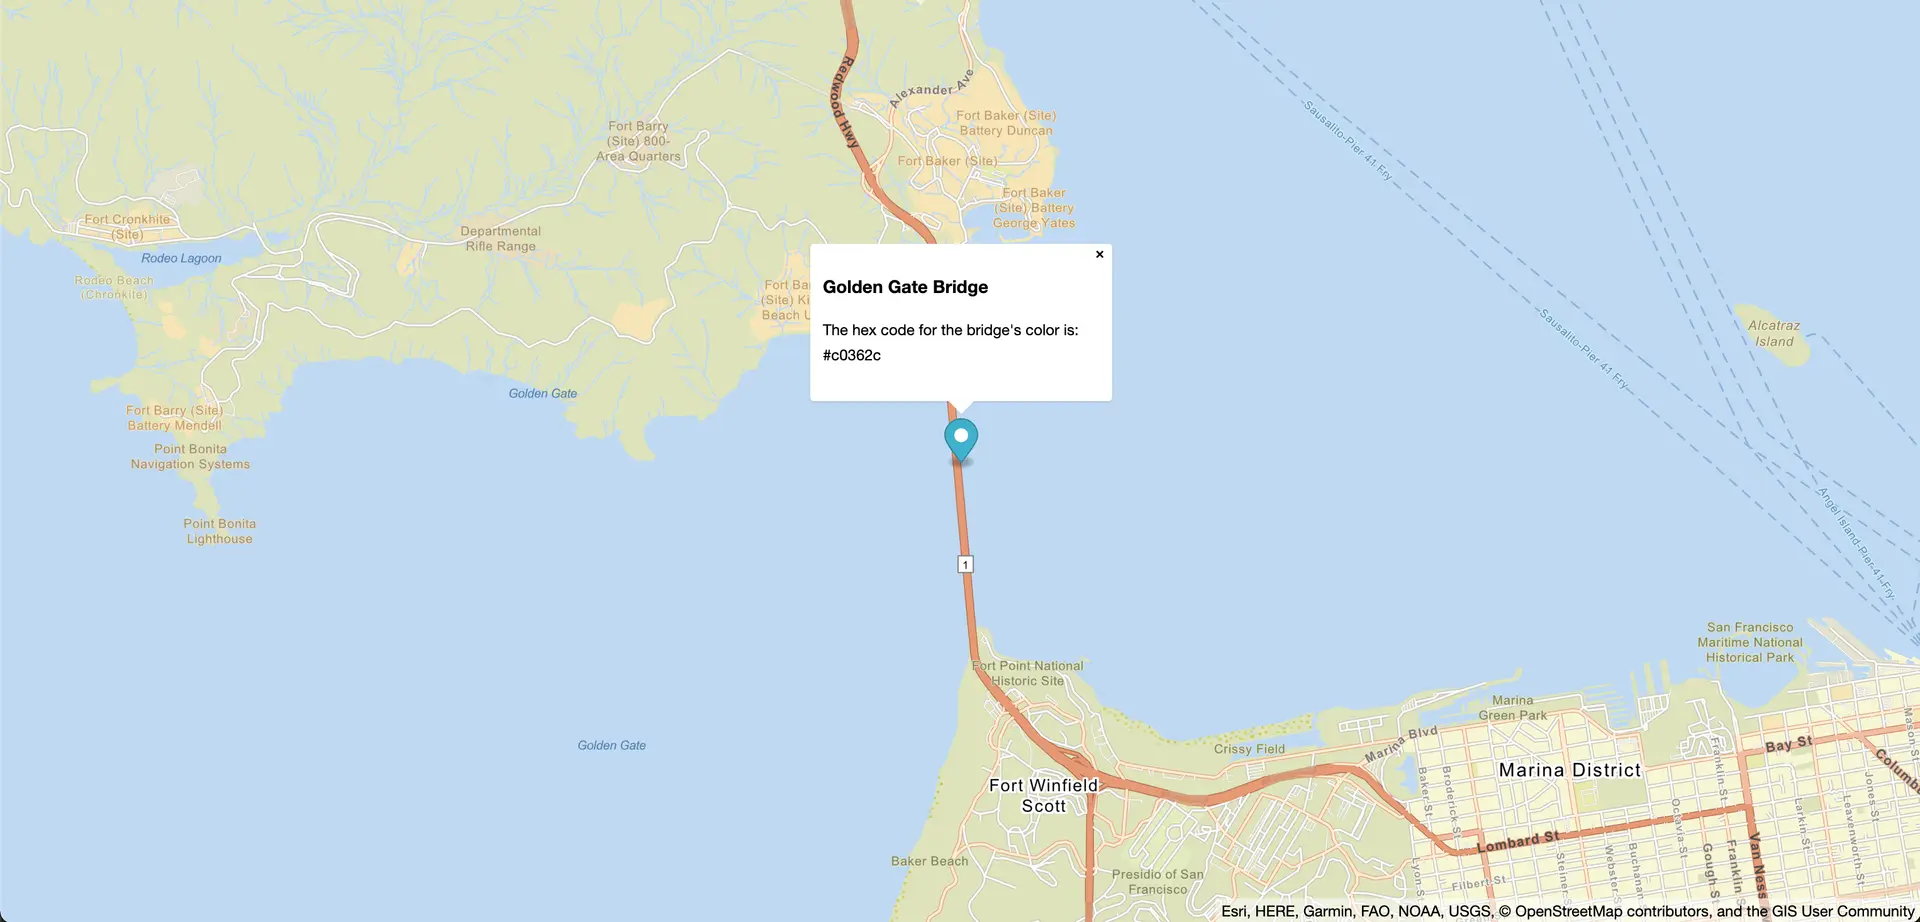
Add a search component
Now we can try adding a search bar to your map which can return results and place markers on a map based on those results.
With Amplify Geo and MapLibre you can do the following.
const { createMap, createAmplifyGeocoder } = AmplifyMapLibre; // import from above updated to include createAmplifyGeocoder
const geocoder = createAmplifyGeocoder();map.addControl(geocoder);
Save your changes and refresh your page and now when you should see a maplibre-gl-geocoder control in the top right corner of your map.
Using the Google Places JS API you would add a search bar as shown below.
// Create the search box and link it to the UI element.const input = document.getElementById("pac-input") as HTMLInputElement;const searchBox = new google.maps.places.SearchBox(input);
map.controls[google.maps.ControlPosition.TOP_LEFT].push(input);
// Bias the SearchBox results towards current map's viewport.map.addListener("bounds_changed", () => {  searchBox.setBounds(map.getBounds() as google.maps.LatLngBounds);});
// Listen for the event fired when the user selects a prediction and retrieve more details for that place.searchBox.addListener("places_changed", () => {  const places = searchBox.getPlaces();
  if (places.length == 0) {    return;  }
  // For each place, get the icon, name and location.  places.forEach((place) => {    // Create markers for each place    // Extend map view for each place  });  map.fitBounds(bounds);});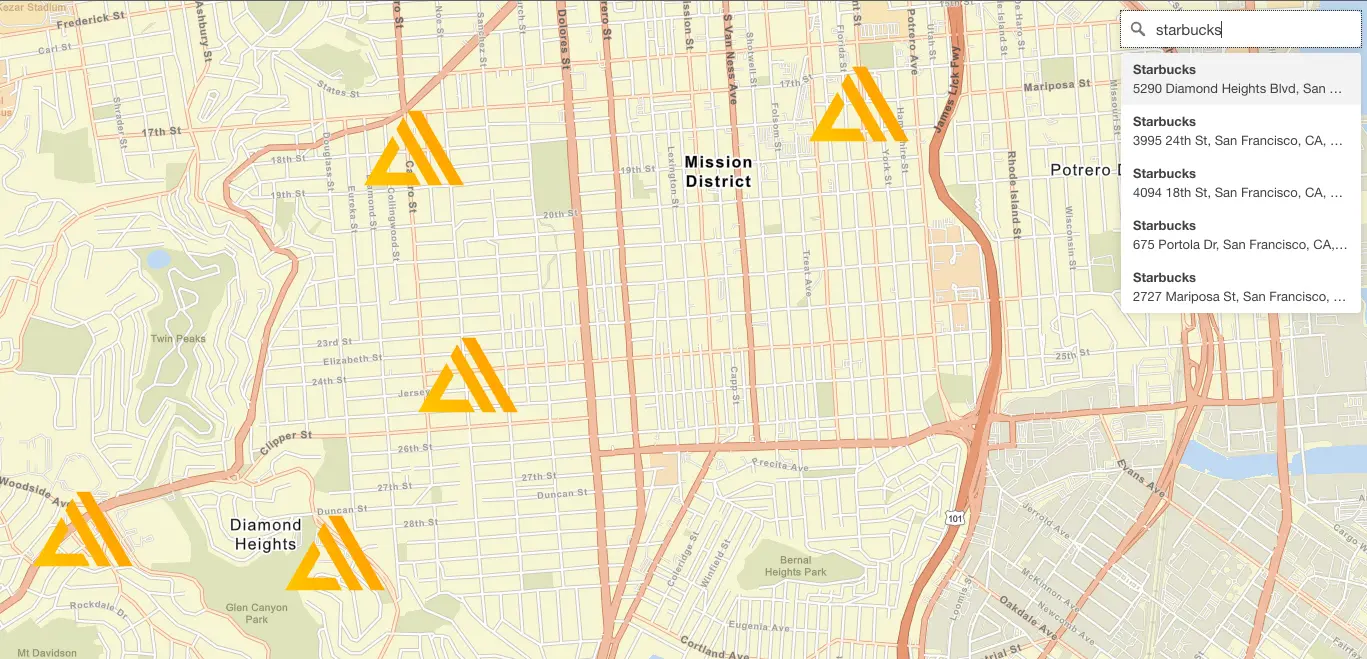
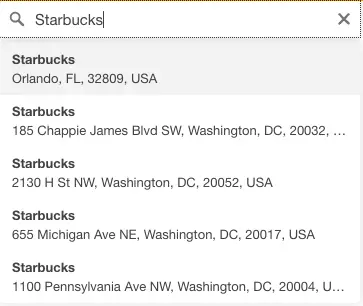
Add a stand alone search component
Now we can try adding a search bar without adding it to a map which can return results that you can use.
With Amplify Geo and MapLibre you can do the following.
// Create a div to hold the search componentconst el = document.createElement("div");el.setAttribute("id", "search");document.body.appendChild(el);
// Create the geocoder component and append it to the div you created earlierconst geocoder = createAmplifyGeocoder();document.getElementById("search").appendChild(geocoder.onAdd());
Save your changes and refresh your page and now when you should see a maplibre-gl-geocoder control in the div you created.
Using the Google Places JS API you would add a stand alone search bar as shown below.
// Create a input to hold the search componentconst el = document.createElement("input");el.setAttribute("id", "pac-input");document.body.appendChild(el);
// Create the search box and link it to the UI element.const input = document.getElementById("pac-input");const searchBox = new google.maps.places.SearchBox(input);