Component slots
Component slots allow you to nest other components as React code within your Studio-generated UI components. You can use component slots to create dynamically generated child components, like Comments on a Post, or to replace a child element altogether.
Adding a component slot
First, you'll need a component.
-
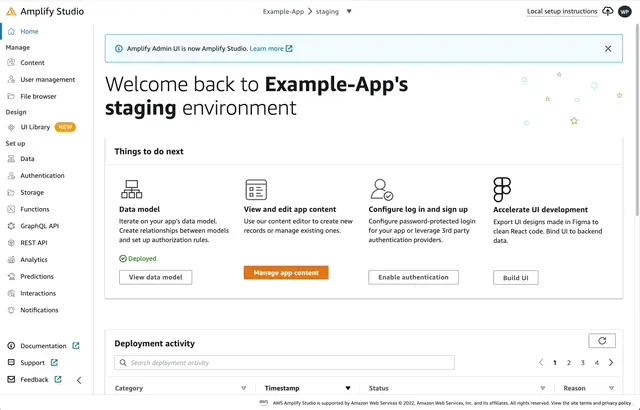
Launch Studio for an app.
-
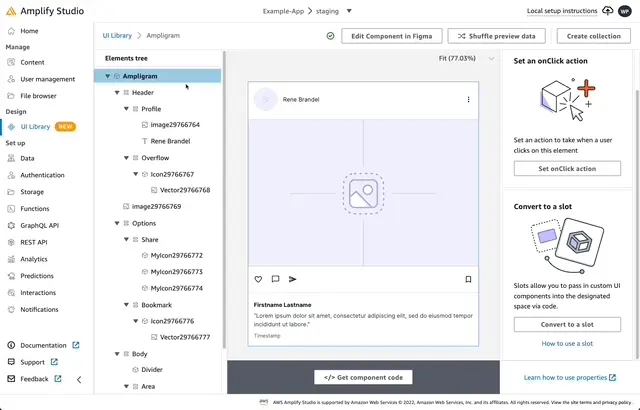
On the left-hand navigation bar, click UI Library
-
Select a Figma component from your UI Library that you've imported into Studio. If you don't have any Figma components already, you can start with Amplify's Figma UI file.
-
Configure that component by clicking the Configure button in the upper right-hand corner.
Next, you'll add a component slot to this component.
- On the left-hand side, you'll see the elements of your component. Select a Figma Frame (
 ) within your component.
In this example, the "Area" frame is selected.
-
On the right-hand panel, click the "Convert to a slot" button. This will add a new prop to your UI component. Any JSX element you pass into that prop will be rendered in the generated component slot.
-
Optionally, change your property name.
In this example, the property has been renamed "comments"
Using a component slot
Importing your component
Once you've added a component slot to your component, click the Get component code button at the bottom of the screen to see instructions on the next steps.
- Copy the
amplify pullcommand, and run it in your Terminal - Copy the import code and paste it in your React app code
- Lastly, render the component
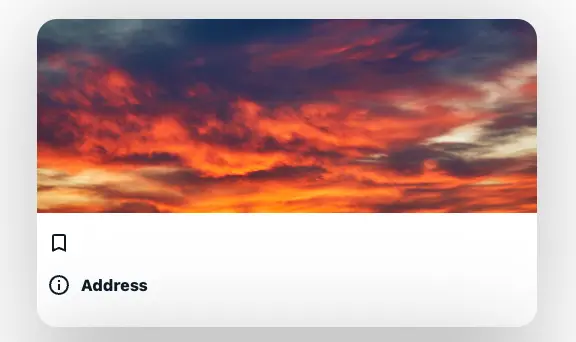
/*Import your component*/import { Ampligram } from './ui-components';
function App() {  return (    /*Add your component below*/    <Ampligram />  );}export default App;
Here's how the code above would render in your app. Some minor styling has been added to help with visibility.
Using your component slot to replace individual child components
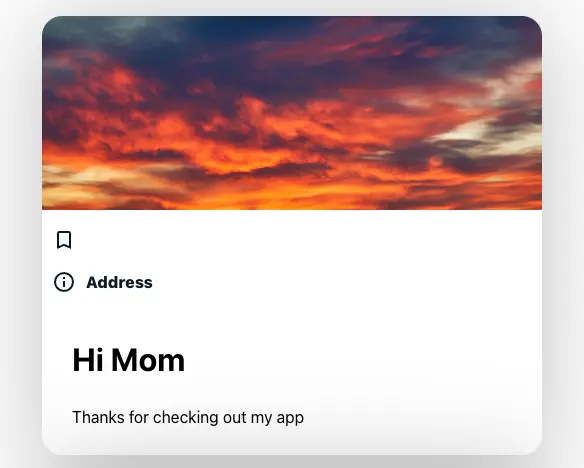
To use the component slot, pass a child component as a property of the parent component, using the prop name you picked earlier. Then, the content you pass will be rendered as a child of the component.
import { Ampligram } from '.ui-components';
function App() {  return (    <Ampligram      style={styles.post}      comments={        //Pass your content into the component slot        <div>          <h1>Hi mom!</h1>          <p>Thanks for checking out my app</p>        </div>      }    />  );}export default App;
Here's how the code above would render in your app.
Adding component slots to collections
Any component can be bound to data and used to generate to a collection, including components with component slots. Studio supports data binding to any GraphQL API created with Amplify, with and without DataStore.
Here, the Ampligram collection is mapped to a data model called Post. The Post model has a one-to-many relationship with the Comment model, so each Post can have many Comments. The AmpligramCollection below will render an Ampligram for each record in the Post model. Then, each related Comment will render in the comments component slot.
In this example, the first Post has 2 comments, but the second post has none.
import { AmpligramCollection } from './ui-components';
function App() {  return (    <AmpligramCollection      overrideItems={({ item }) => ({        //Populate the "comments" slot        comments: (          <div>            {/*Map each related comment into a div*/}            {item.Comments.map((comment) => (              <div>{comment.content}</div>            ))}          </div>        )      })}    />  );}export default App;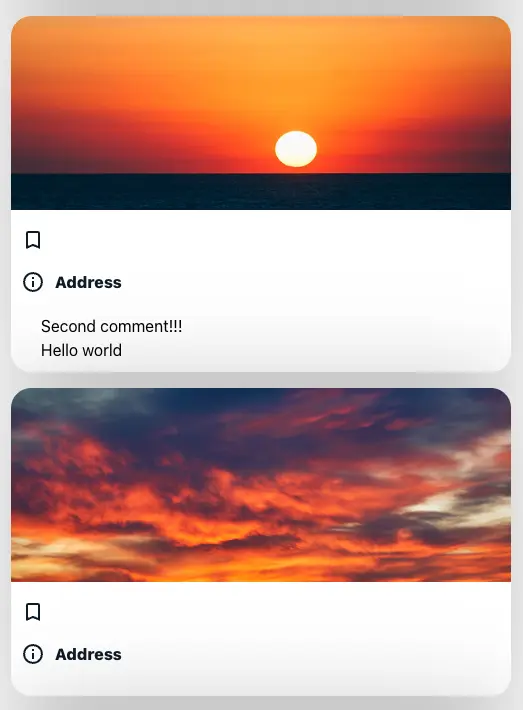
Dynamically rendering child components is where component slots get very useful - you can even pass another collection into this component slot.