Extend S3 resources
For Amplify-generated S3 resources
Amplify Storage generates Amazon S3 resources to offer storage features. You can access the underlying Amazon S3 resources to further customize your backend configuration by using the AWS Cloud Developer Kit (AWS CDK).
Example - Enable Transfer Acceleration
The following is an example of how you would enable Transfer Acceleration on the bucket (CDK documentation). In order to enable Transfer Acceleration on the bucket, you will have to unwrap the L1 CDK construct from the L2 CDK construct like the following.
import * as s3 from 'aws-cdk-lib/aws-s3';import { defineBackend } from '@aws-amplify/backend';import { storage } from './storage/resource';
const backend = defineBackend({ storage});
const s3Bucket = backend.storage.resources.bucket;
const cfnBucket = s3Bucket.node.defaultChild as s3.CfnBucket;
cfnBucket.accelerateConfiguration = { accelerationStatus: "Enabled" // 'Suspended' if you want to disable transfer acceleration}Upload files using the accelerated S3 endpoint
You can use transfer acceleration when calling the following APIs:
getUrldownloadDatadownloadFileuploadDatauploadFile
Set useAccelerateEndpoint to true in the corresponding Storage S3 plugin options to apply an accelerated S3 endpoint to the operation. For example, upload a file using transfer acceleration:
import 'package:amplify_storage_s3/amplify_storage_s3.dart';
Future<void> uploadFileUsingAcceleration(String filePath, String key) async {  final localFile = AWSFile.fromPath(filePath);  try {    final uploadFileOperation = Amplify.Storage.uploadFile(      localFile: localFile,      key: key,      options: const StorageUploadFileOptions(        pluginOptions: S3UploadFilePluginOptions(          useAccelerateEndpoint: true,        ),      ),    );
    final result = await uploadFileOperation.result;    safePrint('Uploaded file: ${result.uploadedItem.key}');  } on StorageException catch (error) {    safePrint('Something went wrong uploading file: ${error.message}');  }}
Read more about escape hatches in the CDK.
For Manually configured S3 resources
Follow this guide if you are building against a web target.
The following steps will set up your CORS Policy:
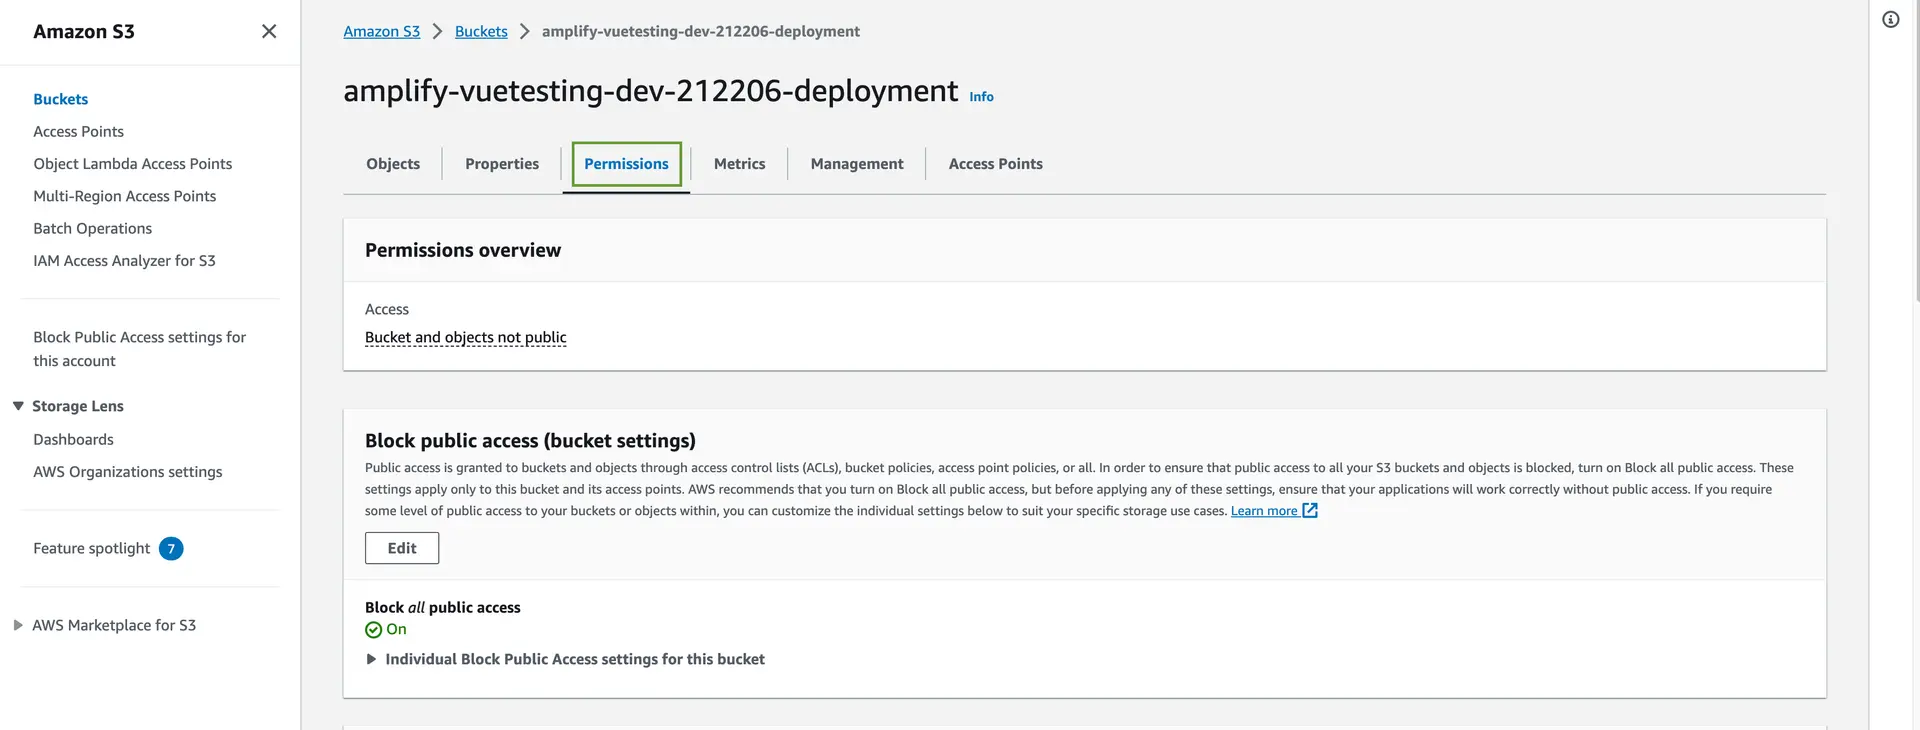
- Go to Amazon S3 console and click on your project's
userfilesbucket, which is normally named as [Bucket Name][Id]-dev.![Go to [Amazon S3 Console]](/images/storage/nextImageExportOptimizer/CORS1-opt-1920.WEBP)
- Click on the Permissions tab for your bucket.
- Click the edit button in the Cross-origin resource sharing (CORS) section.
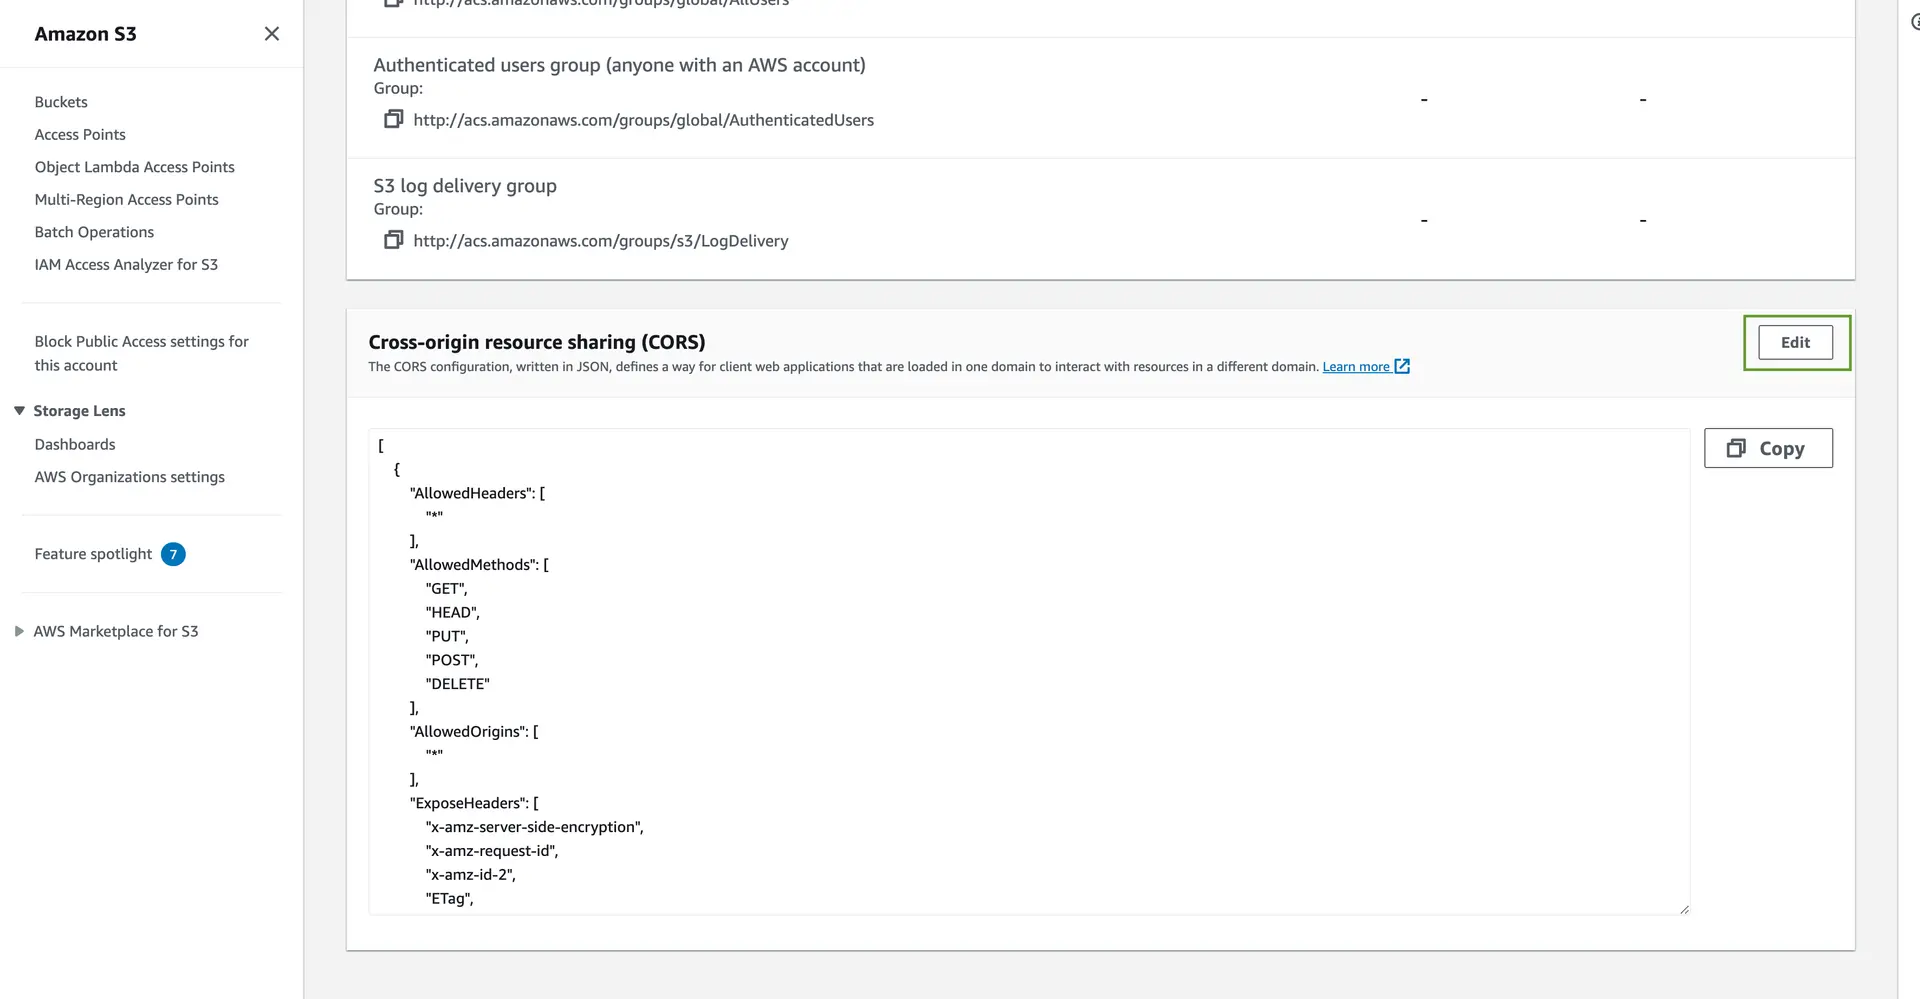
- Make the Changes and click on Save Changes. You can add required metadata to be exposed in
ExposeHeaderswithx-amz-meta-XXXXformat.
[ { "AllowedHeaders": ["*"], "AllowedMethods": ["GET", "HEAD", "PUT", "POST", "DELETE"], "AllowedOrigins": ["*"], "ExposeHeaders": [ "x-amz-server-side-encryption", "x-amz-request-id", "x-amz-id-2", "ETag", "x-amz-meta-foo" ], "MaxAgeSeconds": 3000 }]