External identity providers
Before you configure external sign-in with Amplify Auth you will need to set up your developer account with each provider you are using.
- Create a developer account with Facebook.
- Sign in with your Facebook credentials.
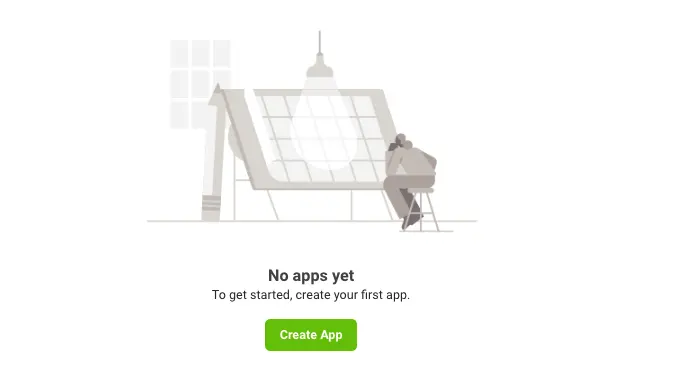
- Choose My Apps from the top navigation bar, and on the page that loads choose Create App.
- For your use case, choose Set up Facebook Login.
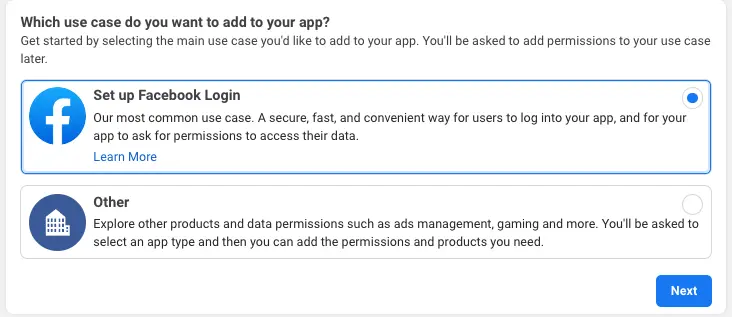
- For platform, choose Website and select No, I'm not building a game.
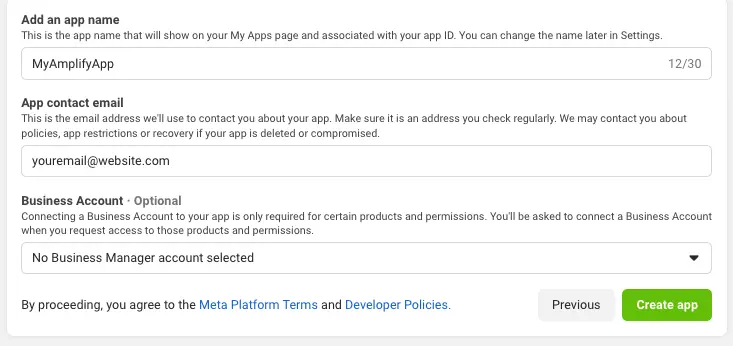
- Give your Facebook app a name and choose Create app.
- On the left navigation bar, choose Settings and then Basic.
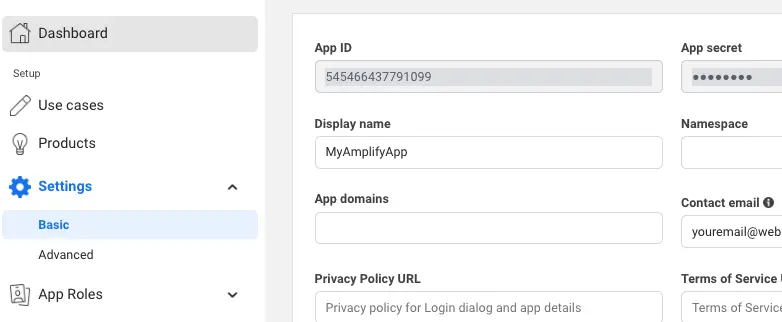
- Note the App ID and the App Secret. You will use them in the next section in the CLI flow.
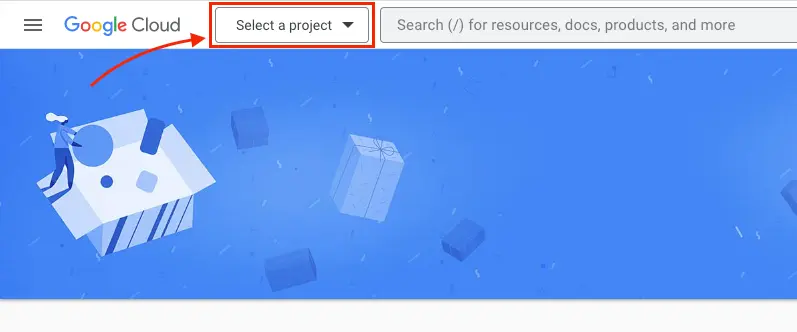
- Go to Google developer console.
- Click Select a project.
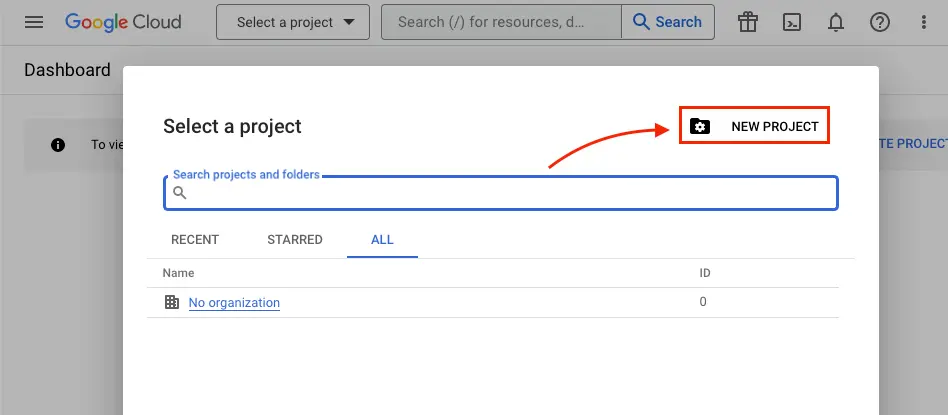
- Click NEW PROJECT.
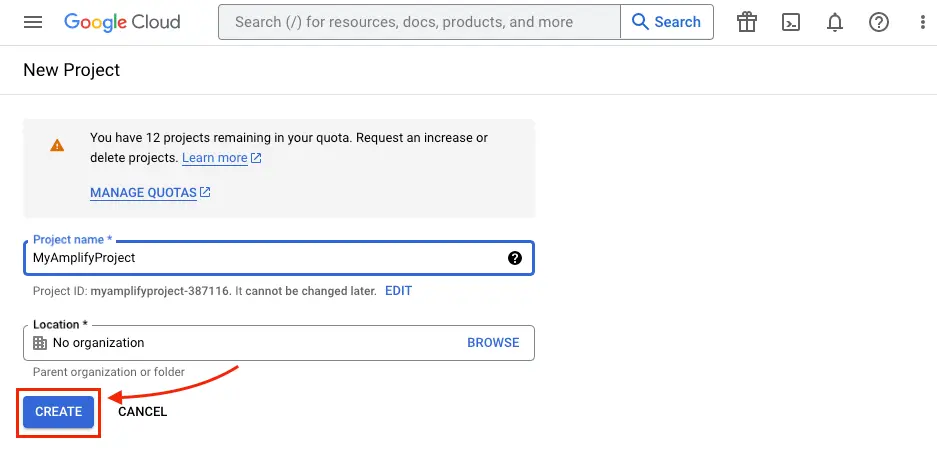
- Type in project name and click CREATE.
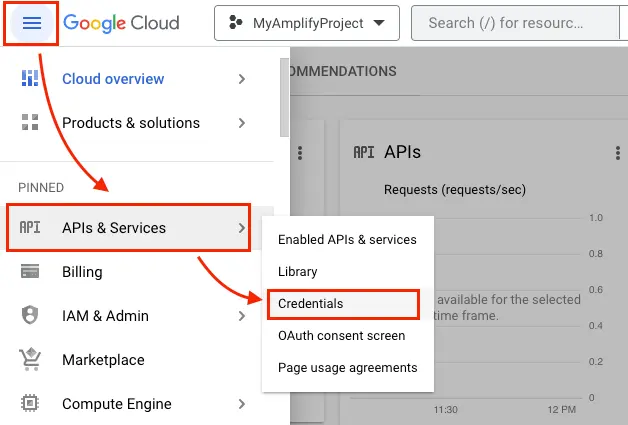
- Once the project is created, from the left navigation menu, select APIs & Services, then select Credentials.
- Click CONFIGURE CONSENT SCREEN.

- Click CREATE.
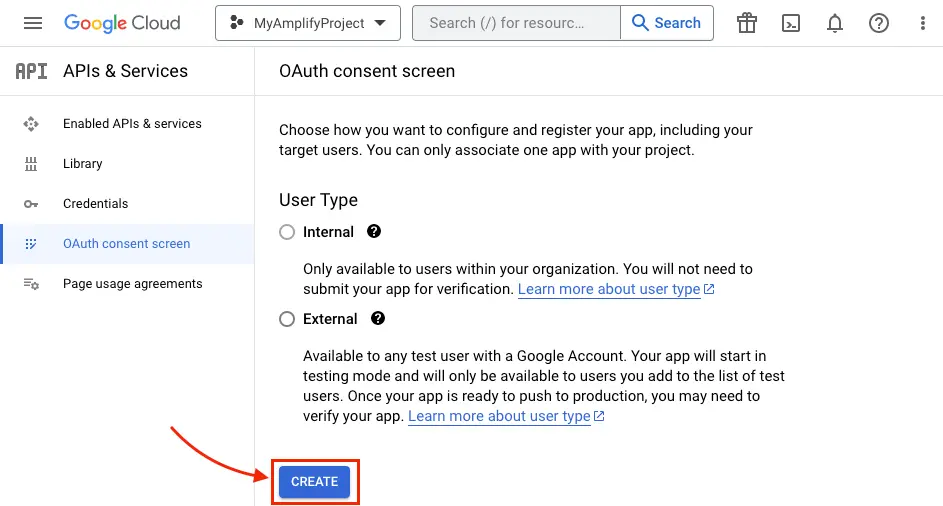
- Type in App Information and Developer contact information which are required fields and click SAVE AND CONTINUE three times (OAuth consent screen -> Scopes -> Test Users) to finish setting up the consent screen.
- Back under the Credentials tab, Create your OAuth2.0 credentials by choosing OAuth client ID from the Create credentials drop-down list.
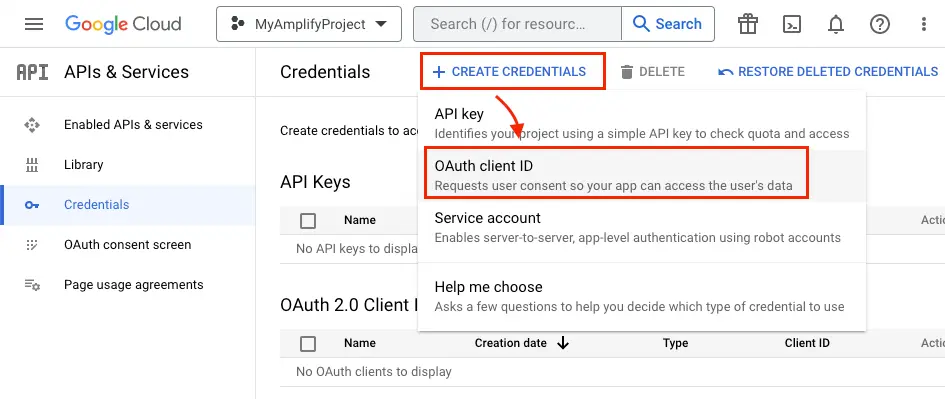 .
. - Choose Web application as Application type and name your OAuth Client.
- Click Create.
- Take note of Your client ID and Your Client Secret. You will need them for the next section in the CLI flow.
- Choose OK.
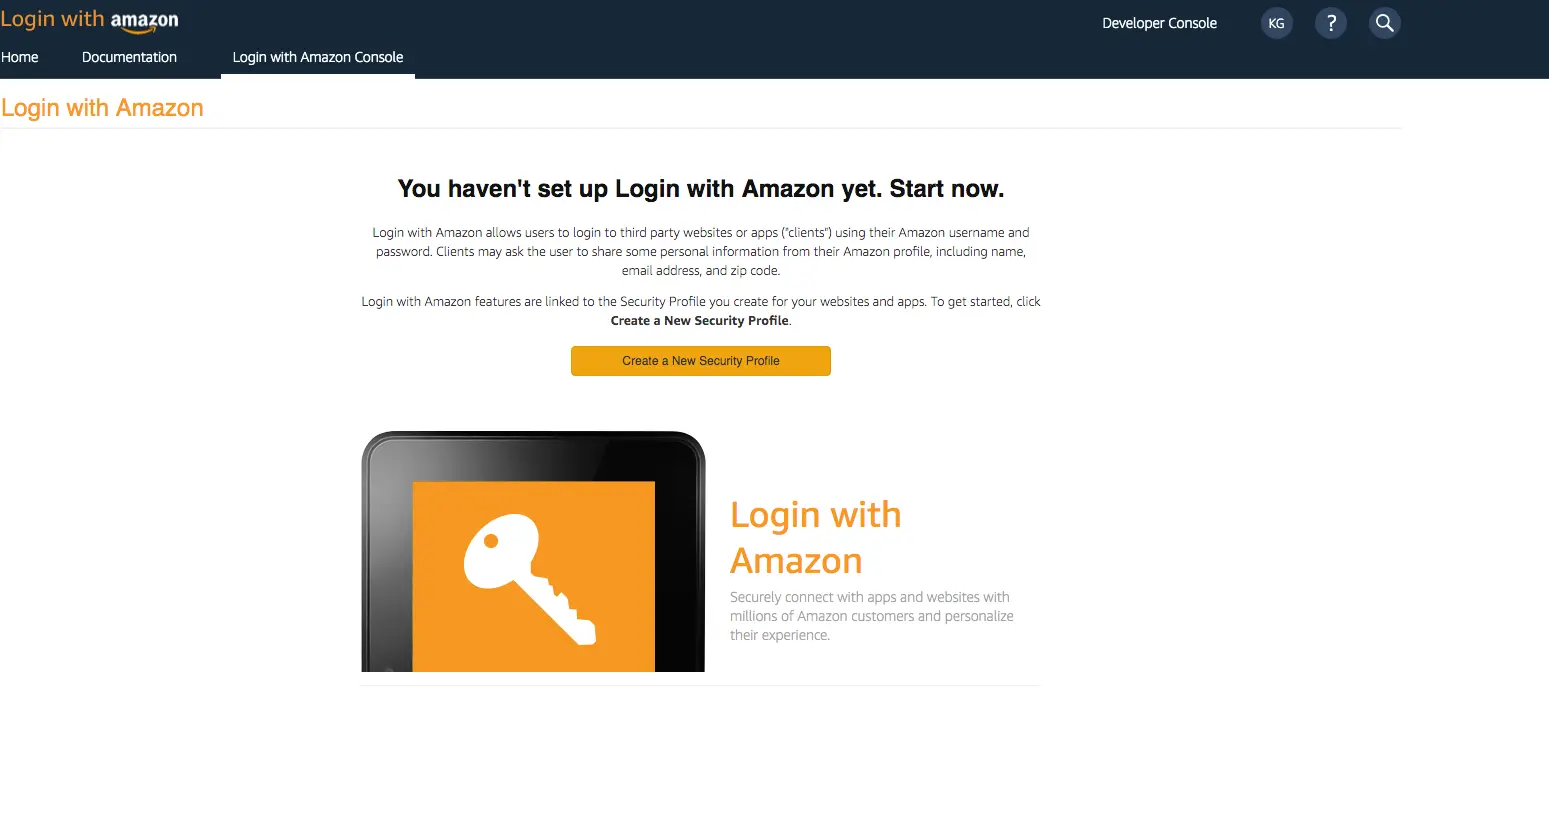
- Create a developer account with Amazon.
- Sign in with your Amazon credentials.
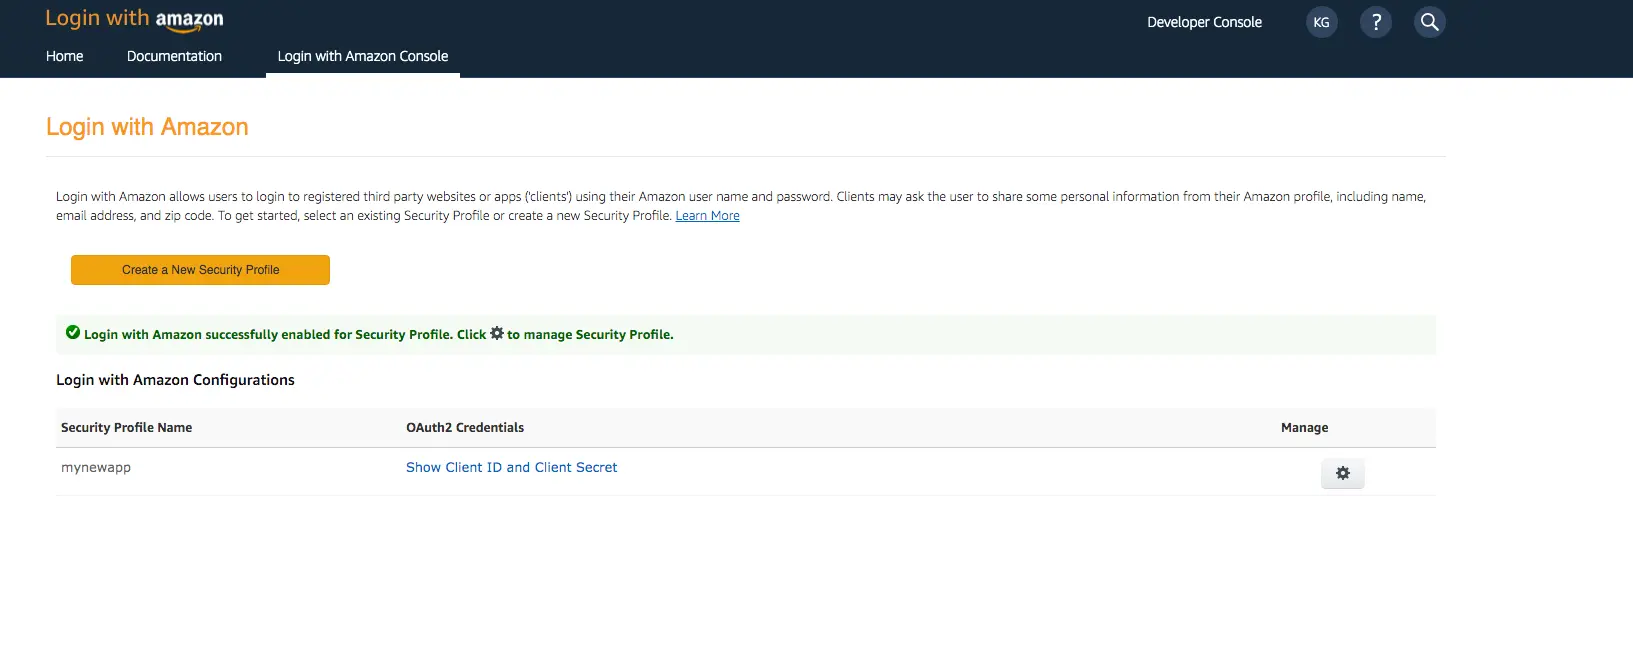
- You need to create an Amazon security profile to receive the Amazon Client ID and Client Secret. Choose Create a Security Profile.
- Type in a Security Profile Name, a Security Profile Description, and a Consent Privacy Notice URL.
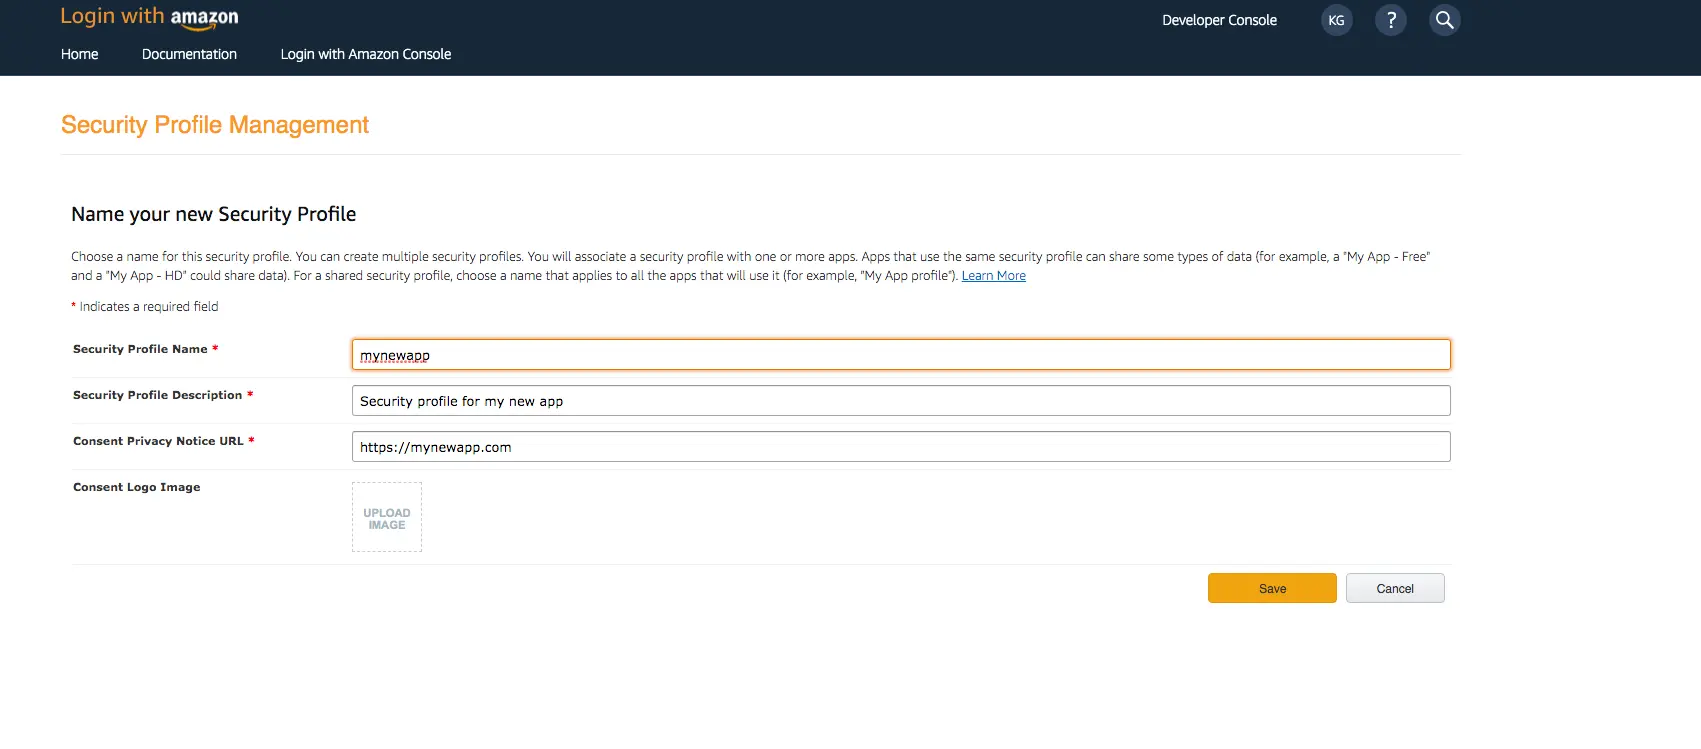
- Choose Save.
- Choose Show Client ID and Client Secret to show the client ID and secret. You will need them for the next section in the CLI flow.
- Sign In with your Apple developer credentials.
- On the main developer portal page, select Certificates, IDs, & Profiles.
- On the left navigation bar, select Identifier.
- On the Identifiers page, select the plus icon (+).
- On the Register a New Identifier page, select App IDs.
- On the Register an App ID page, under App ID Prefix, take note of the Team ID value.
- Provide a description in the Description text box and provide the
bundleIDof the iOS app.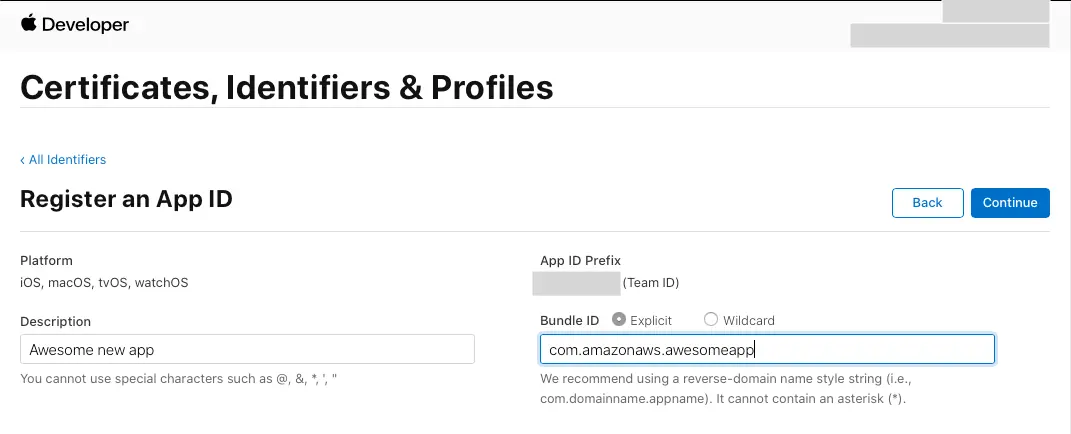
- Under Capabilities, select Sign in with Apple.
- Select Continue, review the configuration, and then select Register.
- On the Identifiers page, on the right, select App IDs, and then select Services ID.
- Select the plus icon (+) and, on the Register a New Identifier page, select Services IDs.
- Provide a description in the Description text box and provide an identifier for the Service ID.
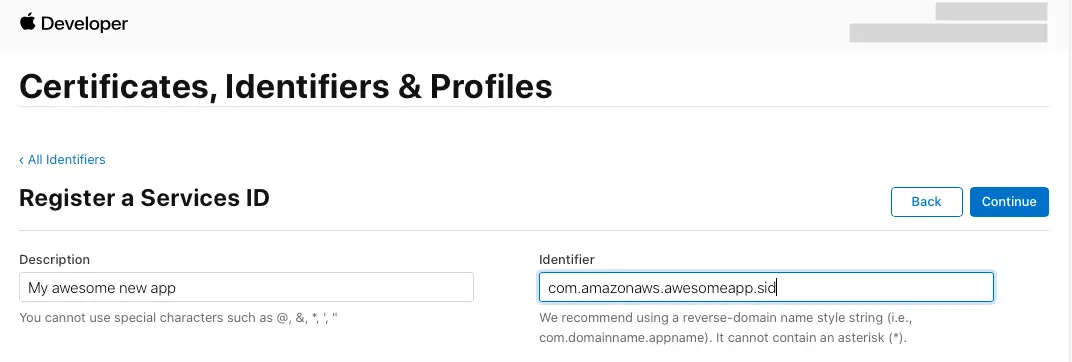
- Select Continue and register the Service ID.
Your developer accounts with the external providers are now set up and you can return to the Amplify specific configuration.
Configure external sign-in backend
In amplify/auth/resource.ts the external providers need to be added.
The following is an example of how you would set up access to all of the external providers supported by Amplify Auth. Please note you will need to configure your callbackUrls and logoutUrls URLs for your application, which will inform your backend resources how to behave when initiating sign in and sign out operations in your app.
import { defineAuth, secret } from '@aws-amplify/backend';
export const auth = defineAuth({  loginWith: {    email: true,    externalProviders: {      google: {        clientId: secret('GOOGLE_CLIENT_ID'),        clientSecret: secret('GOOGLE_CLIENT_SECRET')      },      signInWithApple: {        clientId: secret('SIWA_CLIENT_ID'),        keyId: secret('SIWA_KEY_ID'),        privateKey: secret('SIWA_PRIVATE_KEY'),        teamId: secret('SIWA_TEAM_ID')      },      loginWithAmazon: {        clientId: secret('LOGINWITHAMAZON_CLIENT_ID'),        clientSecret: secret('LOGINWITHAMAZON_CLIENT_SECRET')      },      facebook: {        clientId: secret('FACEBOOK_CLIENT_ID'),        clientSecret: secret('FACEBOOK_CLIENT_SECRET')      },      callbackUrls: ["myapp://callback/"],      logoutUrls: ["myapp://signout/"],    }  }});
You need to now inform your external provider of the newly configured authentication resource and its OAuth redirect URI:
-
Sign In to your Facebook developer account with your Facebook credentials.
-
Choose My Apps from the top navigation bar, and on the Apps page, choose your app you created before.
-
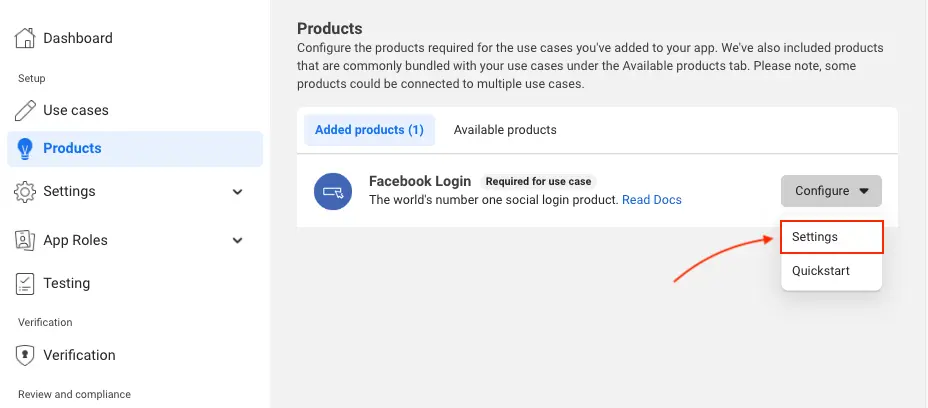
On the left navigation bar, choose Products. Add Facebook Login if it isn't already added.
-
If already added, choose Settings under the Configure dropdown.
-
Under Valid OAuth Redirect URIs type your user pool domain with the
/oauth2/idpresponseendpoint.https://<your-user-pool-domain>/oauth2/idpresponse

- Save your changes.
-
Go to the Google developer console.
-
On the left navigation bar, look for APIs and Services under Pinned or under More Products if not pinned.
-
Within the APIs and Services sub menu, choose Credentials.
-
Select the client you created in the first step and click the Edit button.
-
Type your user pool domain into the Authorized JavaScript origins form.
-
Type your user pool domain with the
/oauth2/idpresponseendpoint into Authorized Redirect URIs.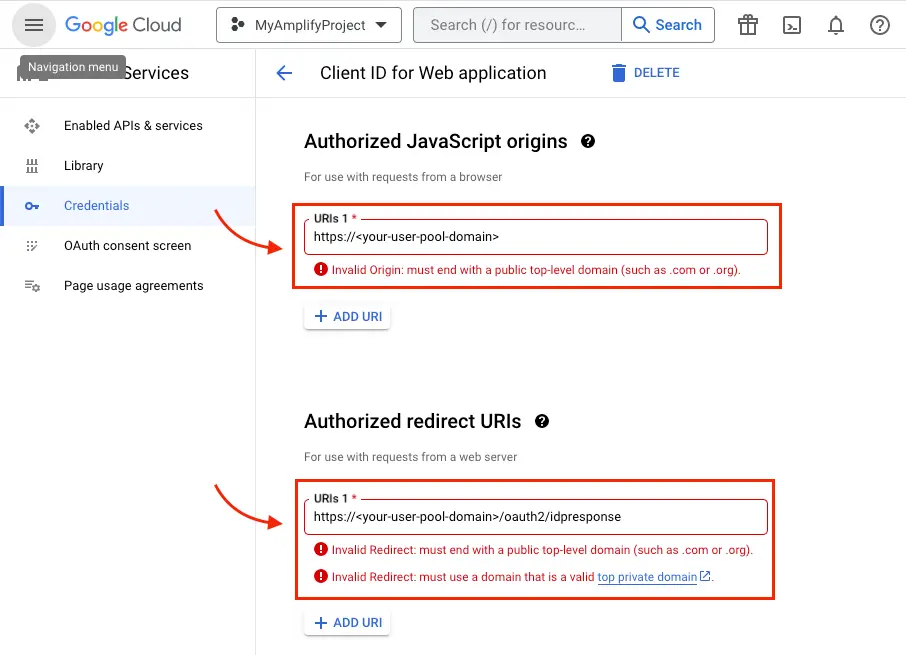
Note: If you saw an error message
Invalid Redirect: domain must be added to the authorized domains list before submitting.when adding the endpoint, please go to the Authorized Domains List and add the domain. -
Click Save.
- Sign in with your Amazon credentials.
- Hover over the gear and choose Web Settings associated with the security profile you created in the previous step, and then choose Edit.
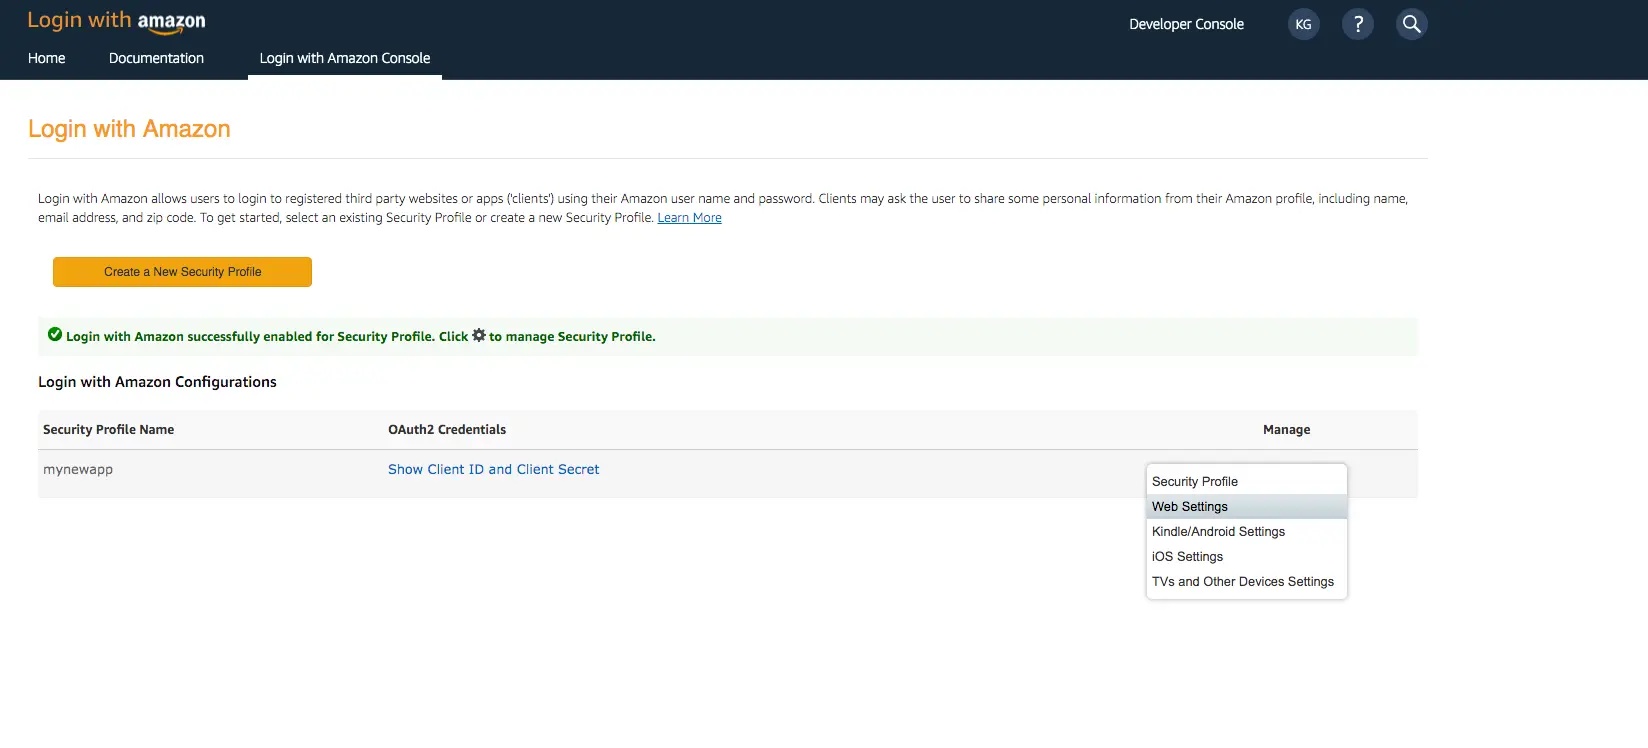
- Type your user pool domain into Allowed Origins and type your user pool domain with the
/oauth2/idpresponseendpoint into Allowed Return URLs.
- Choose Save.
- Sign In with your Apple developer credentials.
- On the main developer portal page, select Certificates, IDs, & Profiles.
- On the left navigation bar, select Identifiers and then select Service IDs from the drop down list on the right.
- Select the Service ID created when you set up your auth provider as outlined in the section above.
- Enable Sign In with Apple and select Configure.
- Under Primary App ID select the App ID that was created before.
- Type your user pool domain into Domains and Subdomains.
- Type your user pool domain with the
/oauth2/idpresponseendpoint into Return URLs.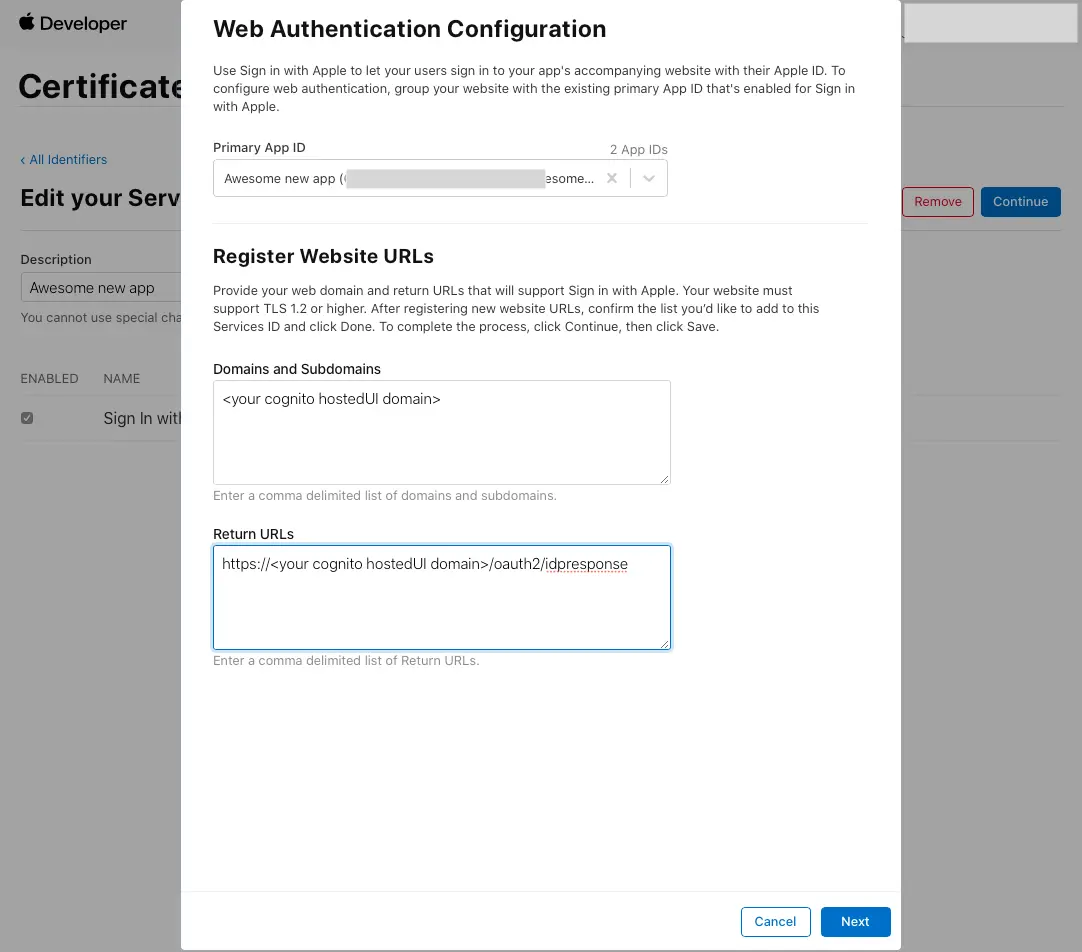
- Click Next, review the information, then select Done.
- On Edit your Services ID Configuration click Continue, review the information, then select Save.
- On the main Certificates, Identifiers & Profiles, select Keys.
- On the Keys page, select the plus icon (+).
- Provide a name for the key under Key Name.
- Enable Sign in with Apple and select Configure.
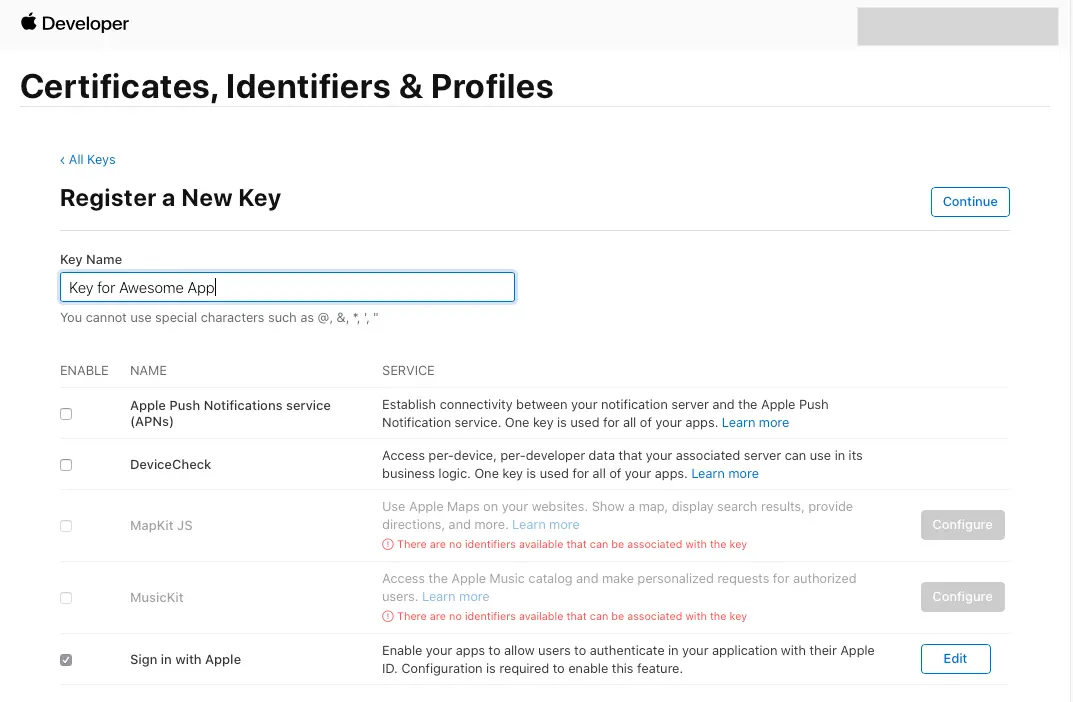
- Under Primary App ID select the App ID that was created before.
- Click on Save.
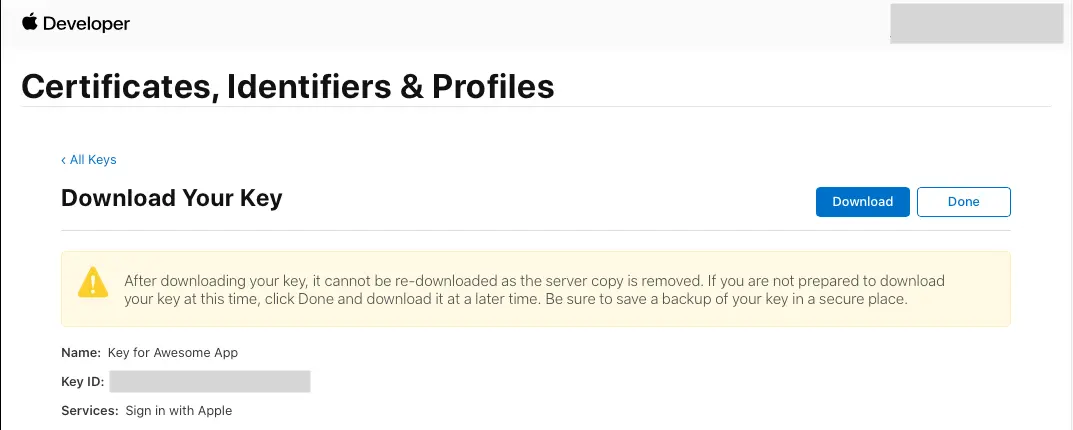
- On Register a New Key click Continue, review the information, then select Register.
- You will be redirected to a new page. Take note of the Key ID and download the .p8 file containing the private key.
Learn more about using social identity providers with user pool
Customizing scopes for retrieving user data from external providers
You can determine the pieces of data you want to retrieve from each external provider when setting them up in the amplify/auth/resource.ts file using scopes.
import { defineAuth } from '@aws-amplify/backend';
export const auth = defineAuth({ loginWith: { email: true, externalProviders: { loginWithAmazon: { clientId: secret('LOGINWITHAMAZON_CLIENT_ID'), clientSecret: secret('LOGINWITHAMAZON_CLIENT_SECRET'), scopes: ['email'] }, callbackUrls: ["myapp://callback/"], logoutUrls: ["myapp://signout/"], } }});Attribute mapping
Identity provider (IdP) services store user attributes in different formats. When using external IdPs with Amazon Cognito user pools, attribute mapping allows you to standardize these varying formats into a consistent schema.
Learn more about mapping IdP attributes to user pool profiles and tokens.
import { defineAuth } from '@aws-amplify/backend';
export const auth = defineAuth({ loginWith: { email: true, externalProviders: { loginWithAmazon: { clientId: secret('LOGINWITHAMAZON_CLIENT_ID'), clientSecret: secret('LOGINWITHAMAZON_CLIENT_SECRET'), attributeMapping: { email: 'email' } }, callbackUrls: ["myapp://callback/"], logoutUrls: ["myapp://signout/"], } }});Configure OIDC provider
To setup a OIDC provider, you can configure them in your amplify/auth/resource.ts file. For example, if you would like to setup a Microsoft EntraID provider, you can do so as follows:
import { defineAuth, secret } from '@aws-amplify/backend';
export const auth = defineAuth({  loginWith: {    email: true,    externalProviders: {      oidc: [        {          name: 'MicrosoftEntraID',          clientId: secret('MICROSOFT_ENTRA_ID_CLIENT_ID'),          clientSecret: secret('MICROSOFT_ENTRA_ID_CLIENT_SECRET'),          issuerUrl: '<your-issuer-url>',        },      ],      callbackUrls: ["myapp://callback/"],      logoutUrls: ["myapp://signout/"],    },  },});
Configure SAML provider
To setup a SAML provider, you can configure them in your amplify/auth/resource.ts file. For example, if you would like to setup a Microsoft EntraID provider, you can do so as follows:
import { defineAuth } from '@aws-amplify/backend';
export const auth = defineAuth({  loginWith: {    email: true,    externalProviders: {      saml: {        name: 'MicrosoftEntraIDSAML',        metadata: {          metadataContent: '<your-url-hosting-saml-metadata>', // or content of the metadata file          metadataType: 'URL', // or 'FILE'        },      },      callbackUrls: ["myapp://callback/"],      logoutUrls: ["myapp://signout/"],    },  },});