Extend with the Amplify CLI
Amplify Studio allows you to use all the Amplify CLI's features without the need to configure it with AWS Identity and Access Management (IAM). Changes made in Amplify Studio can be made available in the CLI by running the amplify pull command. Similarly, CLI changes to the data model or auth will be visible in Amplify Studio. For all other categories, Studio provides links to the relevant service consoles in AWS.
To install the Amplify CLI
- Open a terminal window and install the CLI.
npm install -g @aws-amplify/clicurl -sL https://aws-amplify.github.io/amplify-cli/install | bash && $SHELLcurl -sL https://aws-amplify.github.io/amplify-cli/install-win -o install.cmd && install.cmdAfter the Amplify CLI finishes installing, you can configure the CLI so that you can use it without an AWS account.
To configure the Amplify CLI for use without an AWS account
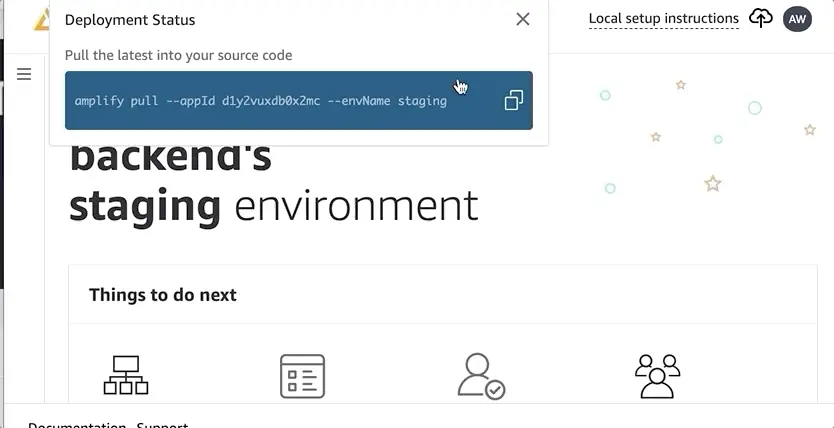
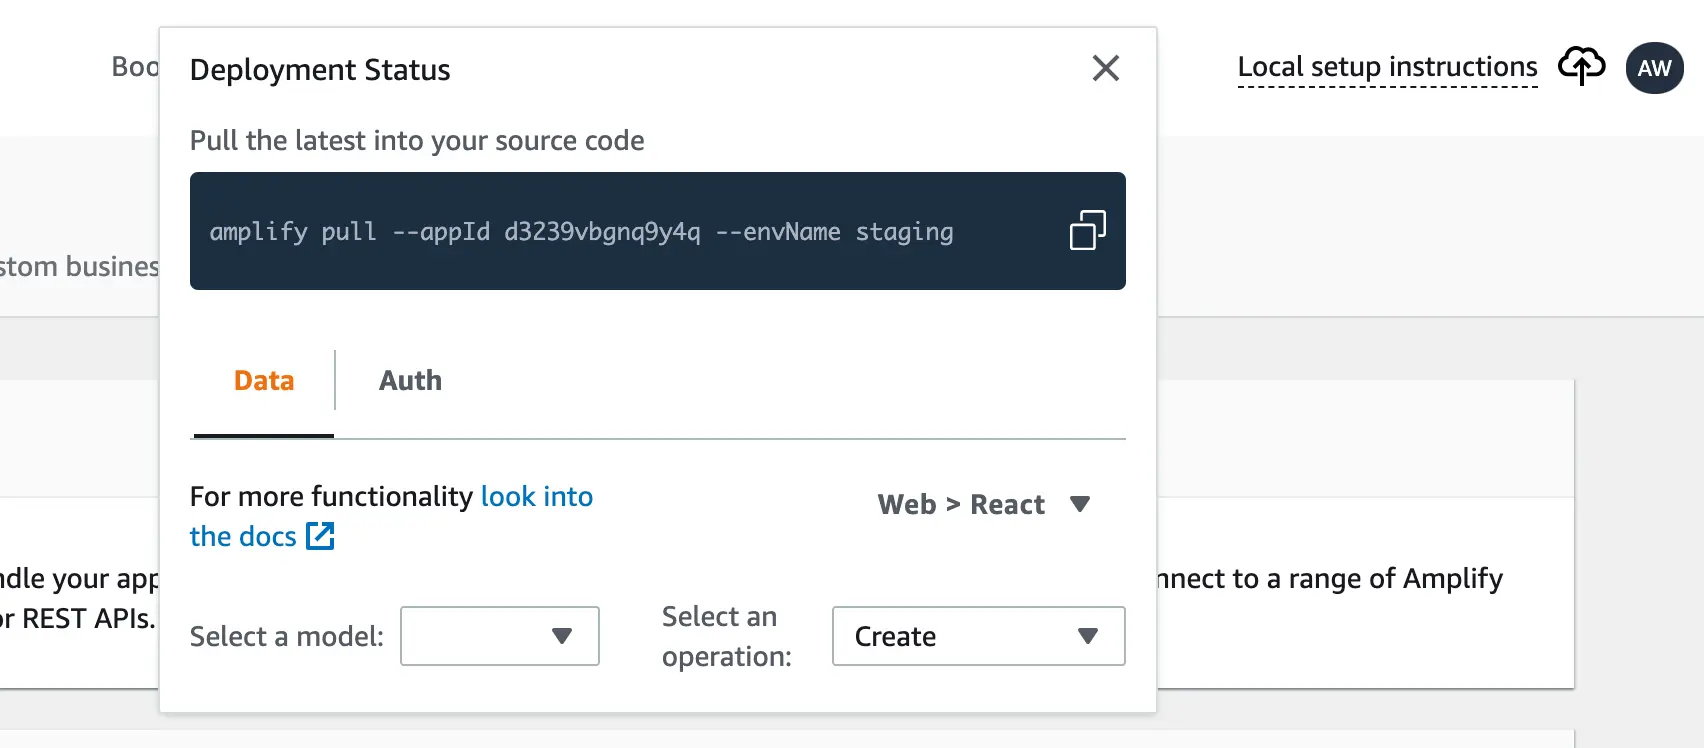
Open Amplify Studio. Choose Local setup instructions in the header and copy the amplify pull command.
Open a terminal window and navigate to the directory where you would like to have Amplify setup your project.
To initialize Amplify in the current directory, run the following command. Replace the xxx values with your unique appId and envName.
amplify pull --appId xxx --envName xxxA browser window opens and prompts you to continue logging in to the Amplify CLI. Choose Yes.
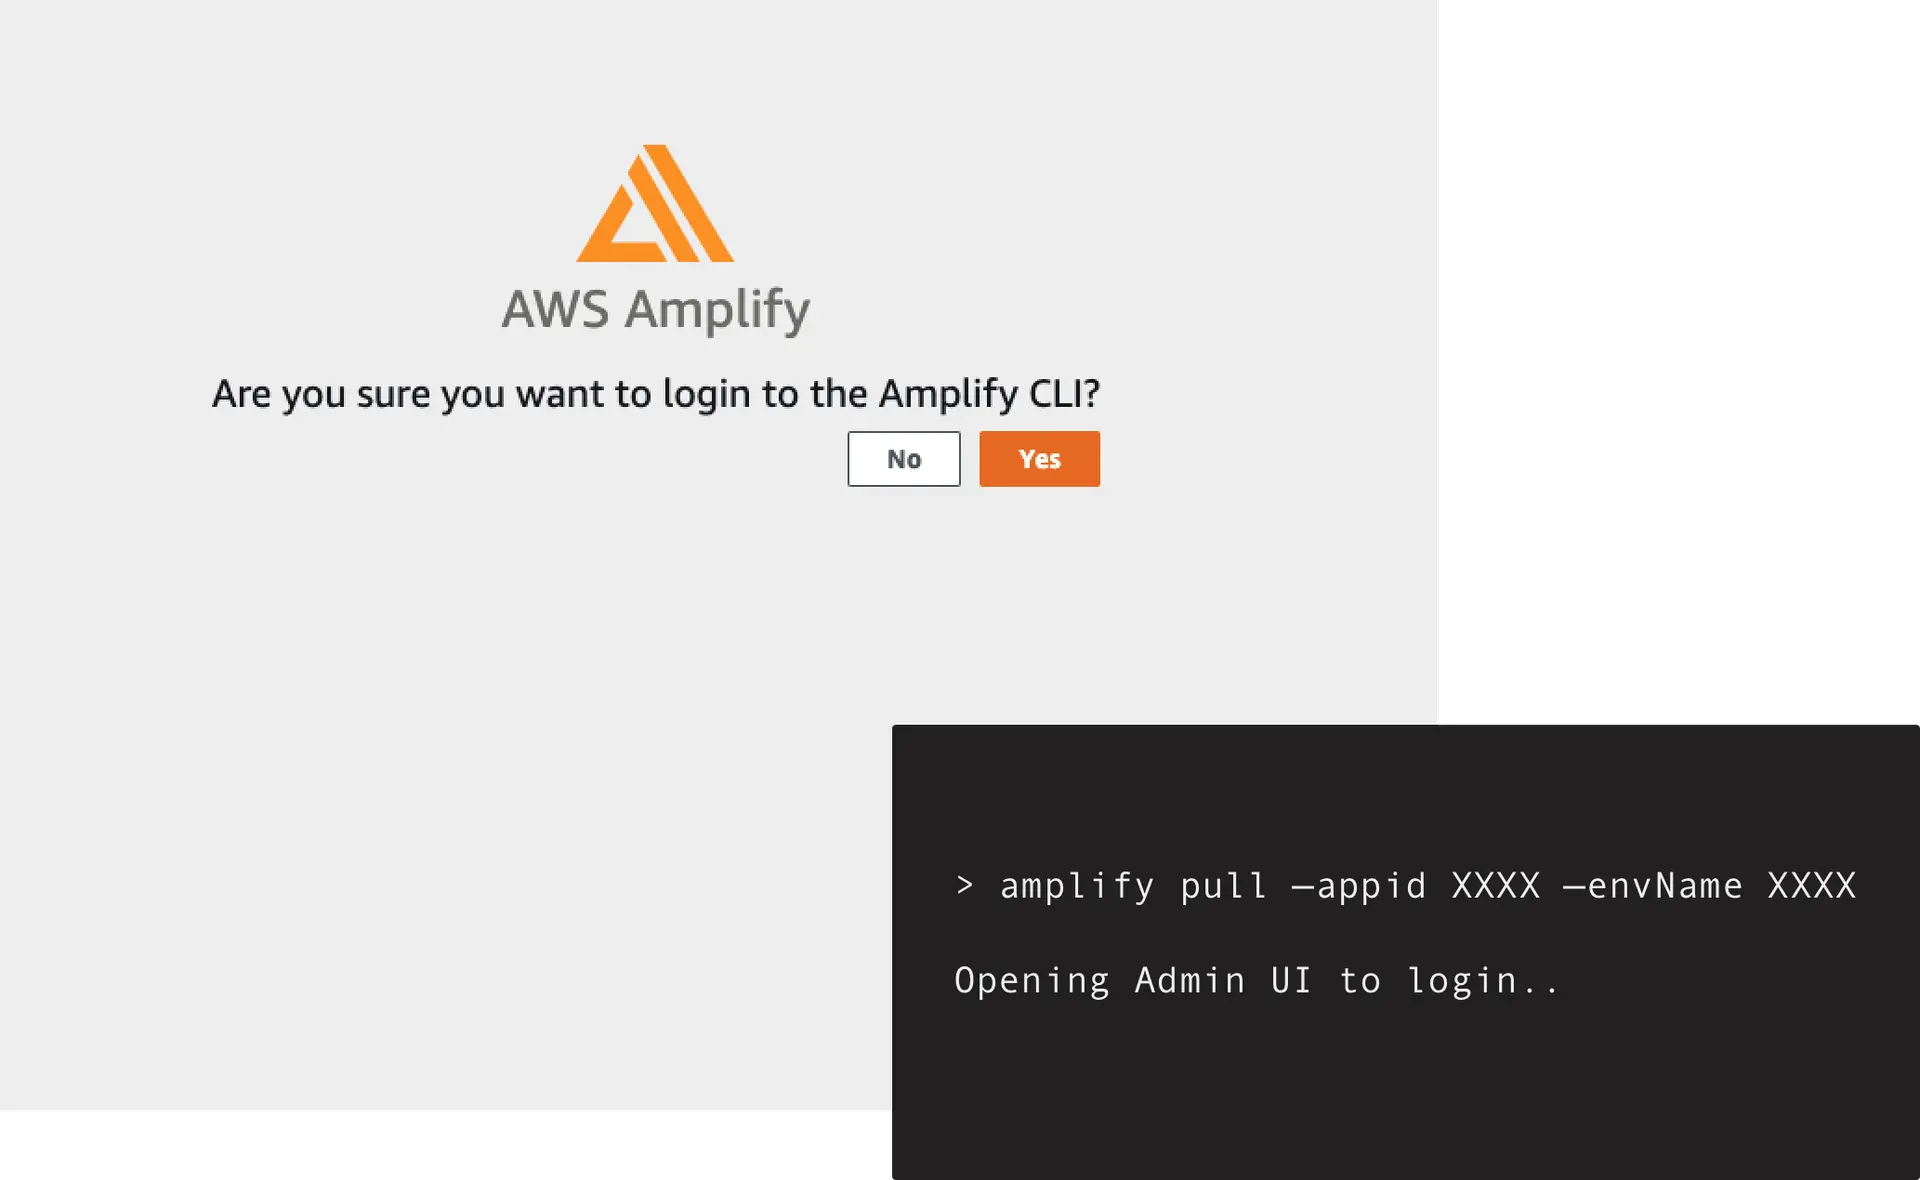
Return to the terminal window. You should see the following success statement:
Successfully received Amplify Admin tokens.The Amplify CLI is now configured and you can use it to provision new cloud backend features.
Adding features with the Amplify CLI
The Studio Set up menu lists cloud backend features such as functions, storage, and APIs that you can add to your app using the CLI. For each backend resource, Studio displays the CLI commands to run in your terminal window.
- In Studio, on the Set up menu, choose Storage or Functions.
- On the Storage page, under Pull your Amplify project, copy the following command and run it in your terminal window.
- After your backend environment has been successfully pulled from the cloud, copy the following command under Add storage capabilities and paste it in your terminal window:
amplify add storage- Follow the prompts in the terminal window to configure storage with your desired settings.
- Run the following command in your terminal window to build your local backend resources and provision them in the cloud:
amplify push- Return to the Studio Storage page. Confirm that a link to your new storage resource is available in the Deployed storage resources section.
Infrastructure-as-code
All backends created in Amplify Studio and Amplify CLI are deployed using AWS CloudFormation. AWS CloudFormation allows you store your backend configuration as code in your repository. This has three major benefits:
- Ability to extend a project with capabilities offered by individual services (e.g. Cognito, DynamoDB) that are not available in Amplify.
- Ability to easily replicate backend environments across AWS accounts and regions.
- Ability to easily integrate with CI/CD pipelines such as the pipeline offered in the Amplify console.
All backend infrastructure-as-code definitions can be added to your project with the Amplify Command Line Interface (CLI).
Limitations
Amplify Studio does not support building certain Amplify CLI added resources such as:
Troubleshooting
Logging into Amplify Studio using Amplify CLI does not provide a Token or Prompt
This behavior is observed when running a Amplify CLI amplify pull --appId <appID> --envName <envName> command in the terminal, which opens a new tab in the browser with a Amplify Studio login screen. On logging in, if you are not redirected back and observe the CLI being stuck in a loading state.
To resolve this issue,
- Exit from the Amplify CLI prompt
- If present, remove the leftover artifacts created in your current directory (e.g.
amplifyoramplify-backup) from the failed pull attempt - Rerun the Amplify CLI
amplify pull --appId <appID> --envName <envName>command
Authentication tokens
When using Amplify CLI, you may encounter the following error message:
Failed to receive expected authentication tokens. Error: [Error: 'jsonString' argument missing or empty]This message occurs when running a Amplify CLI amplify pull --appId <appID> --envName <envName> command in the terminal and allowing access permission to the CLI.
To resolve this issue,
- Delete the
config.jsonfile present at the location~/.amplify/admin/ - If present, remove the leftover artifacts created in your current directory (e.g.
amplifyoramplify-backup) from the failed pull attempt - Rerun the Amplify CLI
amplify pull --appId <appID> --envName <envName>command
Overrides and Custom Resources
A flag to disable overrides has been detected, please deploy from a different environment. at buildOverrideDirA flag to disable custom resources has been detected, please deploy from a different environment. at buildResourceThe errors mentioned above occur during deployment if your Amplify project contains an override.ts file or custom resources are deployed. Amplify Studio does not support deploying projects with override files or custom resources.
To resolve this error, remove the override.ts file and any custom resources from your project, then run amplify push. Alternatively, you can use Amplify CLI to build and push your resources; however, deploying with Amplify Studio will not be possible.