Connect to existing AWS resources with Amplify CLI
The AWS Amplify CLI (Command Line Interface) CLI provides a simple workflow for provisioning cloud resources like authentication, databases, and storage for apps through the command line.
In this guide, you will learn how to connect a new React web app to backend resources you've already created using the Amplify CLI.
Connect web app to existing AWS resources
This guide will walk you through connecting a new React web app to the AWS resources created with Amplify for an existing React app. If you don't already have an existing app, you can follow this React tutorial to create a to-do app that uses Amplify Auth, API, and Hosting resources.
Before you begin, you will need:
- An existing React app
- An AWS account: If you don't already have an account, follow the Setting Up Your AWS Environment tutorial for a quick overview.
- The Amplify CLI installed and configured.
- A text editor. For this guide, we will use VS Code, but you can use your preferred IDE.
Find the AWS backend details
Before connecting the backend resources to our new app, we first need to locate the details of the AWS environment provisioned for the existing app.
Step 1: In your existing app, open the file <Your-App>/amplify/team-provider-info.json .
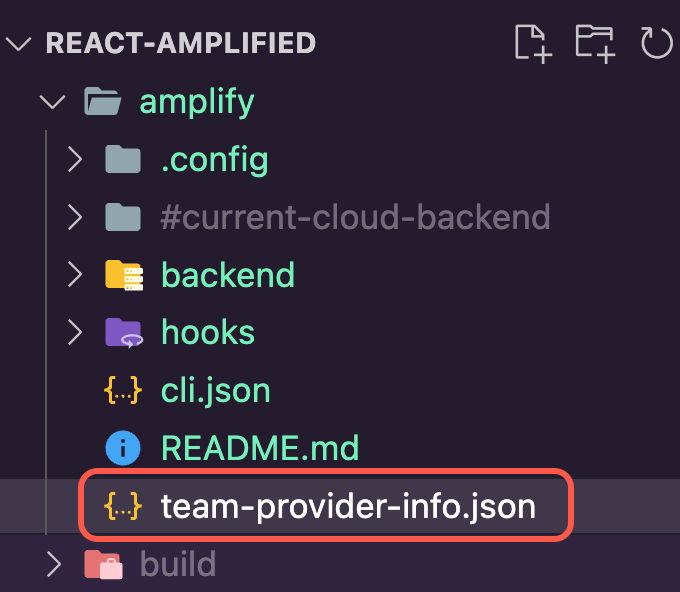
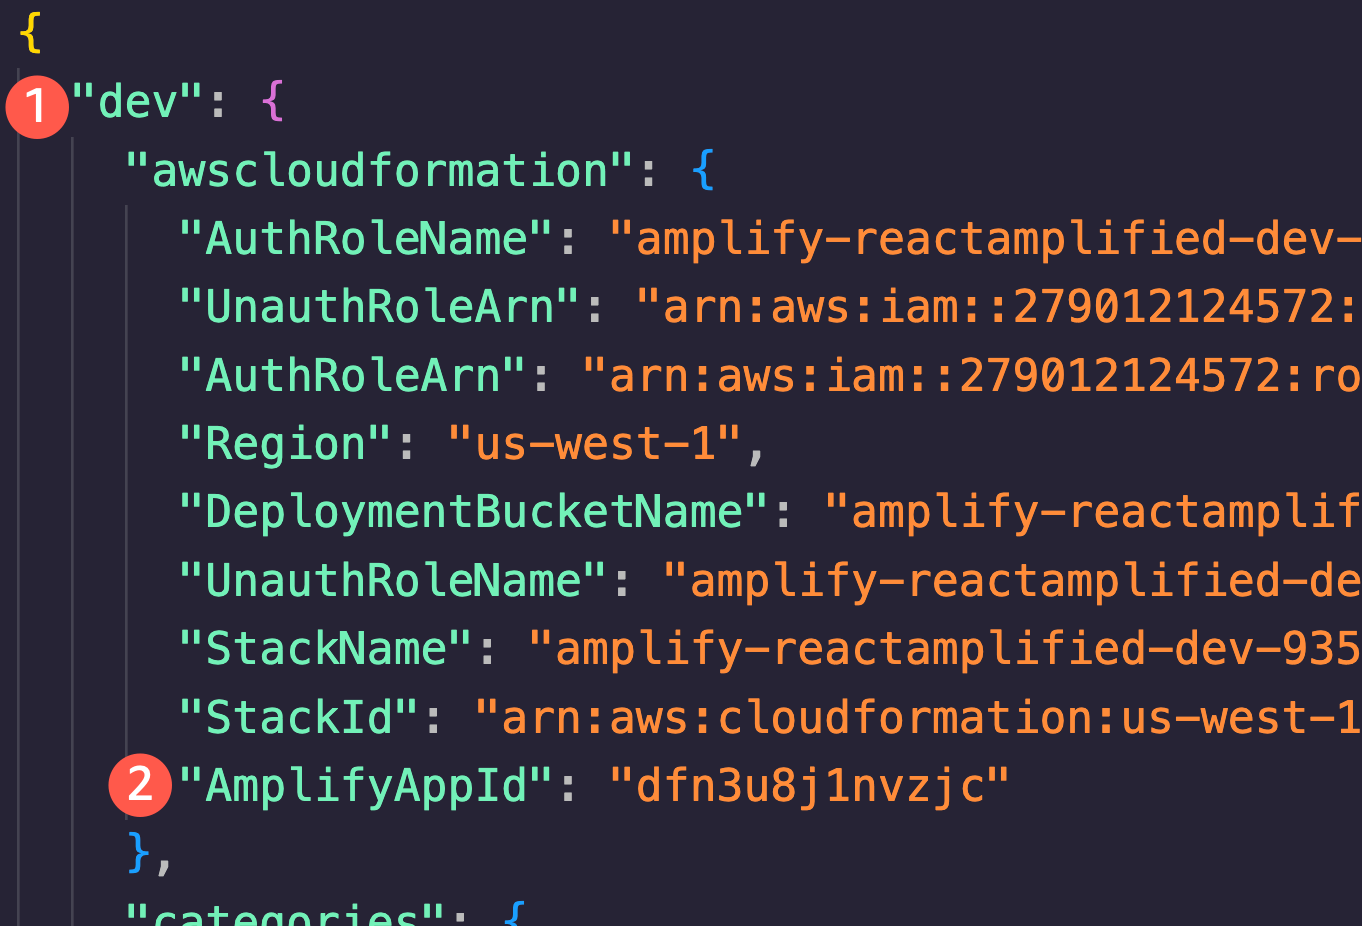
Step 2: In the team-provider-info.json file, note the following:
- The environment you want to use
- The
AmplifyAppIdfor the required environment
Create the React app
Now that we have gathered the necessary backend details, we can start building out the new React app.
Step 1: Create a React app by running the following command in your terminal.
npx create-react-app react-amplify-connectStep 2: Open the newly created React app using VS Code by running the following commands in your terminal.
cd react-amplify-connectcode . -r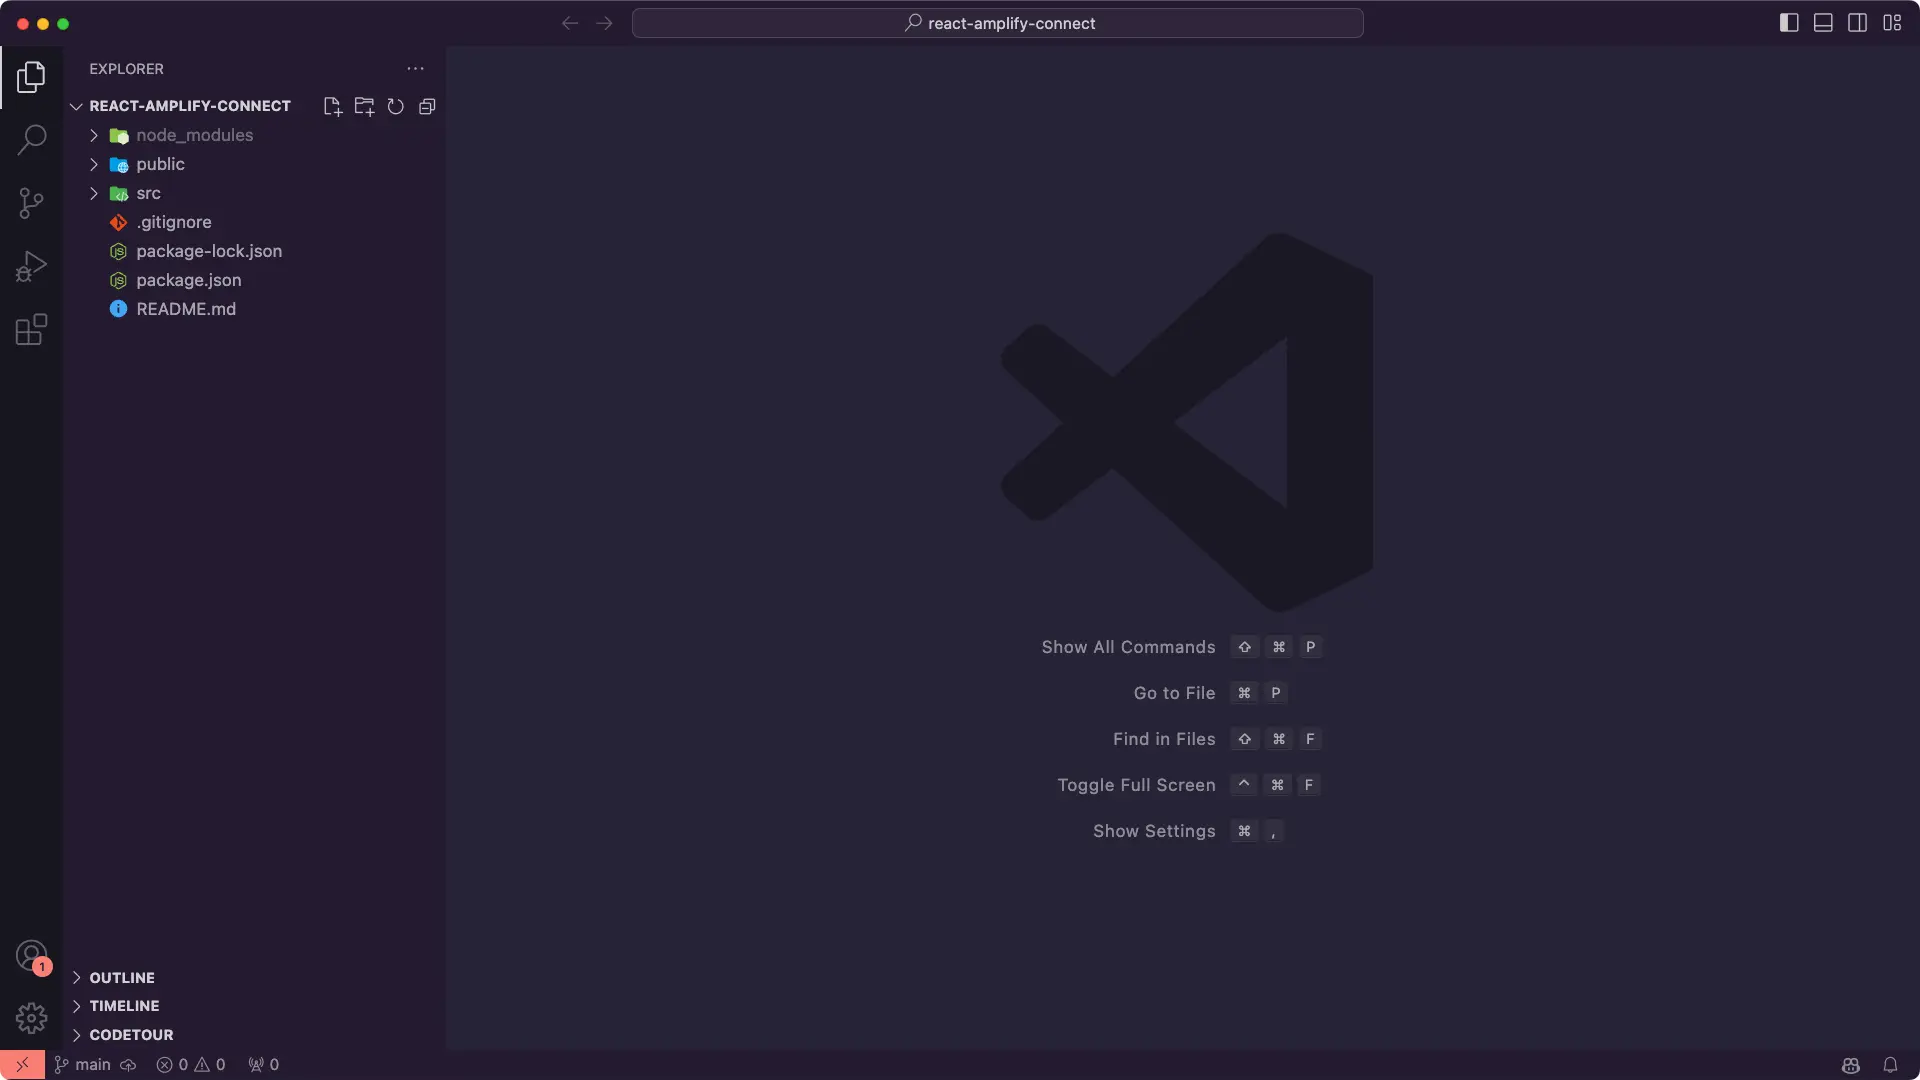
Step 3: Navigate to the app's root folder and import the Amplify backend for the app by running the following command in your terminal.
amplify pull --appId <The_App_ID> --envName <The_App_Env>Step 4: Select the AWS Authentication method. In this example, we are using an AWS profile. Ensure that the selected profile has the necessary permissions to access and modify AWS resources. See Configure the Amplify CLI for more information on setting up your AWS profile.
Accept the default values for the prompts and make sure to answer Yes to the “modifying this backend” question. Amplify CLI will initialize the backend and connect the project to the cloud.
? Select the authentication method you want to use: AWS profile
For more information on AWS Profiles, see:https://docs.aws.amazon.com/cli/latest/userguide/cli-configure-profiles.html
? Please choose the profile you want to use AwsWest1Amplify AppID found: dfn3u8j1nvzjc. Amplify App name is: reactamplifiedBackend environment dev found in Amplify Console app: reactamplified? Choose your default editor: Visual Studio Code✔ Choose the type of app that you're building · javascriptPlease tell us about your project? What javascript framework are you using react? Source Directory Path: src? Distribution Directory Path: build? Build Command: npm run-script build? Start Command: npm run-script start? Do you plan on modifying this backend? Yes⠋ Fetching updates to backend environment: dev from the cloud.⚠️ WARNING: your GraphQL API currently allows public create, read, update, and delete access to all models via an API Key. To configure PRODUCTION-READY authorization rules, review: https://docs.amplify.aws/cli/graphql/authorization-rules
⠇ Fetching updates to backend environment: dev from the cloud.✅ GraphQL schema compiled successfully.
Edit your schema at /Users/malakamm/development/react-amplify-connect/amplify/backend/api/reactamplified/schema.graphql or place .graphql files in a directory at /Users/malakamm/development/react-amplify-connect/amplify/backend/api/reactamplified/schema✔ Successfully pulled backend environment dev from the cloud.Browserslist: caniuse-lite is outdated. Please run: npx update-browserslist-db@latest Why you should do it regularly: https://github.com/browserslist/update-db#readme✅
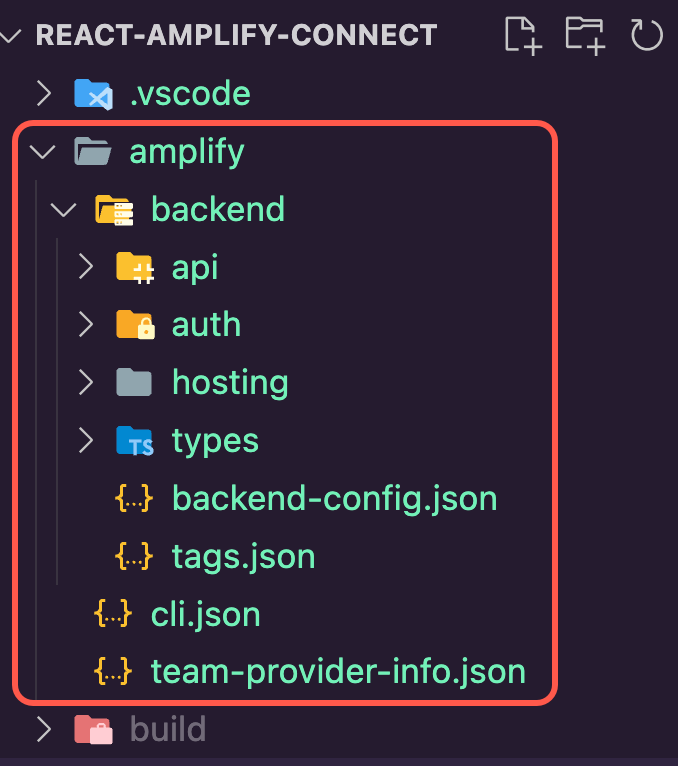
✅ Successfully pulled backend environment dev from the cloud.Run 'amplify pull' to sync future upstream changes.The Amplify CLI will add a new folder named amplify to the app's root folder, which contains the Amplify project and backend details.
Step 5: Use the following command to generate the GraphQL statements.
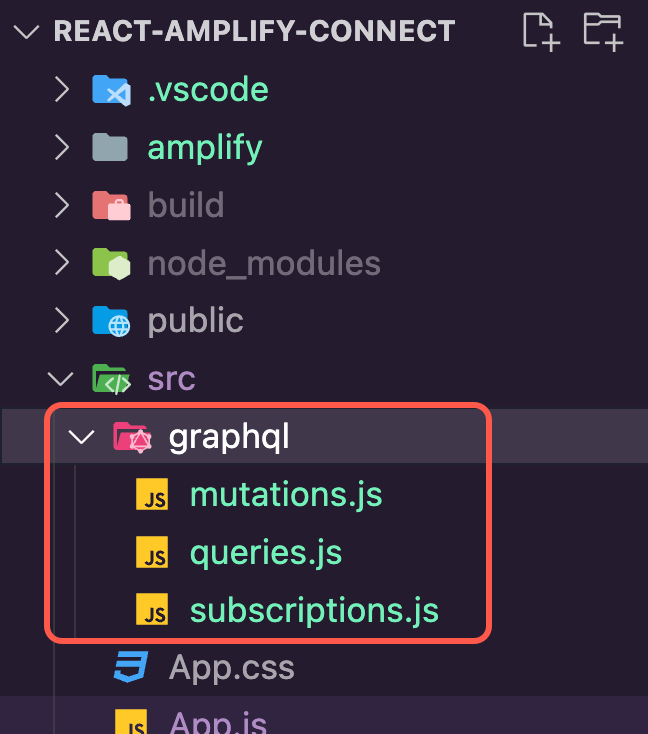
amplify codegen addStep 6: Accept the default values of the prompts.
? Choose the code generation language target javascript? Enter the file name pattern of graphql queries, mutations and subscriptions src/graphql/**/*.js? Do you want to generate/update all possible GraphQL operations - queries, mutations and subscriptions Yes? Enter maximum statement depth [increase from default if your schema is deeply nested] 2✔ Generated GraphQL operations successfully and saved at src/graphqlThe CLI will add a new folder named graphql to the app's root folder, which contains the GraphQL statements.
Step 7: Install the aws-amplify and @aws-amplify/ui-react packages by running the following commands.
npm install aws-amplify @aws-amplify/ui-reactStep 8: Update the App.js file with the following code to create a login flow using Amplify UI and a form with a button to create to-dos, as well as a way to fetch and render the list of to-dos.
import React, { useEffect, useState } from 'react'import { Amplify, API, graphqlOperation } from 'aws-amplify'import { createTodo } from './graphql/mutations'import { listTodos } from './graphql/queries'import { withAuthenticator, Button, Heading } from '@aws-amplify/ui-react';import '@aws-amplify/ui-react/styles.css';
import awsExports from "./aws-exports";Amplify.configure(awsExports);
const initialState = { name: '', description: '' }
const App = ({ signOut, user }) => { const [formState, setFormState] = useState(initialState) const [todos, setTodos] = useState([])
useEffect(() => { fetchTodos() }, [])
function setInput(key, value) { setFormState({ ...formState, [key]: value }) }
async function fetchTodos() { try { const todoData = await API.graphql(graphqlOperation(listTodos)) const todos = todoData.data.listTodos.items setTodos(todos) } catch (err) { console.log('error fetching todos') } }
async function addTodo() { try { if (!formState.name || !formState.description) return const todo = { ...formState } setTodos([...todos, todo]) setFormState(initialState) await API.graphql(graphqlOperation(createTodo, {input: todo})) } catch (err) { console.log('error creating todo:', err) } }
return ( <div style={styles.container}> <Heading level={1}>Hello {user.username}</Heading> <Button onClick={signOut} style={styles.button}>Sign out</Button> <h2>Amplify Todos</h2> <input onChange={event => setInput('name', event.target.value)} style={styles.input} value={formState.name} placeholder="Name" /> <input onChange={event => setInput('description', event.target.value)} style={styles.input} value={formState.description} placeholder="Description" /> <button style={styles.button} onClick={addTodo}>Create Todo</button> { todos.map((todo, index) => ( <div key={todo.id ? todo.id : index} style={styles.todo}> <p style={styles.todoName}>{todo.name}</p> <p style={styles.todoDescription}>{todo.description}</p> </div> )) } </div> )}
const styles = { container: { width: 400, margin: '0 auto', display: 'flex', flexDirection: 'column', justifyContent: 'center', padding: 20 }, todo: { marginBottom: 15 }, input: { border: 'none', backgroundColor: '#ddd', marginBottom: 10, padding: 8, fontSize: 18 }, todoName: { fontSize: 20, fontWeight: 'bold' }, todoDescription: { marginBottom: 0 }, button: { backgroundColor: 'black', color: 'white', outline: 'none', fontSize: 18, padding: '12px 0px' }}
export default withAuthenticator(App);Step 9: Run the app using the following command.
npm startStep 10: Change the UI of the app as shown in the following to update the placeholder text of the to-do form and to use the user’s email for the hello message.
... return ( <div style={styles.container}> <Heading level={1}>Hello {*user*.attributes.email}</Heading> <Button onClick={signOut} style={styles.button}>Sign out</Button> <h2>Amplify Todos</h2> <input onChange={event => setInput('name', event.target.value)} style={styles.input} value={formState.name} placeholder="ToDo Name" /> <input onChange={event => setInput('description', event.target.value)} style={styles.input} value={formState.description} placeholder="ToDo Description" /> <button style={styles.button} onClick={addTodo}>Create Todo</button> { todos.map((todo, index) => ( <div key={todo.id ? todo.id : index} style={styles.todo}> <p style={styles.todoName}>{todo.name}</p> <p style={styles.todoDescription}>{todo.description}</p> </div> )) } </div> )....The App.js file should now look like the following code snippet.
import React, { useEffect, useState } from 'react'import { Amplify, API, graphqlOperation } from 'aws-amplify'import { createTodo } from './graphql/mutations'import { listTodos } from './graphql/queries'import { withAuthenticator, Button, Heading } from '@aws-amplify/ui-react';import '@aws-amplify/ui-react/styles.css';
import awsExports from "./aws-exports";Amplify.configure(awsExports);
const initialState = { name: '', description: '' }
const App = ({ signOut, user }) => {  const [formState, setFormState] = useState(initialState)  const [todos, setTodos] = useState([])
  useEffect(() => {    fetchTodos()  }, [])
  function setInput(key, value) {    setFormState({ ...formState, [key]: value })  }
  async function fetchTodos() {    try {      const todoData = await API.graphql(graphqlOperation(listTodos))      const todos = todoData.data.listTodos.items      setTodos(todos)    } catch (err) { console.log('error fetching todos') }  }
  async function addTodo() {    try {      if (!formState.name || !formState.description) return      const todo = { ...formState }      setTodos([...todos, todo])      setFormState(initialState)      await API.graphql(graphqlOperation(createTodo, {input: todo}))    } catch (err) {      console.log('error creating todo:', err)    }  }
  return (    <div style={styles.container}>      <Heading level={1}>Hello {user.attributes.email}</Heading>      <Button onClick={signOut} style={styles.button}>Sign out</Button>      <h2>Amplify Todos</h2>      <input        onChange={event => setInput('name', event.target.value)}        style={styles.input}        value={formState.name}        placeholder="ToDo Name"      />      <input        onChange={event => setInput('description', event.target.value)}        style={styles.input}        value={formState.description}        placeholder="ToDo Description"      />      <button style={styles.button} onClick={addTodo}>Create Todo</button>      {        todos.map((todo, index) => (          <div key={todo.id ? todo.id : index} style={styles.todo}>            <p style={styles.todoName}>{todo.name}</p>            <p style={styles.todoDescription}>{todo.description}</p>          </div>        ))      }    </div>  )}
const styles = {  container: { width: 400, margin: '0 auto', display: 'flex', flexDirection: 'column', justifyContent: 'center', padding: 20 },  todo: {  marginBottom: 15 },  input: { border: 'none', backgroundColor: '#ddd', marginBottom: 10, padding: 8, fontSize: 18 },  todoName: { fontSize: 20, fontWeight: 'bold' },  todoDescription: { marginBottom: 0 },  button: { backgroundColor: 'black', color: 'white', outline: 'none', fontSize: 18, padding: '12px 0px' }}
export default withAuthenticator(App);
Step 11: Use the following command to publish your changes. Amplify CLI will publish the changes and display the app URL.
amplify publish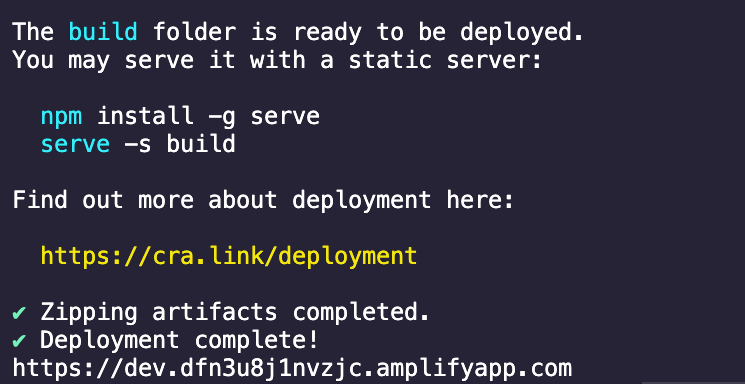
Step 12: Use the URL to run the app in the browser.
Conclusion
Congratulations! Your new React app is now connected to AWS resources from a different app through AWS Amplify. This integration grants your app access to authentication resources for user management, a scalable GraphQL API backed by Amazon DynamoDB, and a hosting service for publishing your app to the cloud.
Clean up resources
Once you're finished experimenting with this demo app, we recommend deleting the backend resources to avoid incurring unexpected costs. You can do this by running the following command in the root folder of the app.
amplify deleteIf you would like to expand this demo app into a production-ready app, you may need to add additional resources, such as authorization and storage. Refer to the Build & connect backend section for guides on how to add and connect other backend resources.