Quickstart
👋 Welcome to AWS Amplify! In this quickstart guide, you will:
- deploy an Amplify backend database and authentication
- connect to the backend from an Android app
- make backend updates
Deploy Amplify backend to AWS
To get started faster, we've created a starter "To-do" Amplify backend. First, create a repository in your GitHub account using our starter template.
1. Create repository
Use our starter template to create a repository in your GitHub account. This template scaffolds an Amplify Backend with Auth and Data capabilities.
Create repository from template
2. Deploy starter
Now that the repository has been created, deploy this to Amplify's CI/CD pipeline.
Deploy to AWS
Select GitHub, pick the starter repository, and hit "Save and Deploy".
3: View deployed backend
While you are waiting for your app to deploy (~5 mins)Learn about the project structure
Let's take a tour of the project structure in this starter repository. The starter application already has pre-written code to give you a real-time database with a feed of all to-do items and the ability to add new items.
├── amplify/ # Folder containing your Amplify backend configuration│ ├── auth/ # Definition for your auth backend│ │ └── resource.ts│ ├── data/ # Definition for your data backend│ │ └── resource.ts| ├── backend.ts│ └── package.jsonWhen the build completes, visit the newly deployed branch by selecting the branch name and then looking at the Deployed backend resources section under deployments.
Make app updates
Let's learn how to enhance the app functionality by creating a delete flow for to-do list items.
4. Set up local environment
If you do not have an existing Android app.Setup Android project
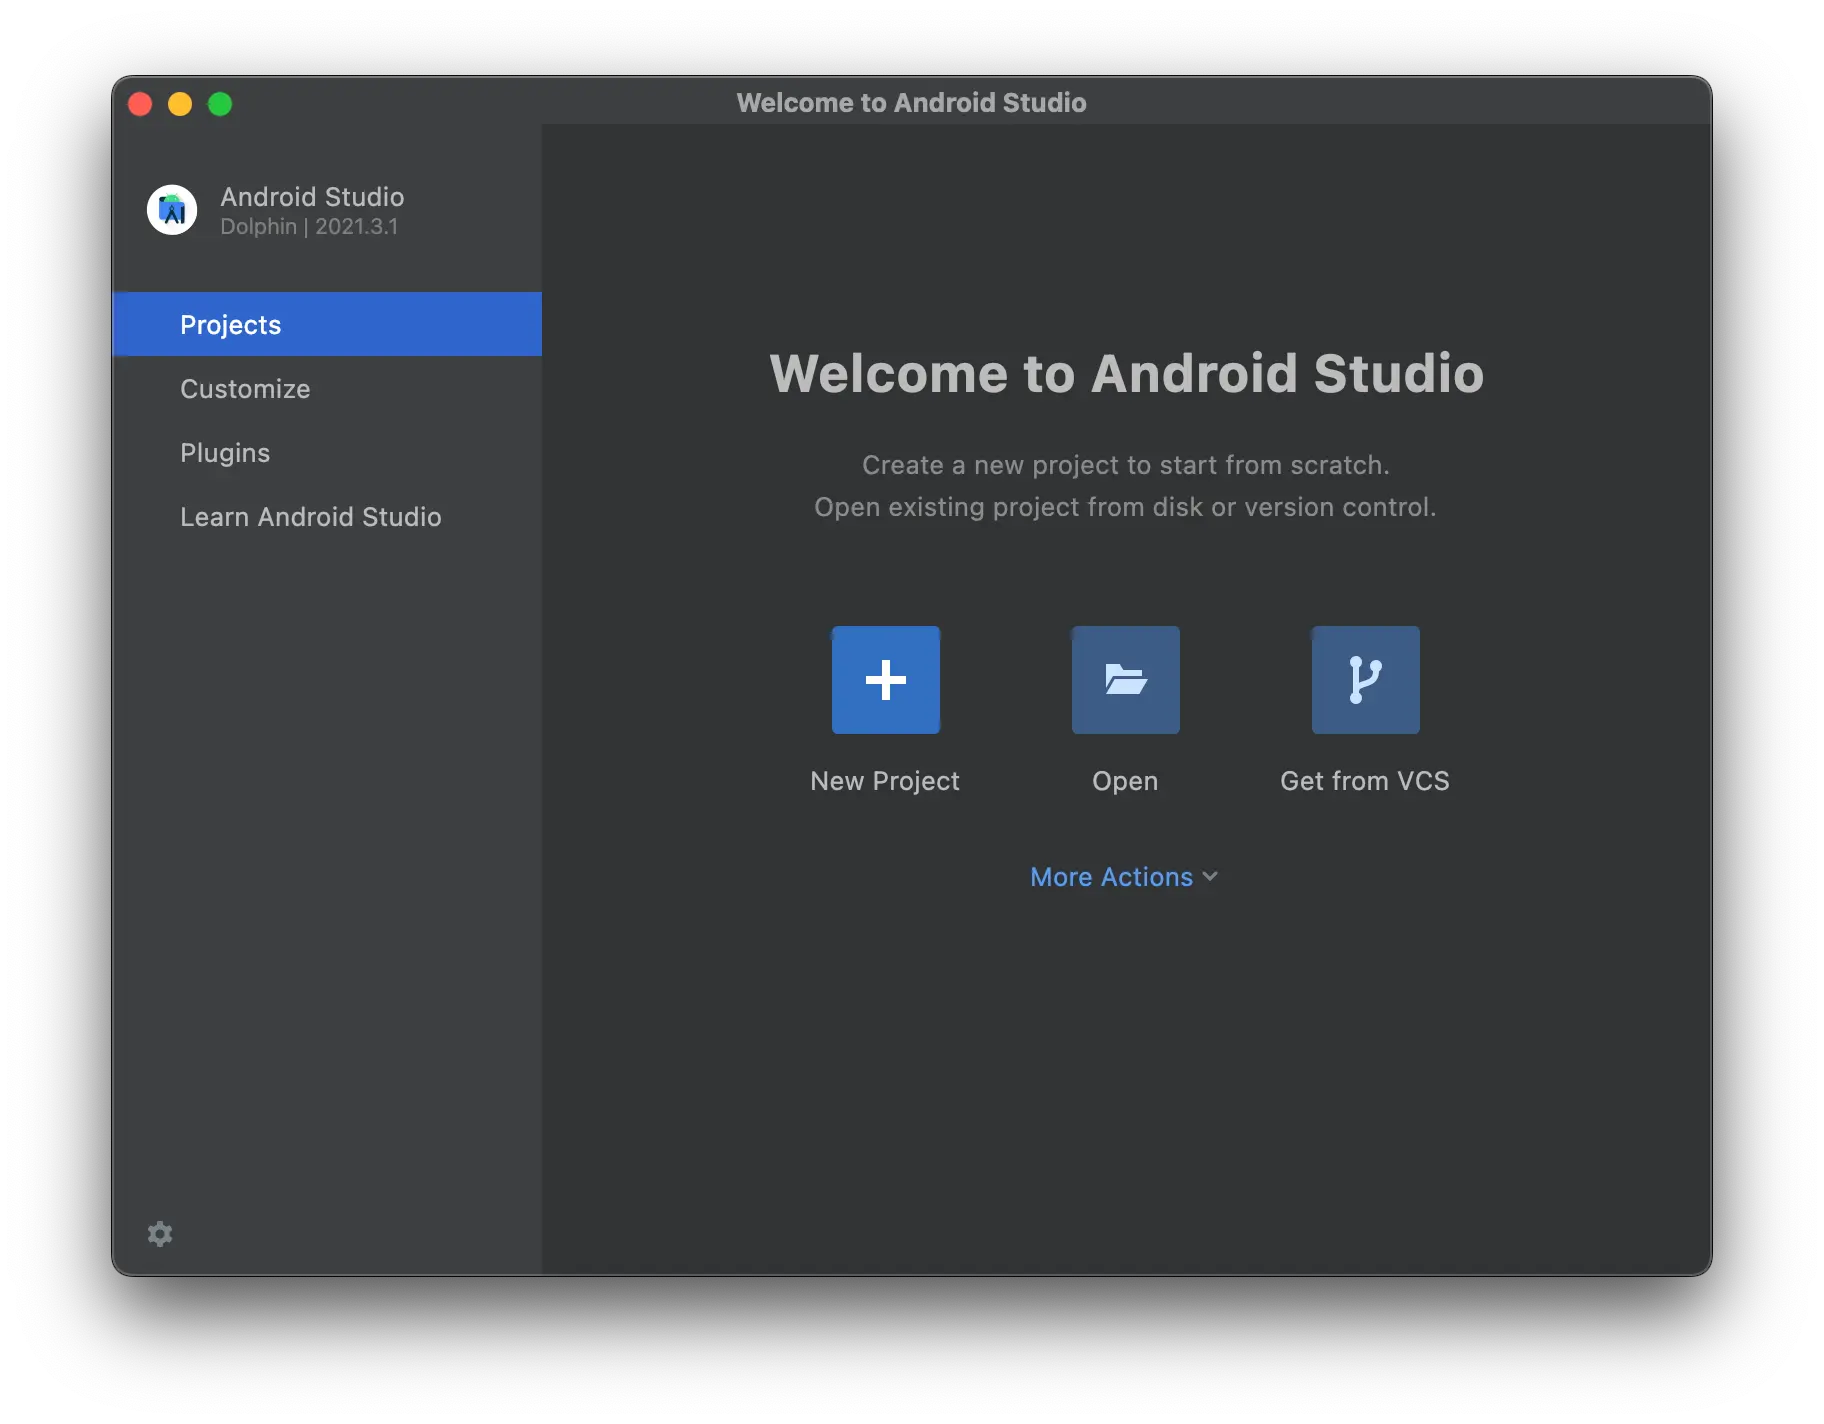
Open Android Studio. Select + Create New Project.
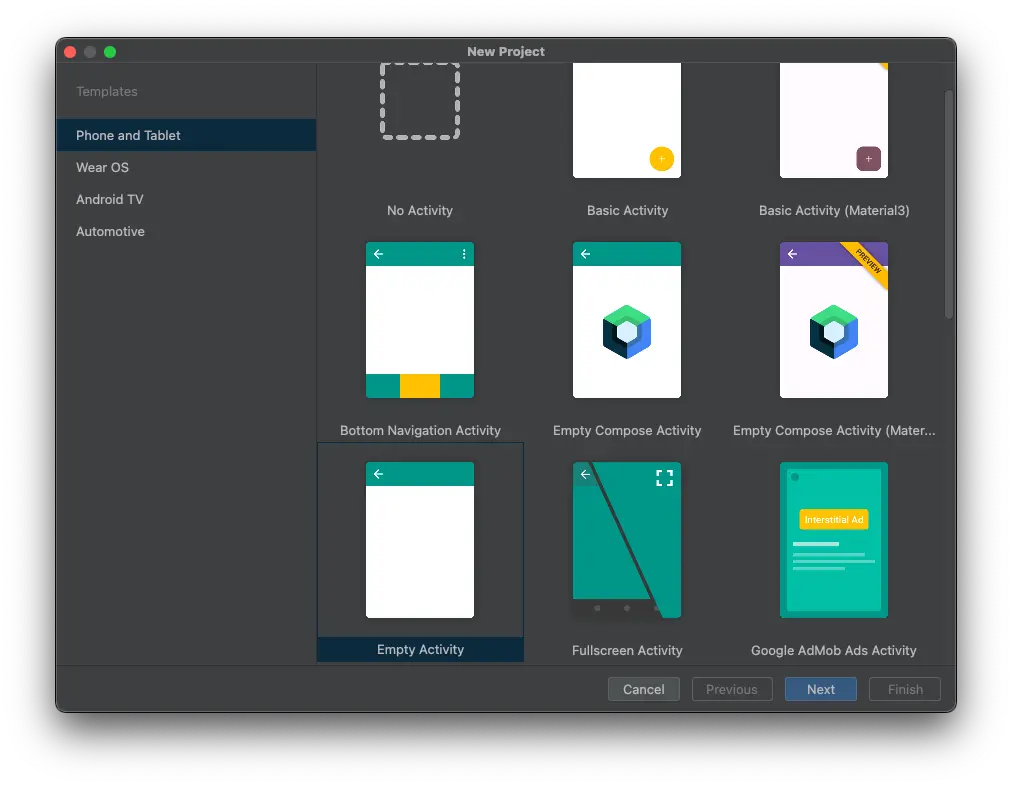
In Select a Project Template, select Empty Activity or Empty Compose Activity. Press Next.
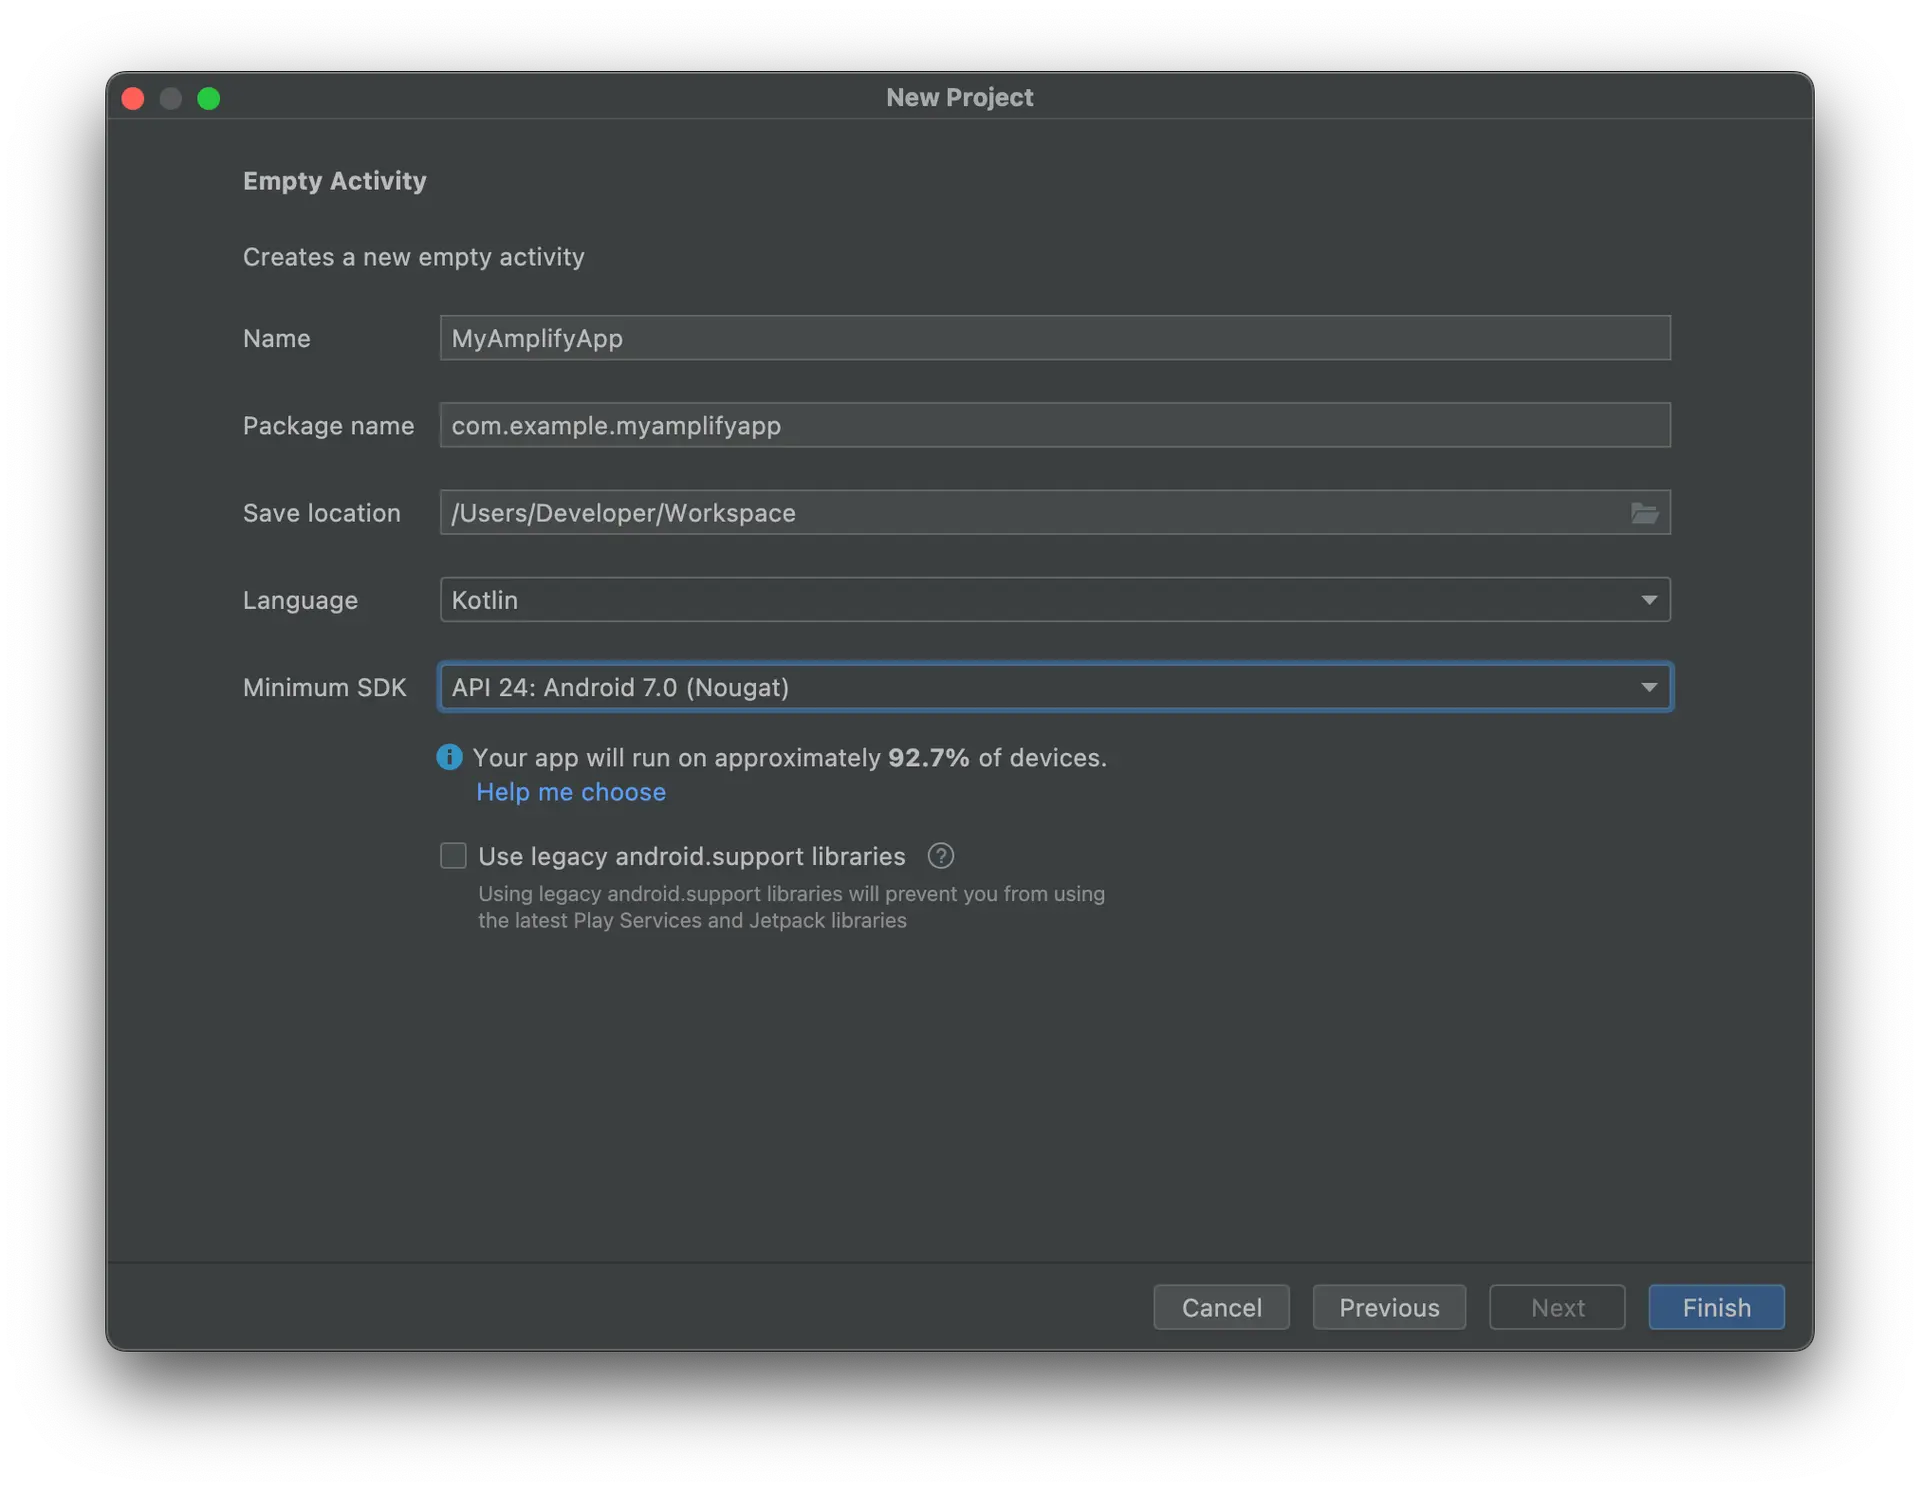
- Enter MyAmplifyApp in the Name field
- Select either Java or Kotlin from the Language dropdown menu
- Select API 24: Android 7.0 (Nougat) from the Minimum SDK dropdown menu
- Press Finish
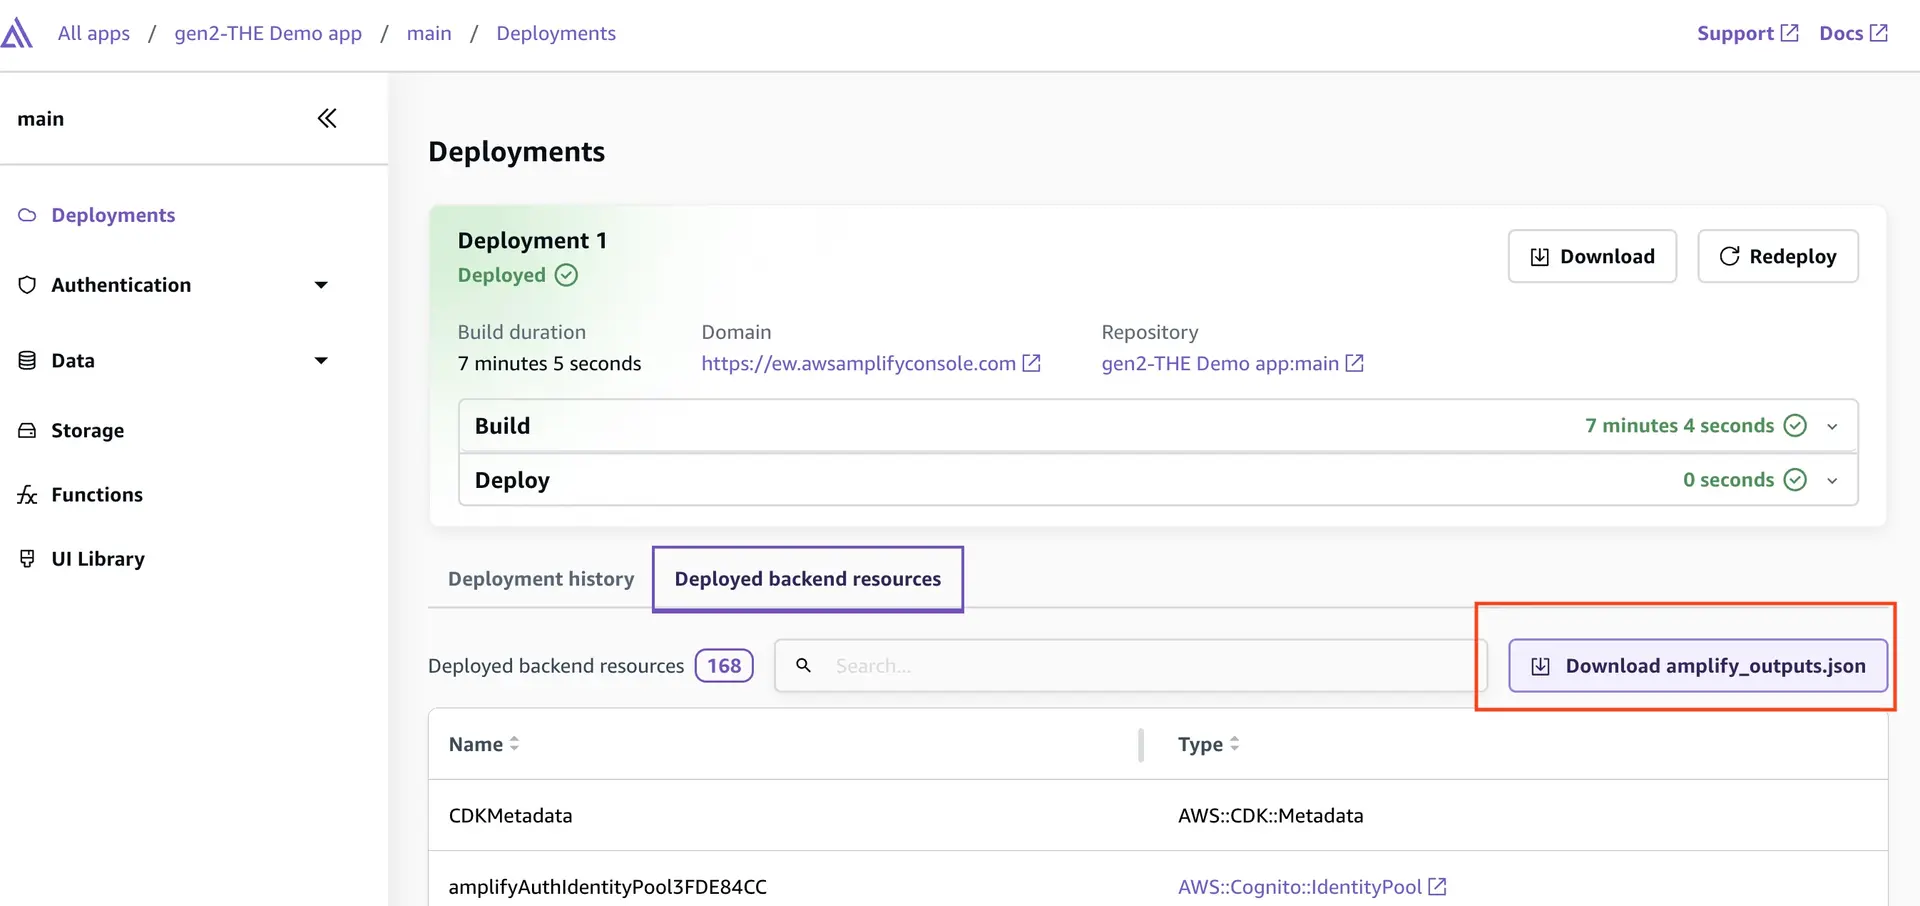
On the Deployed backend resources, choose Download outputs file to download the amplify_outputs.json file that contains identifiers for all the deployed backend resources.
Now move the amplify_outputs.json file you downloaded above to app/src/main/res/raw in your Android project. You will now be able to connect to this backend.
Learn moreamplify_outputs.json
The amplify_outputs.json file contains backend endpoint information, publicly-viewable API keys, authentication flow information, and more. The Amplify client library uses this outputs file to connect to your Amplify Backend.
5. Install dependencies
Amplify uses some modern Java APIs that require desugaring to be added for earlier versions of Android. In your app/build.gradle.kts add the following lines:
android {    compileOptions {        // Support for modern Java features        isCoreLibraryDesugaringEnabled = true    }}
dependencies {    coreLibraryDesugaring("com.android.tools:desugar_jdk_libs:ANDROID_DESUGAR_VERSION")}
6. Implement login UI
The deployed backend application already has a pre-configured auth backend defined in the amplify/auth/resource.ts file.
The fastest way to get your login experience up and running is to use our Authenticator UI component. To use the Authenticator UI component, you need to add the following dependencies to your app/build.gradle.kts file:
dependencies { implementation("com.amplifyframework.ui:authenticator:ANDROID_AUTHENTICATOR_VERSION") coreLibraryDesugaring("com.android.tools:desugar_jdk_libs:ANDROID_DESUGAR_VERSION")}Afterwards create a MyAmplifyApp class that extends Application and add the following code:
import android.app.Applicationimport android.util.Logimport com.amplifyframework.AmplifyExceptionimport com.amplifyframework.auth.cognito.AWSCognitoAuthPluginimport com.amplifyframework.core.Amplifyimport com.amplifyframework.core.configuration.AmplifyOutputs
class MyAmplifyApp: Application() {    override fun onCreate() {        super.onCreate()
        try {            Amplify.addPlugin(AWSCognitoAuthPlugin())            Amplify.configure(AmplifyOutputs(R.raw.amplify_outputs), applicationContext)            Log.i("MyAmplifyApp", "Initialized Amplify")        } catch (error: AmplifyException) {            Log.e("MyAmplifyApp", "Could not initialize Amplify", error)        }    }}
Next call this class in your AndroidManifest.xml file:
<application android:name=".MyAmplifyApp" ...</application>Update MainActivity.kt to use the Android Authenticator component.
import android.os.Bundle..import com.amplifyframework.ui.authenticator.ui.Authenticatorimport androidx.compose.foundation.layout.Columnimport androidx.compose.material3.Buttonimport com.amplifyframework.core.Amplify
class MainActivity : ComponentActivity() { override fun onCreate(savedInstanceState: Bundle?) { super.onCreate(savedInstanceState) setContent { MyAmplifyAppTheme { // A surface container using the 'background' color from the theme Surface( modifier = Modifier.fillMaxSize(), color = MaterialTheme.colorScheme.background ) { Authenticator { state -> Column { Text( text = "Hello ${state.user.username}!", ) Button(onClick = { Amplify.Auth.signOut { } }) { Text(text = "Sign Out") } } } } } } }}Now if you run the application on the Android emulator, you should see the authentication flow working.
7. Read and write data
The initial scaffolding already has a pre-configured data backend defined in the amplify/data/resource.ts file. The default example will create a Todo model with content field.
Amplify can automatically generate code for interacting with the backend API. The command below generates model classes from the Data schema:
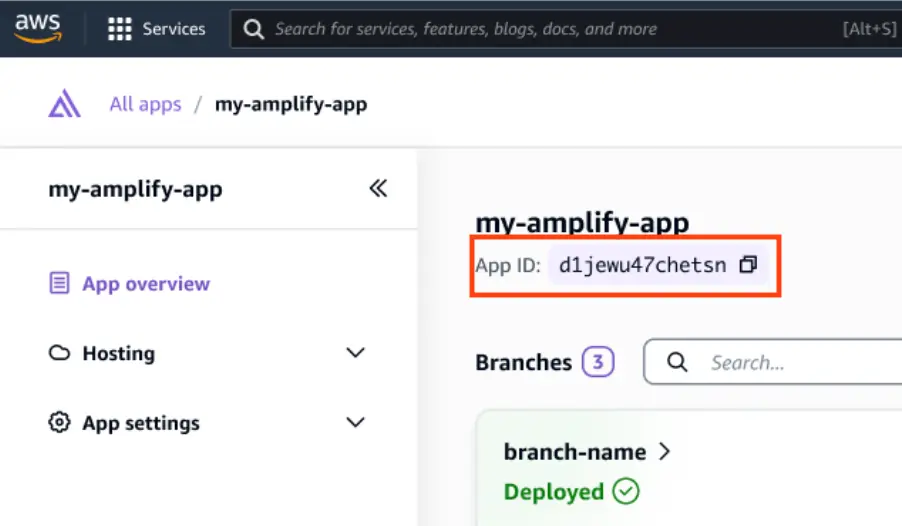
Find your App ID in the Amplify ConsoleLooking for your App ID?
In the command below, replace the APP-ID with your Amplify app ID. Find this in the Amplify Console.
cd my-android-appnpx @aws-amplify/backend-cli generate graphql-client-code --format modelgen --model-target java --out app/src/main/java --app-id <your-amplify-app-id> --branch mainOnce you are done, add the following dependencies to your project:
dependencies { // Amplify API dependencies implementation("com.amplifyframework:aws-api:ANDROID_VERSION") // ... other dependencies}After adding the dependencies, open the MyAmplifyApp class and add the following line before the configure call:
import com.amplifyframework.api.aws.AWSApiPlugin
..Amplify.addPlugin(AWSApiPlugin())Update the MainActivity class with the following code to create new to-do items. The onClick function will create a new Todo item.
class MainActivity : ComponentActivity() { override fun onCreate(savedInstanceState: Bundle?) { super.onCreate(savedInstanceState) setContent { MyAmplifyAppTheme { // A surface container using the 'background' color from the theme Surface( modifier = Modifier.fillMaxSize(), color = MaterialTheme.colorScheme.background ) { Authenticator { state -> Column { Text( text = "Hello ${state.user.username}!", ) Button(onClick = { val todo = Todo.builder() .content("My first todo") .build()
Amplify.API.mutate( ModelMutation.create(todo), { Log.i("MyAmplifyApp", "Added Todo with id: ${it.data.id}")}, { Log.e("MyAmplifyApp", "Create failed", it)}, ) }) { Text(text = "Create Todo") } Button(onClick = { Amplify.Auth.signOut { } }) { Text(text = "Sign Out") } } } } } } }}Now it is time to add a logic to view the added items.
@Composablefun TodoList() {    var todoList by remember { mutableStateOf(emptyList<Todo>()) }
    LaunchedEffect(Unit) {        // API request to list all Todos        Amplify.API.query(            ModelQuery.list(Todo::class.java),            { todoList = it.data.items.toList() },            { Log.e("MyAmplifyApp", "Failed to query.", it) }        )    }
    LazyColumn {        items(todoList) { todo ->            Row {                // Render your activity item here                Text(text = todo.content)            }        }    }}
Now call TodoList() from the onCreate() function:
setContent { MyAmplifyAppTheme { // A surface container using the 'background' color from the theme Surface( modifier = Modifier.fillMaxSize(), color = MaterialTheme.colorScheme.background ) { Authenticator { state -> Column { Text( text = "Hello ${state.user.username}!", ) .... TodoList()8. Enable real-time data
If you build and rerun the application, you should see the todo that was created in the previous build. But notice how when you click on the "create Todo" button, it doesn't add any new todos to the list below until the next time your app relaunches. To solve this, let's add real-time updates to the todo list.
To add real-time updates, you can use the subscription feature of Amplify Data. It allows to subscribe to onCreate, onUpdate, and onDelete events of the application. In our example, let's append the list every time a new todo is added.
@Composablefun TodoList() { var todoList by remember { mutableStateOf(emptyList<Todo>()) }
LaunchedEffect(Unit) { Amplify.API.query( ModelQuery.list(Todo::class.java), { todoList = it.data.items.toList() }, { Log.e("MyAmplifyApp", "Failed to query.", it) } ) Amplify.API.subscribe( ModelSubscription.onCreate(Todo::class.java), { Log.i("ApiQuickStart", "Subscription established") }, { Log.i("ApiQuickStart", "Todo create subscription received: ${it.data}") todoList = todoList + it.data }, { Log.e("ApiQuickStart", "Subscription failed", it) }, { Log.i("ApiQuickStart", "Subscription completed") } ) }
LazyColumn { items(todoList) { todo -> Row { // Render your activity item here Text(text = todo.content) } } }}Make backend updates
Let's update our backend to implement per-user authorization rules, allowing each user to only access their own to-dos.
9. Implement per-user authorization
First, clone the deployed repository.
git clone https://github.com/<github-user>/amplify-backend-template.gitcd amplify-backend-templatenpm installThe backend to-do model is configured to share data across all users, but, in most cases, you want data to be isolated on a per-user basis.
To isolate the data on a per-user basis, you can use an "owner-based authorization rule". Let's apply the owner-based authorization rule to your to-do items:
import { type ClientSchema, a, defineData } from '@aws-amplify/backend';
const schema = a.schema({ Todo: a.model({ content: a.string(), }).authorization(allow => [allow.owner()]),});
export type Schema = ClientSchema<typeof schema>;
export const data = defineData({ schema, authorizationModes: { // This tells the data client in your app (generateClient()) // to sign API requests with the user authentication token. defaultAuthorizationMode: 'userPool', },});Commit this change to your git repository. Amplify's CI/CD system will automatically pick up the changes and build and deploy the updates.
git commit -am "added per-user data isolation"git push10. Test in app
Now, let's go back to your Android application and test out the user isolation of the to-do items. Fetch the latest amplify_outputs.json and model files by re-running the following command in your Android Studio terminal.
Find your App ID in the Amplify ConsoleLooking for your App ID?
In the command below, replace the APP-ID with your Amplify app ID. Find this in the Amplify Console.
npx @aws-amplify/backend-cli generate graphql-client-code --format modelgen --model-target java --out app/src/main/java --app-id <your-amplify-app-id> --branch mainAlso update your amplify_outputs file with the latest outputs information.
npx @aws-amplify/backend-cli generate outputs --out-dir app/src/main/res/raw --app-id <your-amplify-app-id> --branch main🥳 Success
That's it! You have successfully built a fullstack app on AWS Amplify. If you want to learn more about how to work with Amplify, here's the conceptual guide for how Amplify works.