Monorepo setup
Some teams choose a monorepo approach, or single repositories that contain multiple packages or components to simplify the deployment process for shared libraries and components. Without a monorepo, you have to deploy each package individually, keep track of package versions and dependencies across packages, and ensure version compatibility. This can become exponentially more complex as the number of packages grows. With a monorepo, all packages and dependencies are contained within a single repository.
Amplify Gen 2 supports monorepo workflows for fullstack builds with monorepo tools such as Nx and yarn workspaces. When building with Gen 2, we recommend creating the amplify/ folder in a shared workspace. We will use the following example for this guide:
├── apps/│ ├── admin-dashboard/│ │ ├── next.config.mjs│ │ └── package.json│ └── marketing-site/│ ├── astro.config.mjs│ └── package.json├── packages/│ └── my-shared-backend/│ ├── amplify/│ │ ├── auth/│ │ │ └── resource.ts│ │ ├── data/│ │ │ └── resource.ts│ │ └── backend.ts│ |── package.json └── tsconfig.json└── package.jsonMonorepos require a slightly different setup. We are going to deploy 3 Amplify apps:
my-shared-backendadmin-dashboardmarketing-site
Deploy backend app
The first app, my-shared-backend, will be the only app that updates changes to the backend. The other apps will only run frontend builds that point to the shared backend.
-
To get started, deploy the shared backend Amplify app. With Gen 2, you can now setup backend-only CI/CD apps. Navigate to the Amplify console and select Create new app.
-
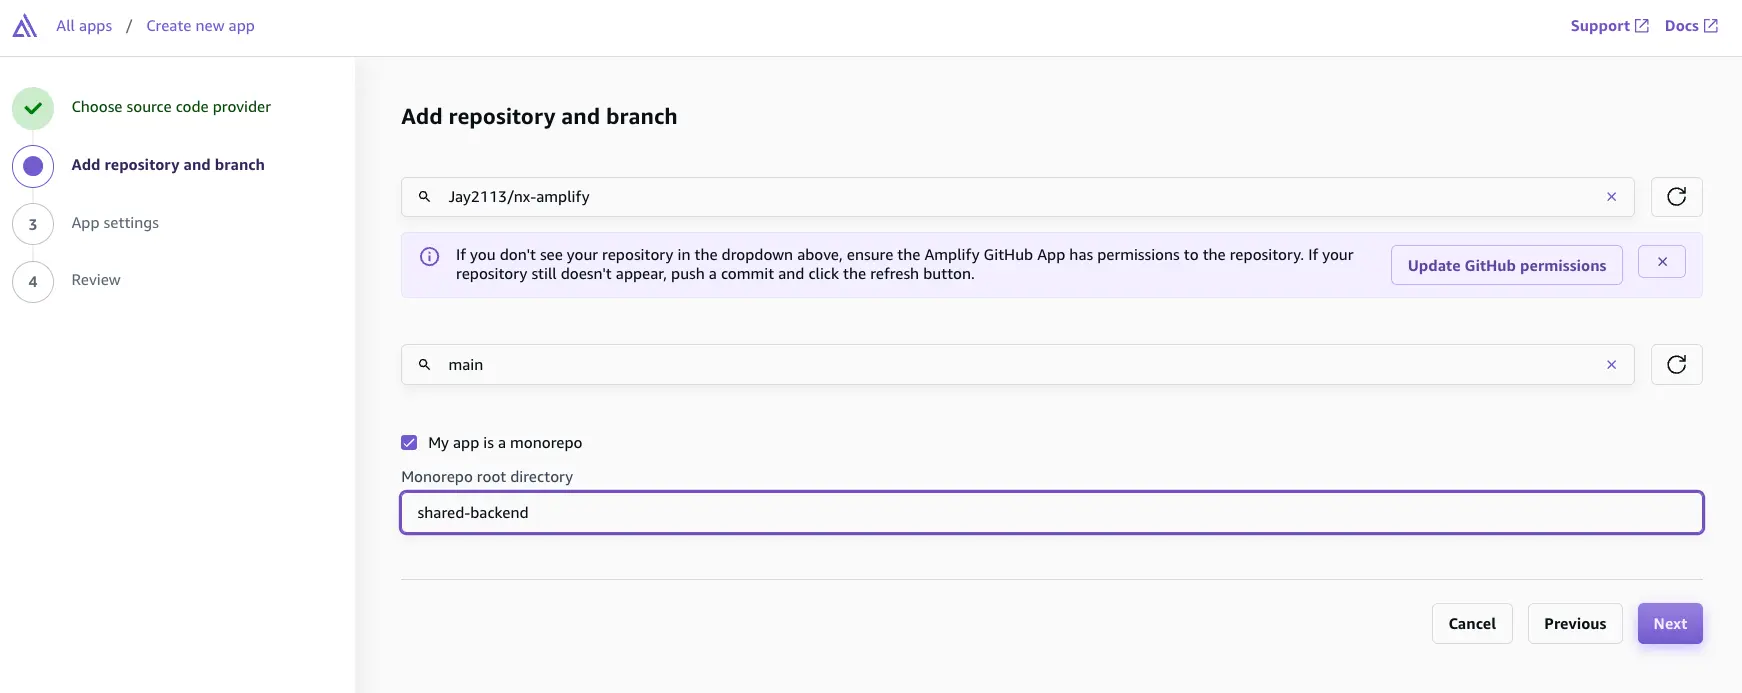
Once you connect your repository, select your monorepo project. Check the box that says My app is a monorepo and enter the path to your amplify backend.
- Your build settings should be automatically detected. Save and deploy.
Deploy frontend apps
- For the frontend apps, connect the frontend projects in the Amplify console separately, and update the build commands to include:
npx ampx generate outputs --app-id <your-backend-amplify-app-id> --branch mainOnce the sandbox environment is running, you would also generate the configuration files for your application. However, Xcode won't be able to recognize them. For recognizing the files, you need to drag and drop the generated files to your project.
- To locate the
App IDfor your backend application, navigate to the Amplify console and select your backend-app. On the Overview page, theApp IDis displayed under the project name.
