Set up Amplify Auth
Amplify Auth is powered by Amazon Cognito. Cognito is a robust user directory service that handles user registration, authentication, account recovery, and other operations. Review the concepts to learn more.
To get started with defining your authentication resource, open or create the auth resource file:
import { defineAuth } from "@aws-amplify/backend"
/** * Define and configure your auth resource * @see https://docs.amplify.aws/gen2/build-a-backend/auth */export const auth = defineAuth({  loginWith: {    email: true,  },})
By default, your auth resource is scaffolded using email as the default login mechanism. You can also configure your auth resource to allow signing in with:
- Phone numbers
- External providers (Google, Facebook, Amazon, or Sign in with Apple)
- Passwordless authentication (Email OTP, SMS OTP, or WebAuthn passkeys)
Enable passwordless authentication
You can enable passwordless authentication methods to provide a more secure and user-friendly experience:
import { defineAuth } from '@aws-amplify/backend';
export const auth = defineAuth({  loginWith: {    email: {      otpLogin: true // Enable email-based one-time passwords    }  }});
Learn more about passwordless authentication options.
Deploy auth resource
After you have chosen and defined your authentication resource, run the following command to create your resource in your personal cloud sandbox.
npx ampx sandboxAfter a successful deployment, this command also generates an outputs file (amplify_outputs.json) to enable your frontend app to connect to your backend resources. The values you configure in your backend authentication resource are set in the generated outputs file to automatically configure the frontend Authenticator connected component.
Connect your application code to your auth resource
Creating and correctly implementing the sign-in flow can be challenging and time-consuming. Amplify's Authenticator UI component streamlines this by enabling you to rapidly build the entire authentication flow for your app. The component works seamlessly with configuration in amplify/auth/resource.ts to automatically connect with your backend resources.
Amplify has pre-built UI components for React, Vue, Angular, React Native, Swift, Android, and Flutter. In this guide, we are focusing on those for web applications.
Prerequisites
An application with Amplify libraries integrated and a minimum target of any of the following:
- iOS 13.0, using Xcode 14.1 or later.
- macOS 10.15, using Xcode 14.1 or later.
- tvOS 13.0, using Xcode 14.3 or later.
- watchOS 9.0, using Xcode 14.3 or later.
- visionOS 1.0, using Xcode 15 or later. (Preview support - see below for more details.)
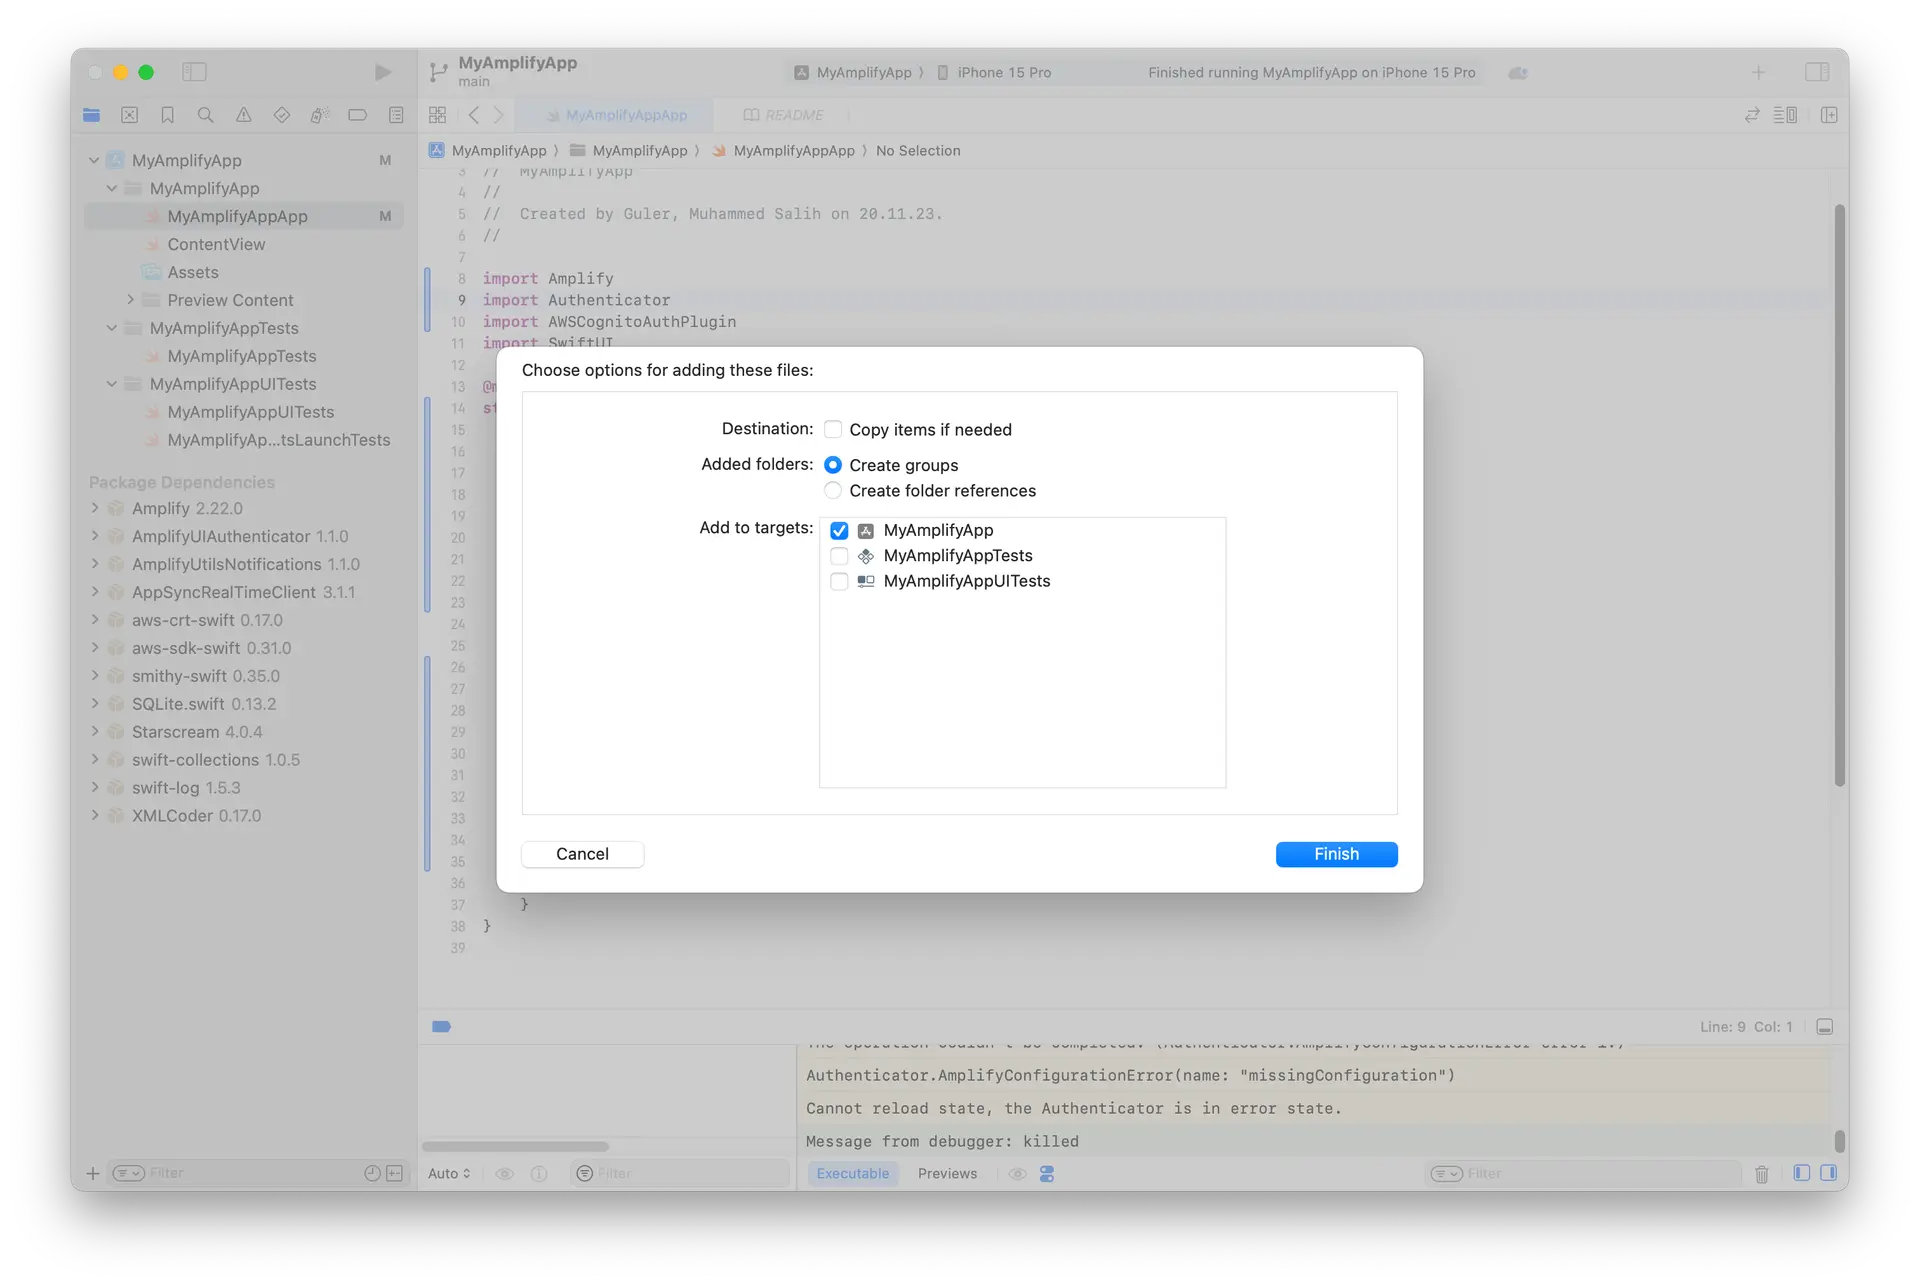
Move the generated files to your project. You can do this by dragging and dropping the files to your project.
Open your project in Xcode and select File > Add Packages... and add the following dependencies:
-
Amplify Library for Swift: Enter its GitHub URL (https://github.com/aws-amplify/amplify-swift), select Up to Next Major Version and click Add Package
- Select the following libraries:
- Amplify
- AWSCognitoAuthPlugin
- Select the following libraries:
-
Amplify UI Swift - Authenticator: Enter its GitHub URL (https://github.com/aws-amplify/amplify-ui-swift-authenticator), select Up to Next Major Version and click Add Package
- Select the following library:
- Authenticator
- Select the following library:
Next, update the init part of your MyAmplifyAppApp.swift file with the following code:
import Amplifyimport Authenticatorimport AWSCognitoAuthPluginimport SwiftUI
@mainstruct MyApp: App {    init() {        do {            try Amplify.add(plugin: AWSCognitoAuthPlugin())            try Amplify.configure(with: .amplifyOutputs)        } catch {            print("Unable to configure Amplify \(error)")        }    }
    var body: some Scene {        WindowGroup {            Authenticator { state in                VStack {                    Text("Hello, \(state.user.username)")                    Button("Sign out") {                        Task {                            await state.signOut()                        }                    }                }            }        }    }}
Once you add the Authenticator component to your app, you can test the sign-up, sign-in, and sign-out functionality. You can also customize the Authenticator connected component to adjust colors and styling as needed.
Next steps
Now that you have completed setting up authentication in your Amplify app with email and password, you may also want to add some additional features. We recommend you learn more about:
