Set up Amplify Storage
Prerequisite: Install and configure the Amplify CLI
Storage with Amplify
AWS Amplify Storage module provides a simple mechanism for managing user content for your app in public, protected or private storage buckets. The Storage category comes with built-in support for Amazon S3.
There are two ways to add storage with Amplify - manual and automated. Both methods require the auth category with Amazon Cognito to also be enabled. If you are creating an S3 bucket from scratch, you should use the Automated Setup. However if you are reusing existing Cognito and S3 resources, you should opt for Manual Setup.
Automated Setup: Create storage bucket
To start from scratch, run the following command from the root of your project:
1amplify add storageand select Content in prompted options:
1? Please select from one of the below mentioned services (Use arrow keys)2❯ Content (Images, audio, video, etc.)3 NoSQL DatabaseThe CLI will walk you though the options to enable Auth, if not enabled previously, and name your S3 bucket. To update your backend run:
1amplify pushWhen your backend is successfully updated, your new configuration file aws-exports.js is copied under your source directory, e.g. '/src'.
Configure your application
Add Amplify to your app with yarn or npm:
1npm install aws-amplify@^5Import and load the configuration file in your app. It's recommended you add the Amplify configuration step to your app's root entry point. For example, App.js (Expo) or index.js (React Native CLI).
1import { Amplify, Storage } from 'aws-amplify';2import awsconfig from './aws-exports';3Amplify.configure(awsconfig);Manual Setup: Import storage bucket
To configure Storage manually, you will have to configure Amplify Auth category as well. In other words, you will not be importing the autogenerated aws-exports.js - instead, you will be adding your own existing Amazon Cognito and Amazon S3 credentials in your app like this:
1import { Amplify, Auth, Storage } from 'aws-amplify';2
3Amplify.configure({4  Auth: {5    identityPoolId: 'XX-XXXX-X:XXXXXXXX-XXXX-1234-abcd-1234567890ab', //REQUIRED - Amazon Cognito Identity Pool ID6    region: 'XX-XXXX-X', // REQUIRED - Amazon Cognito Region7    userPoolId: 'XX-XXXX-X_abcd1234', //OPTIONAL - Amazon Cognito User Pool ID8    userPoolWebClientId: 'XX-XXXX-X_abcd1234' //OPTIONAL - Amazon Cognito Web Client ID9  },10  Storage: {11    AWSS3: {12      bucket: '', //REQUIRED -  Amazon S3 bucket name13      region: 'XX-XXXX-X', //OPTIONAL -  Amazon service region14      isObjectLockEnabled: true //OPTIONAl - Object Lock parameter15    }16  }17});
You can configure the S3 Object Lock parameter of the bucket using the isObjectLockEnabled configuration field. By default, isObjectLockEnabled is set to false. If you want to perform a put operation against a bucket with Object Lock enabled through the console you must first set isObjectLockEnabled to true.
Using Amazon S3
If you set up your Cognito resources manually, the roles will need to be given permission to access the S3 bucket.
There are two roles created by Cognito: an Auth_Role that grants signed-in-user-level bucket access and an Unauth_Role that allows unauthenticated access to resources. Attach the corresponding policies to each role for proper S3 access. Replace {enter bucket name} with the correct S3 bucket.
Inline policy for the Auth_Role:
1{2 "Version": "2012-10-17",3 "Statement": [4 {5 "Action": ["s3:GetObject", "s3:PutObject", "s3:DeleteObject"],6 "Resource": [7 "arn:aws:s3:::{enter bucket name}/public/*",8 "arn:aws:s3:::{enter bucket name}/protected/${cognito-identity.amazonaws.com:sub}/*",9 "arn:aws:s3:::{enter bucket name}/private/${cognito-identity.amazonaws.com:sub}/*"10 ],11 "Effect": "Allow"12 },13 {14 "Action": ["s3:PutObject"],15 "Resource": ["arn:aws:s3:::{enter bucket name}/uploads/*"],16 "Effect": "Allow"17 },18 {19 "Action": ["s3:GetObject"],20 "Resource": ["arn:aws:s3:::{enter bucket name}/protected/*"],21 "Effect": "Allow"22 },23 {24 "Condition": {25 "StringLike": {26 "s3:prefix": [27 "public/",28 "public/*",29 "protected/",30 "protected/*",31 "private/${cognito-identity.amazonaws.com:sub}/",32 "private/${cognito-identity.amazonaws.com:sub}/*"33 ]34 }35 },36 "Action": ["s3:ListBucket"],37 "Resource": ["arn:aws:s3:::{enter bucket name}"],38 "Effect": "Allow"39 }40 ]41}Inline policy for the Unauth_Role:
1{2 "Version": "2012-10-17",3 "Statement": [4 {5 "Action": ["s3:GetObject", "s3:PutObject", "s3:DeleteObject"],6 "Resource": ["arn:aws:s3:::{enter bucket name}/public/*"],7 "Effect": "Allow"8 },9 {10 "Action": ["s3:PutObject"],11 "Resource": ["arn:aws:s3:::{enter bucket name}/uploads/*"],12 "Effect": "Allow"13 },14 {15 "Action": ["s3:GetObject"],16 "Resource": ["arn:aws:s3:::{enter bucket name}/protected/*"],17 "Effect": "Allow"18 },19 {20 "Condition": {21 "StringLike": {22 "s3:prefix": ["public/", "public/*", "protected/", "protected/*"]23 }24 },25 "Action": ["s3:ListBucket"],26 "Resource": ["arn:aws:s3:::{enter bucket name}"],27 "Effect": "Allow"28 }29 ]30}The policy template that Amplify CLI uses is found here.
Amazon S3 Bucket CORS Policy Setup
The following steps will set up your CORS Policy:
- Go to Amazon S3 Console and click on your project's
userfilesbucket, which is normally named as [Bucket Name][Id]-dev.![Go to [Amazon S3 Console]](/images/storage/nextImageExportOptimizer/CORS1-opt-1920.WEBP)
- Click on the Permissions tab for your bucket.
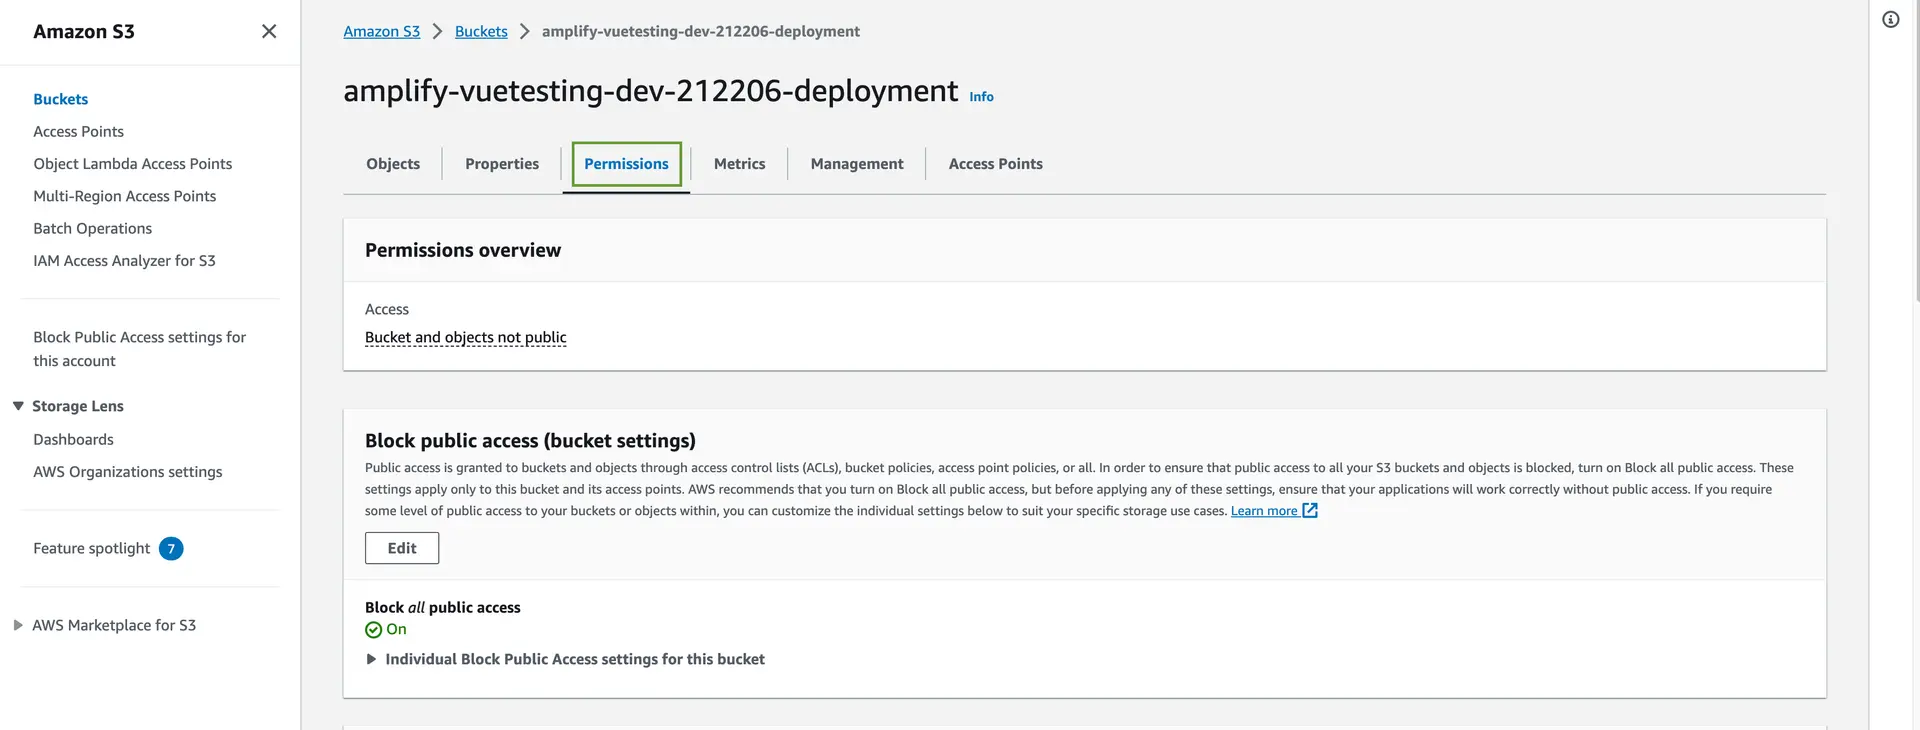
- Click the edit button in the Cross-origin resource sharing (CORS) section.
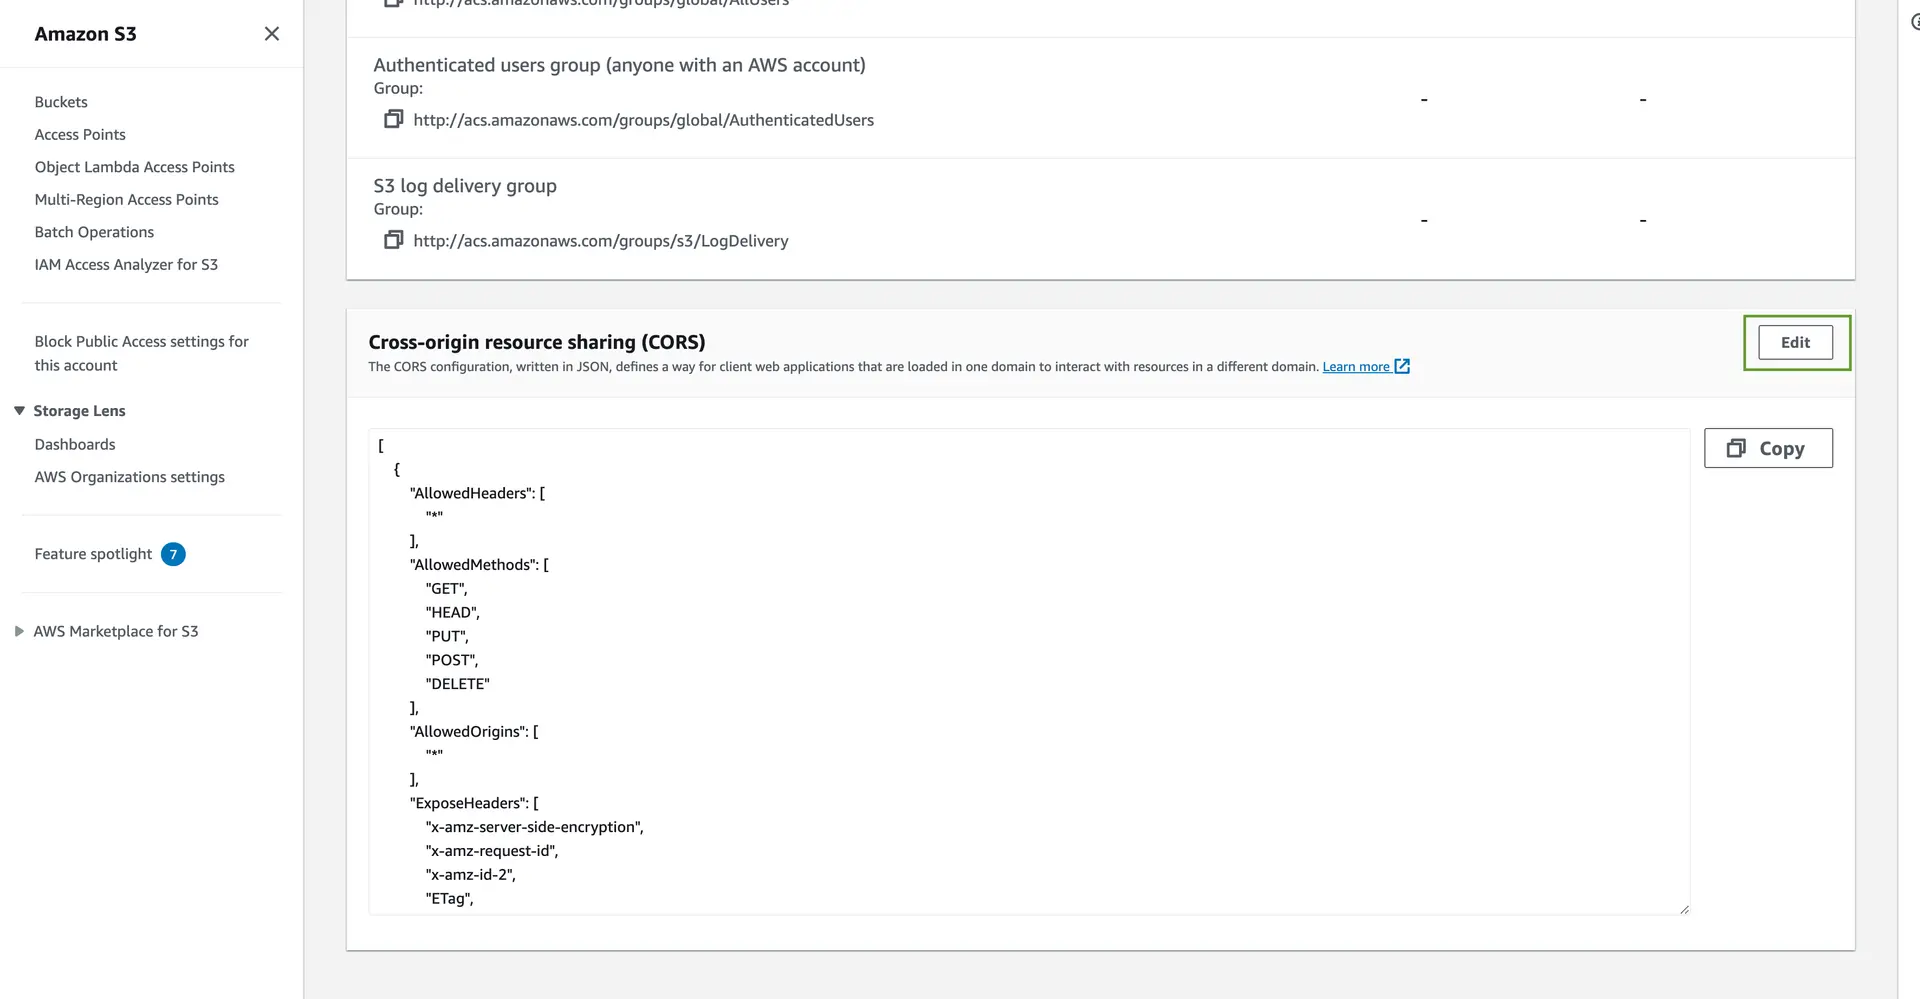
- Make the Changes and click on Save Changes. You can add required metadata to be exposed in
ExposeHeaderswithx-amz-meta-XXXXformat.
1[2 {3 "AllowedHeaders": ["*"],4 "AllowedMethods": ["GET", "HEAD", "PUT", "POST", "DELETE"],5 "AllowedOrigins": ["*"],6 "ExposeHeaders": [7 "x-amz-server-side-encryption",8 "x-amz-request-id",9 "x-amz-id-2",10 "ETag",11 "x-amz-meta-foo"12 ],13 "MaxAgeSeconds": 300014 }15]For information on Amazon S3 file access levels, please see file access levels.
Mocking and Local Testing with Amplify CLI
Amplify CLI supports running a local mock server for testing your application with Amazon S3. Please see the CLI toolchain documentation for more details.