Manage authentication for users and groups
In Amplify Studio, you can create and manage users and groups, edit user attributes, and suspend users.
To set authorization rules that allow these users and groups to perform create, read, update, or delete operations on your app data, see Authorization.
To create a user
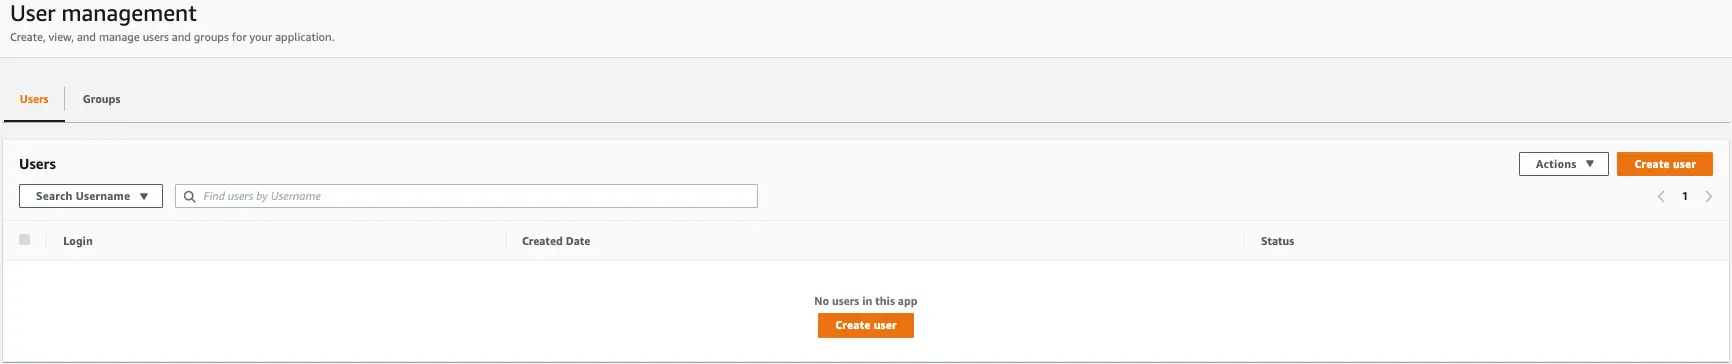
- On the Manage menu, choose User management.
- On the User management page, choose the Users tab and then choose Create user.
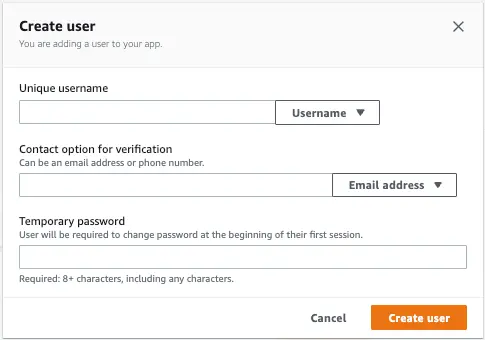
- In the Create user window, for Unique identifier enter a username, email address, or phone number. For Temporary password enter a password.
- Choose Create user.
To modify access for a user
- On the User management page, choose the Users tab.
- Select the name of the user to manage.
- On the Actions menu, choose the action to perform on the user. The options are Reset password, Delete, Suspend, or Reactivate.
- For each menu option, a confirmation window is displayed. Follow the instructions in the confirmation window to complete the action on the user.
To create a group

- On the User management page, choose the Groups tab and then choose Create group.
- In the Create group window, for Title enter a name for the group.
- Choose Create group.
To add a user to a group
- On the User management page, choose the Groups tab.
- Select the name of the group to add users to.
- Choose Add user(s).
- In the Add users to group window, choose how you want to search for users to add from the Search menu. You can choose Email, Phone number, or Username.
- Choose one user or multiple users to add to the group and then choose Add users.
To delete a group
- On the User management page, choose the Groups tab.
- In the Groups section, select the name of the group to delete.
- Choose Delete.
- A confirmation window is displayed. Enter Delete and choose, Confirm deletion.