---
title: "Enable sign-in with web UI"
section: "frontend/auth"
platforms: ["android", "flutter", "swift"]
gen: 2
last-updated: "2026-03-25T17:40:00.000Z"
url: "https://docs.amplify.aws/react/frontend/auth/web-ui-sign-in/"
---
## Prerequisites
* An app set up according to the [getting started walkthrough](/[platform]/build-a-backend/auth/set-up-auth/)
> **Warning:** When configuring social sign-in, it's important to exercise caution when designating attributes as "required." Different social identity providers have varied scopes in terms of the information they respond back to Cognito with. User pool attributes that are initially set up as "required" cannot be changed later, and may require you to migrate the users or create a new user pool.
## Configure Auth Category
This library's Cognito plugin currently supports the [Authorization Code Grant](https://docs.aws.amazon.com/cognito/latest/developerguide/authorization-endpoint.html) OAuth Flow.
In your `auth/resource.ts` file, update the
```ts
export const auth = defineAuth({
loginWith: {
email: true,
externalProviders: {
callbackUrls: ["myapp://callback/"],
logoutUrls: ["myapp://signout/"],
},
},
});
```
## Update AndroidManifest.xml
Add the following activity and queries tag to your app's `AndroidManifest.xml` file, replacing `myapp` with
your redirect URI prefix if necessary:
```xml
...
...
```
## Launch Web UI Sign In
Sweet! You're now ready to launch sign in with web UI. For now, just add this method to the `onCreate` method of MainActivity:
#### [Java]
```java
Amplify.Auth.signInWithWebUI(
this,
result -> Log.i("AuthQuickStart", result.toString()),
error -> Log.e("AuthQuickStart", error.toString())
);
```
#### [Kotlin - Callbacks]
```kotlin
Amplify.Auth.signInWithWebUI(
this,
{ Log.i("AuthQuickStart", "Signin OK = $it") },
{ Log.e("AuthQuickStart", "Signin failed", it) }
)
```
#### [Kotlin - Coroutines]
```kotlin
try {
val result = Amplify.Auth.signInWithWebUI(this)
Log.i("AuthQuickStart", "Signin OK: $result")
} catch (error: AuthException) {
Log.e("AuthQuickStart", "Signin failed", error)
}
```
#### [RxJava]
```java
RxAmplify.Auth.signInWithWebUI(this)
.subscribe(
result -> Log.i("AuthQuickStart", result.toString()),
error -> Log.e("AuthQuickStart", error.toString())
);
```
### Additional options during signIn
You may pass additional parameters to the `Amplify.Auth.signInWithWebUI` which are added as query parameters in the requests to [Cognito authorization endpoint](https://docs.aws.amazon.com/cognito/latest/developerguide/authorization-endpoint.html).
```kotlin
val options = AWSCognitoAuthWebUISignInOptions.builder()
.nonce("randomUUID")
.language("en")
.loginHint("username")
.prompt(AuthWebUIPrompt.LOGIN, AuthWebUIPrompt.CONSENT)
.resource("https://localhost")
.build()
Amplify.Auth.signInWithWebUI(
this,
options,
result -> Log.i("AuthQuickStart", result.toString()),
error -> Log.e("AuthQuickStart", error.toString())
);
```
## Prerequisites
> **Warning:** **Note:** Social sign-in (OAuth) functionality is only available in **iOS**, **macOS** and **visionOS**.
>
> When configuring social sign-in, it's important to exercise caution when designating attributes as "required." Different social identity providers have varied scopes in terms of the information they respond back to Cognito with. User pool attributes that are initially set up as "required" cannot be changed later, and may require you to migrate the users or create a new user pool.
For a full example, please follow the [project setup walkthrough](/[platform]/start/quickstart/).
To use Auth in a macOS project, you'll need to enable the Keychain Sharing capability. In Xcode, navigate to **your application target** > **Signing & Capabilities** > **+ Capability**, then select **Keychain Sharing.**
This capability is required because Auth uses the Data Protection Keychain on macOS as a platform best practice.
See [TN3137: macOS keychain APIs and implementations](https://developer.apple.com/documentation/technotes/tn3137-on-mac-keychains) for more information on how Keychain works on macOS and the Keychain Sharing entitlement.
For more information on adding capabilities to your application, see [Xcode Capabilities](https://developer.apple.com/documentation/xcode/capabilities).
## Configure Auth Category
This library's Cognito plugin currently supports the [Authorization Code Grant](https://docs.aws.amazon.com/cognito/latest/developerguide/authorization-endpoint.html) OAuth Flow.
Update the `auth/resource.ts` file like the following to enable the sign-in and sign-out capabilities with a web ui.
```ts
export const auth = defineAuth({
loginWith: {
email: true,
externalProviders: {
callbackUrls: ["myapp://callback/"],
logoutUrls: ["myapp://signout/"],
},
},
});
```
## Update Info.plist
Signin with web UI require the Amplify plugin to show up the signin UI inside a webview. After the signin process is complete it will redirect back to your app.
You have to enable this in your app's `Info.plist`. Right click Info.plist and then choose Open As > Source Code. Add the following entry in the URL scheme:
```xml
CFBundleURLTypes
CFBundleURLSchemes
myapp
```
When creating a new SwiftUI app using Xcode 13 no longer require configuration files such as the Info.plist. If you are missing this file, click on the project target, under Info, Url Types, and click '+' to add a new URL Type. Add `myapp` to the URL Schemes. You should see the Info.plist file now with the entry for CFBundleURLSchemes.
## Launch Web UI Sign In
You're now ready to launch sign in with web UI. The `signInWithWebUI` api require a presentationAnchor and for an iOS app it will be the main UIWindow of the app. The example code below assume that you are in a UIViewController where you can fetch the UIWindow instance by `self.view.window`.
#### [Async/Await]
```swift
func signInWithWebUI() async {
do {
let signInResult = try await Amplify.Auth.signInWithWebUI(presentationAnchor: self.view.window!)
if signInResult.isSignedIn {
print("Sign in succeeded")
}
} catch let error as AuthError {
print("Sign in failed \(error)")
} catch {
print("Unexpected error: \(error)")
}
}
```
#### [Combine]
```swift
func signInWithWebUI() -> AnyCancellable {
Amplify.Publisher.create {
try await Amplify.Auth.signInWithWebUI(presentationAnchor: self.view.window!)
}.sink {
if case let .failure(authError) = $0 {
print("Sign in failed \(authError)")
}
}
receiveValue: { signInResult in
if signInResult.isSignedIn {
print("Sign in succeeded")
}
}
}
```
### Prefer private session during signIn
Starting Amplify 1.6.0, `Amplify.Auth.signInWithWebUI` automatically uses [ASWebAuthenticationSession](https://developer.apple.com/documentation/authenticationservices/aswebauthenticationsession) internally for iOS 13.0+. For older iOS versions, it will fall back to [SFAuthenticationSession](https://developer.apple.com/documentation/safariservices/sfauthenticationsession).
This release also introduces a new `preferPrivateSession` flag to `AWSAuthWebUISignInOptions` during the sign in flow. If `preferPrivateSession` is set to `true` during sign in, the user will not see a web view displayed when they sign out. `preferPrivateSession` will set [ASWebAuthenticationSession.prefersEphemeralWebBrowserSession](https://developer.apple.com/documentation/authenticationservices/aswebauthenticationsession/3237231-prefersephemeralwebbrowsersessio) internally and the authentication session will be private if the user's preferred browser supports it.
```swift
try await Amplify.Auth.signInWithWebUI(
presentationAnchor: self.view.window!,
options: .preferPrivateSession()
) {
...
}
```
### Additional options during signIn
You may pass additional parameters to the `Amplify.Auth.signInWithWebUI` which are added as query parameters in the requests to [Cognito authorization endpoint](https://docs.aws.amazon.com/cognito/latest/developerguide/authorization-endpoint.html).
```swift
let options = AuthWebUISignInRequest.Options(
pluginOptions: AWSAuthWebUISignInOptions.init(
nonce: "randomUUID",
language: "en",
loginHint: "username",
prompt: [.login, .consent],
resource: "http://localhost"))
let signInResult = try await Amplify.Auth.signInWithWebUI(
presentationAnchor: self.view.window!,
options: options)
```
## Prerequisites
* An app set up according to the [getting started walkthrough](/[platform]/build-a-backend/auth/set-up-auth/)
> **Warning:** When configuring Social sign-in, it's important to exercise caution when designating attributes as "required." Different social identity providers have varied scopes in terms of the information they respond back to Cognito with. User pool attributes that are initially set up as "required" cannot be changed later, and may require you to migrate the users or create a new user pool.
## Configure Auth Category
This library's Cognito plugin currently supports the [Authorization Code Grant](https://docs.aws.amazon.com/cognito/latest/developerguide/authorization-endpoint.html) OAuth Flow.
Update the `auth/resource.ts` file like the following to enable the sign-in and sign-out capabilities with a web ui.
```ts
export const auth = defineAuth({
loginWith: {
email: true,
externalProviders: {
callbackUrls: ["myapp://callback/"],
logoutUrls: ["myapp://signout/"],
},
},
});
```
## How It Works
Sign-in with web UI will display the sign-in UI inside a webview. After the sign-in process is complete, the sign-in UI will redirect back to your app.
## Platform Setup
### Web
To use Hosted UI in your Flutter web application locally, you must run the app with the `--web-port=3000` argument (with the value being whichever port you assigned to localhost host when configuring your redirect URIs).
### Android
Add the following `queries` element to the `AndroidManifest.xml` file in your app's `android/app/src/main` directory, as well as the following `intent-filter` to the `MainActivity` in the same file.
Replace `myapp` with your redirect URI scheme as necessary:
```xml
...
...
```
### macOS
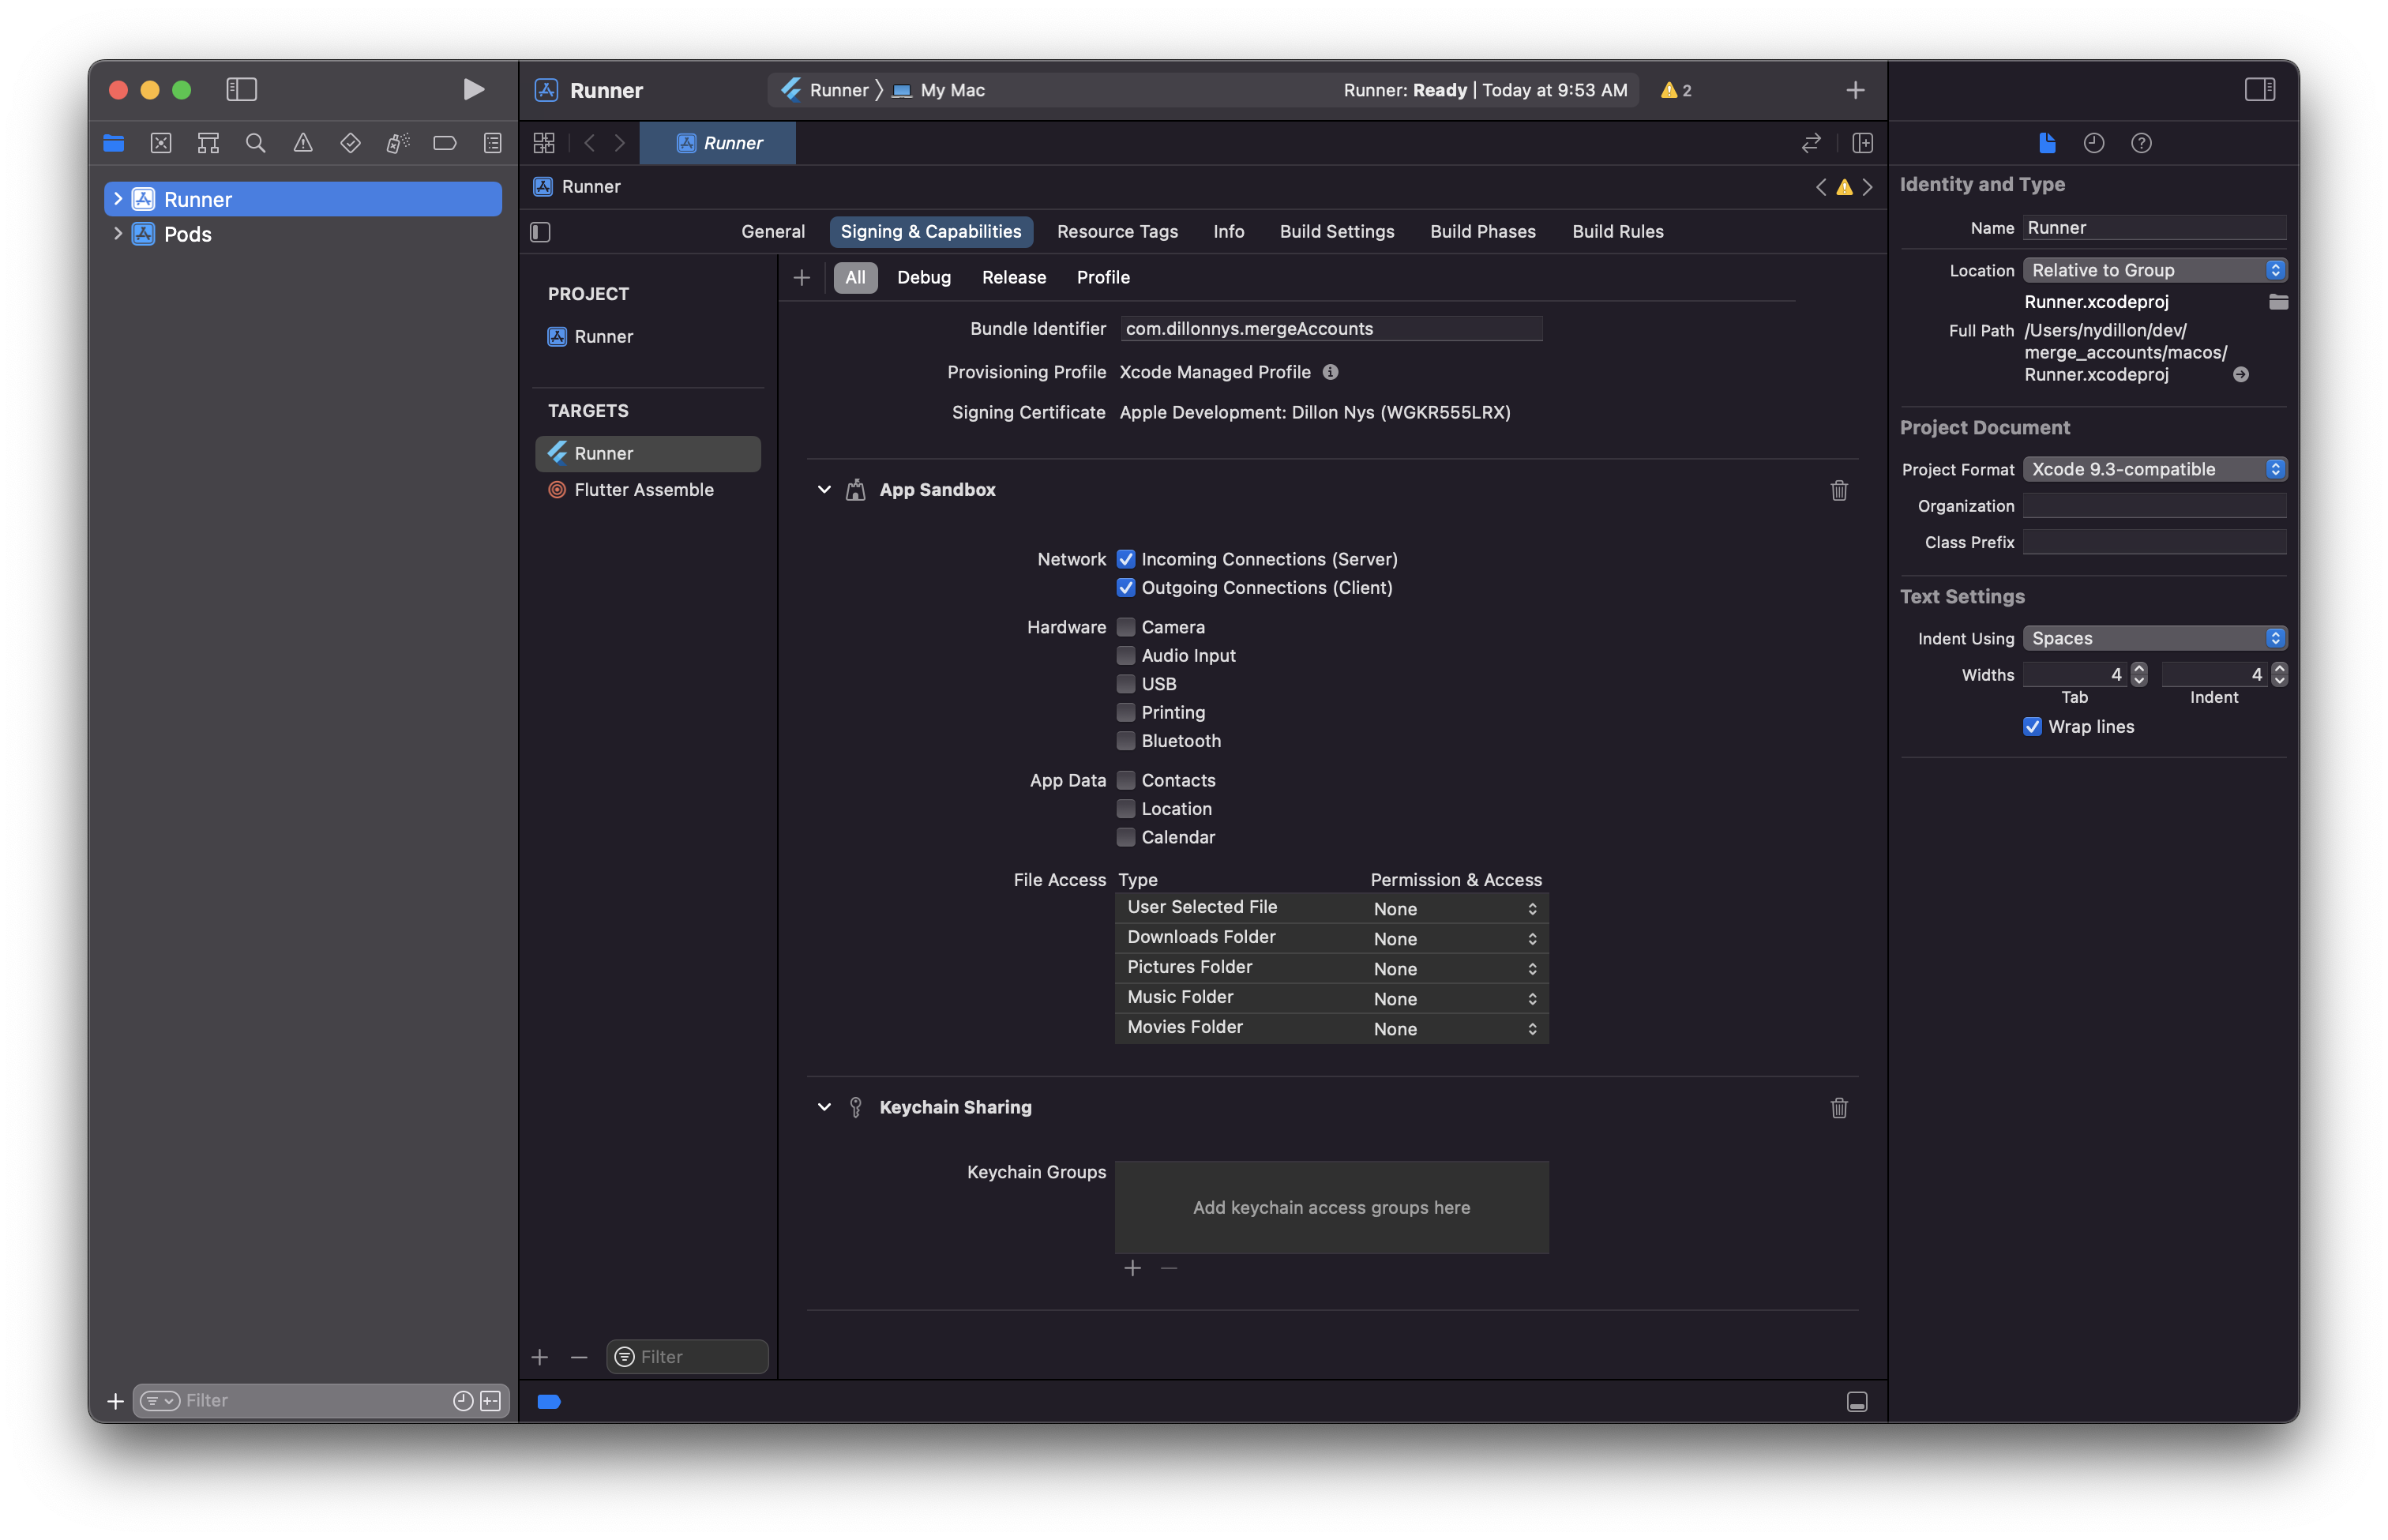
Open XCode and enable the App Sandbox capability and then select "Incoming Connections (Server)" under "Network".
### iOS, Windows and Linux
No specific platform configuration is required.
## Launch Web UI Sign In
You're now ready to launch sign in with web UI.
```dart
Future signInWithWebUI() async {
try {
final result = await Amplify.Auth.signInWithWebUI();
safePrint('Sign in result: $result');
} on AuthException catch (e) {
safePrint('Error signing in: ${e.message}');
}
}
```
You can also specify a provider with the `provider` attribute:
```dart
Future signInWithWebUIProvider() async {
try {
final result = await Amplify.Auth.signInWithWebUI(
provider: AuthProvider.google,
);
safePrint('Result: $result');
} on AuthException catch (e) {
safePrint('Error signing in: ${e.message}');
}
}
```
Amplify Flutter currently supports the following social sign-in providers:
* Google
* Facebook
* Login With Amazon
* Apple
### Prefer private session during signIn on iOS.
Amplify.Auth.signInWithWebUI uses [ASWebAuthenticationSession](https://developer.apple.com/documentation/authenticationservices/aswebauthenticationsession) internally for iOS. ASWebAuthenticationSession has a property, [prefersEphemeralWebBrowserSession](https://developer.apple.com/documentation/authenticationservices/aswebauthenticationsession/3237231-prefersephemeralwebbrowsersessio) which can be used to indicate whether the session should ask the browser for a private authentication session. To set this flag to true, set `preferPrivateSession` to true using `CognitoSignInWithWebUIPluginOptions`.
This will bypass the permissions dialog that is displayed to the end user during sign in and sign out. However, it will also prevent reuse of existing sessions from the user's browser. For example, if the user is logged into Google in their browser and try to sign in using Google in your app, they would now need to re-enter their credentials.
```dart
Future signInWithWebUIAndPrivateSession() async {
await Amplify.Auth.signInWithWebUI(
options: const SignInWithWebUIOptions(
pluginOptions: CognitoSignInWithWebUIPluginOptions(
isPreferPrivateSession: true,
),
),
);
}
```
### Additional options during signIn
You may pass additional parameters to the `Amplify.Auth.signInWithWebUI` which are added as query parameters in the requests to [Cognito authorization endpoint](https://docs.aws.amazon.com/cognito/latest/developerguide/authorization-endpoint.html).
```dart
Future signInWithWebUIAndOptions() async {
try {
final result = await Amplify.Auth.Amplify.Auth.signInWithWebUI(
options: SignInWithWebUIOptions(pluginOptions: CognitoSignInWithWebUIPluginOptions(
nonce: 'randomUUID',
language: 'en',
loginHint: 'username',
prompt: List.from([CognitoSignInWithWebUIPrompt.login, CognitoSignInWithWebUIPrompt.consent]),
resource: 'http://localhost'
)
)
);
safePrint('Sign in result: $result');
} on AuthException catch (e) {
safePrint('Error signing in: ${e.message}');
}
}
```