Set up fullstack project
👋 Welcome! In this tutorial, you will:
- Set up an Android application configured with Amplify
- Create a data model and persist data to Amplify DataStore
- Connect your local data to synchronize to a cloud backend
Prerequisites
- Android Studio version 4.0 or higher
- Android SDK API level 24 (Android 7.0) or higher
- Amplify CLI version 4.21.0 or later. Install by running:
npm install -g @aws-amplify/clicurl -sL https://aws-amplify.github.io/amplify-cli/install | bash && $SHELLcurl -sL https://aws-amplify.github.io/amplify-cli/install-win -o install.cmd && install.cmdCreate a new Android application
-
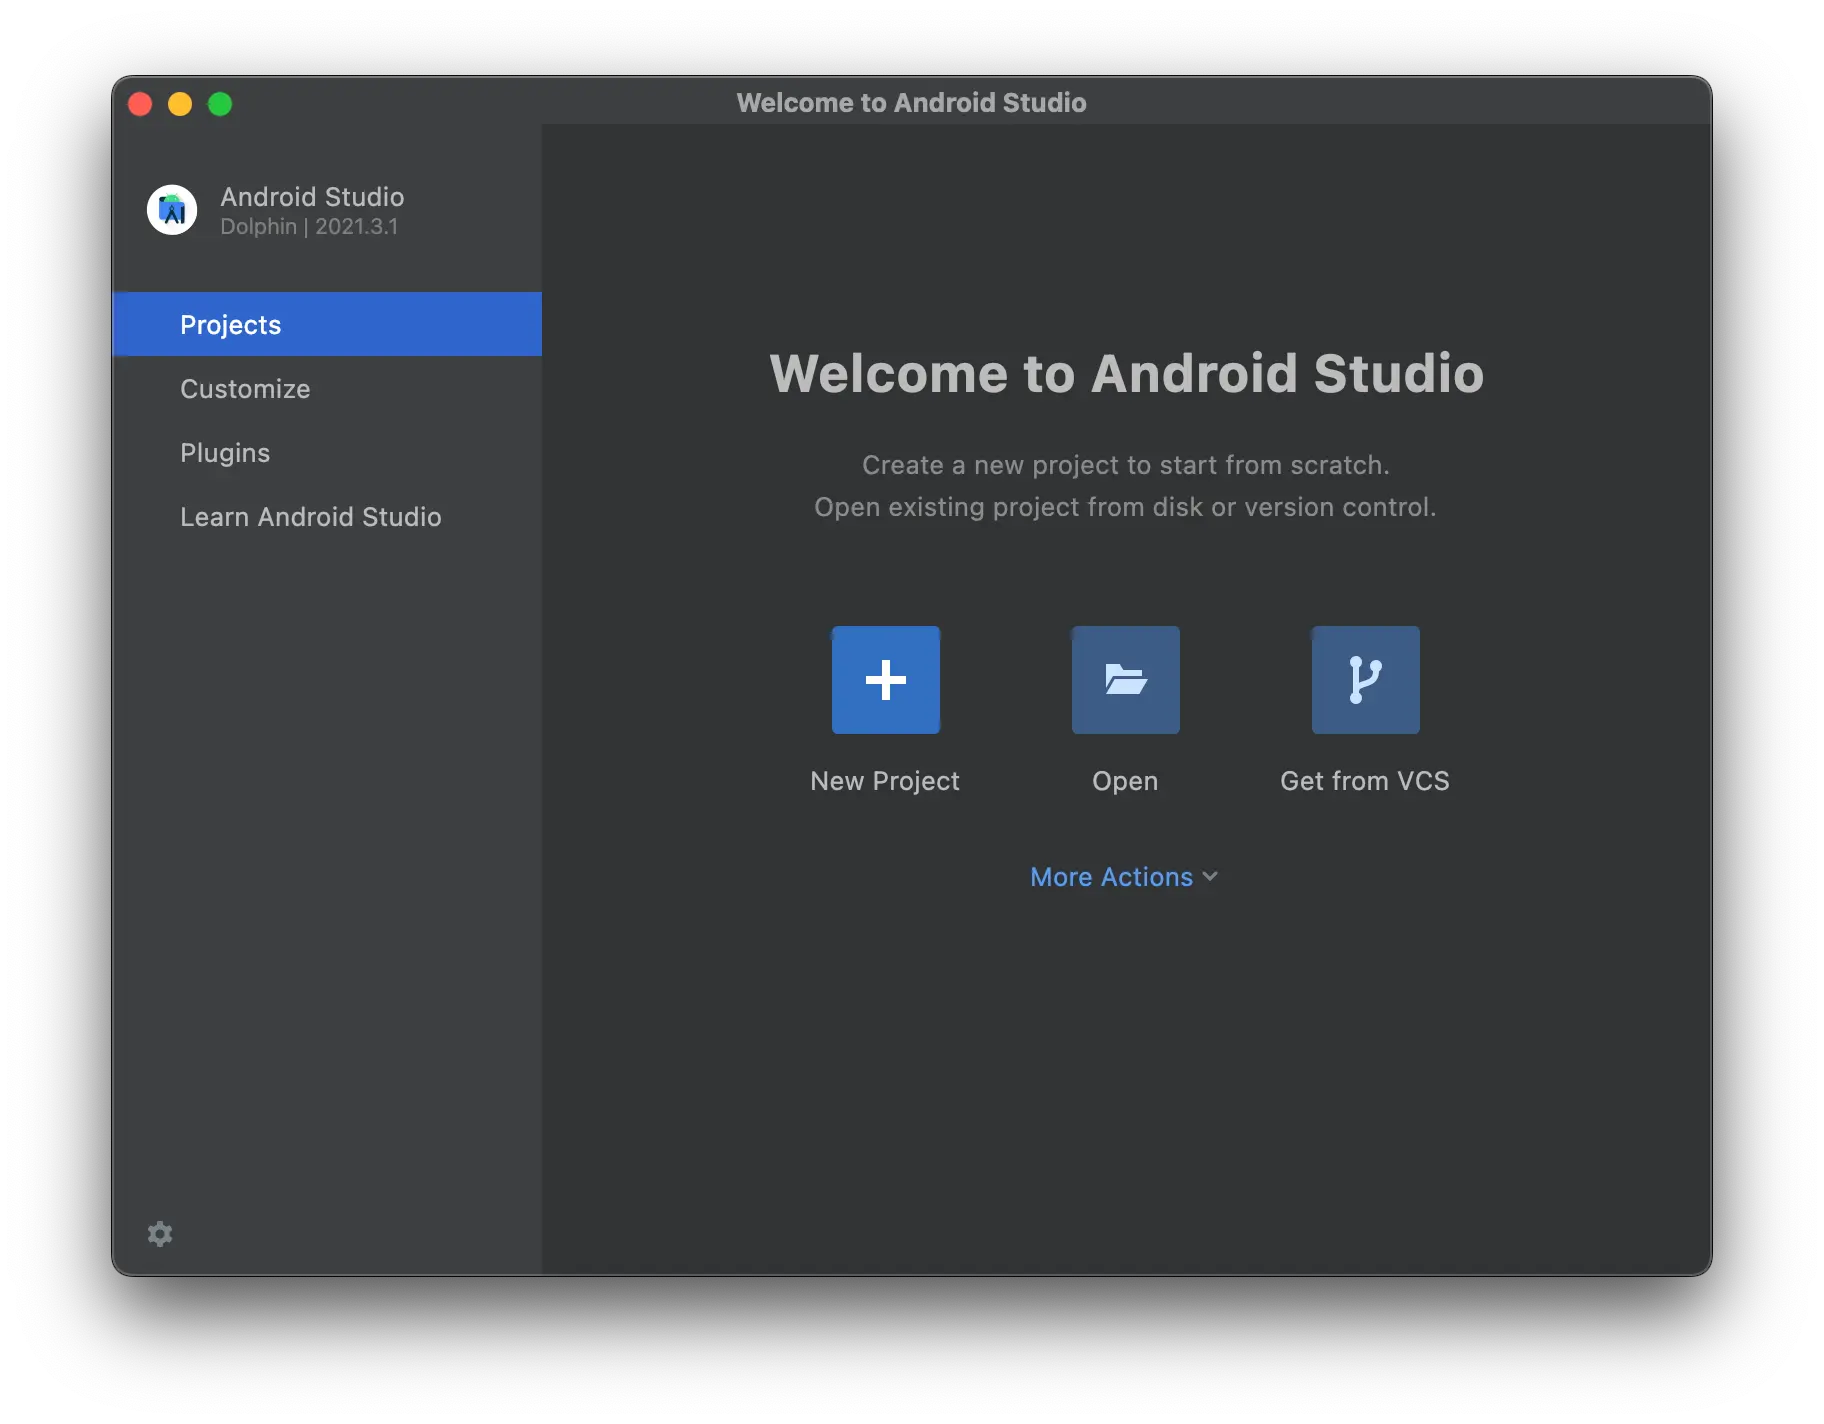
Open Android Studio. Select New Project.
-
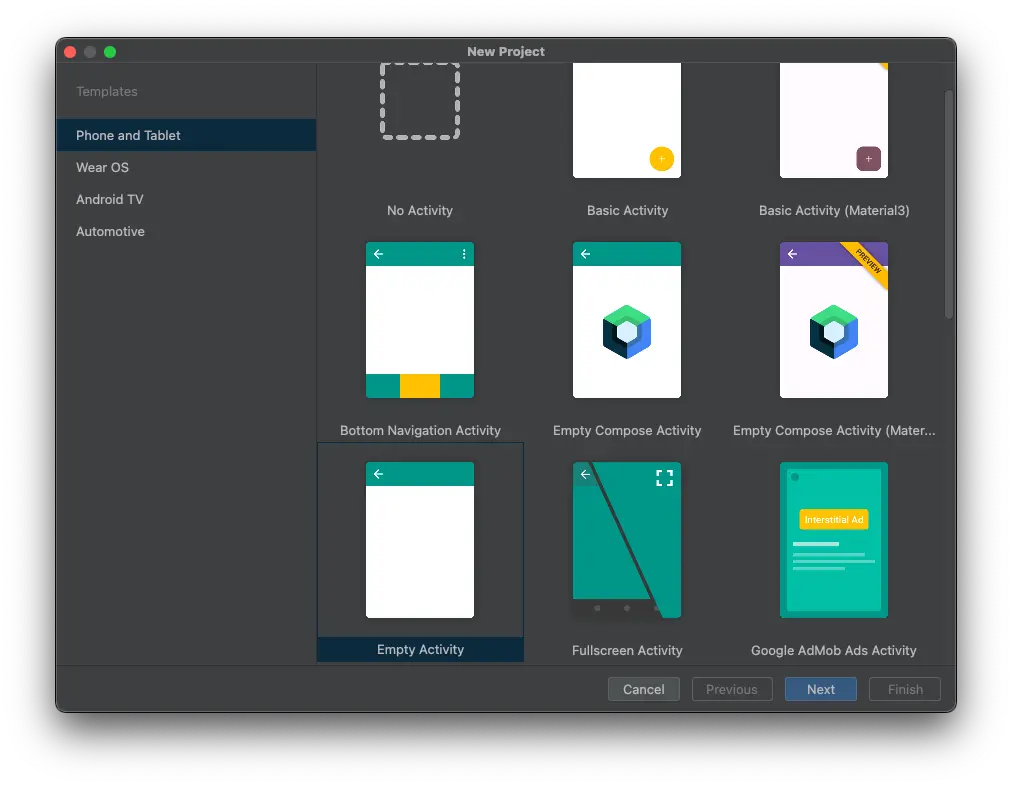
Select Empty Activity. Press Next.
-
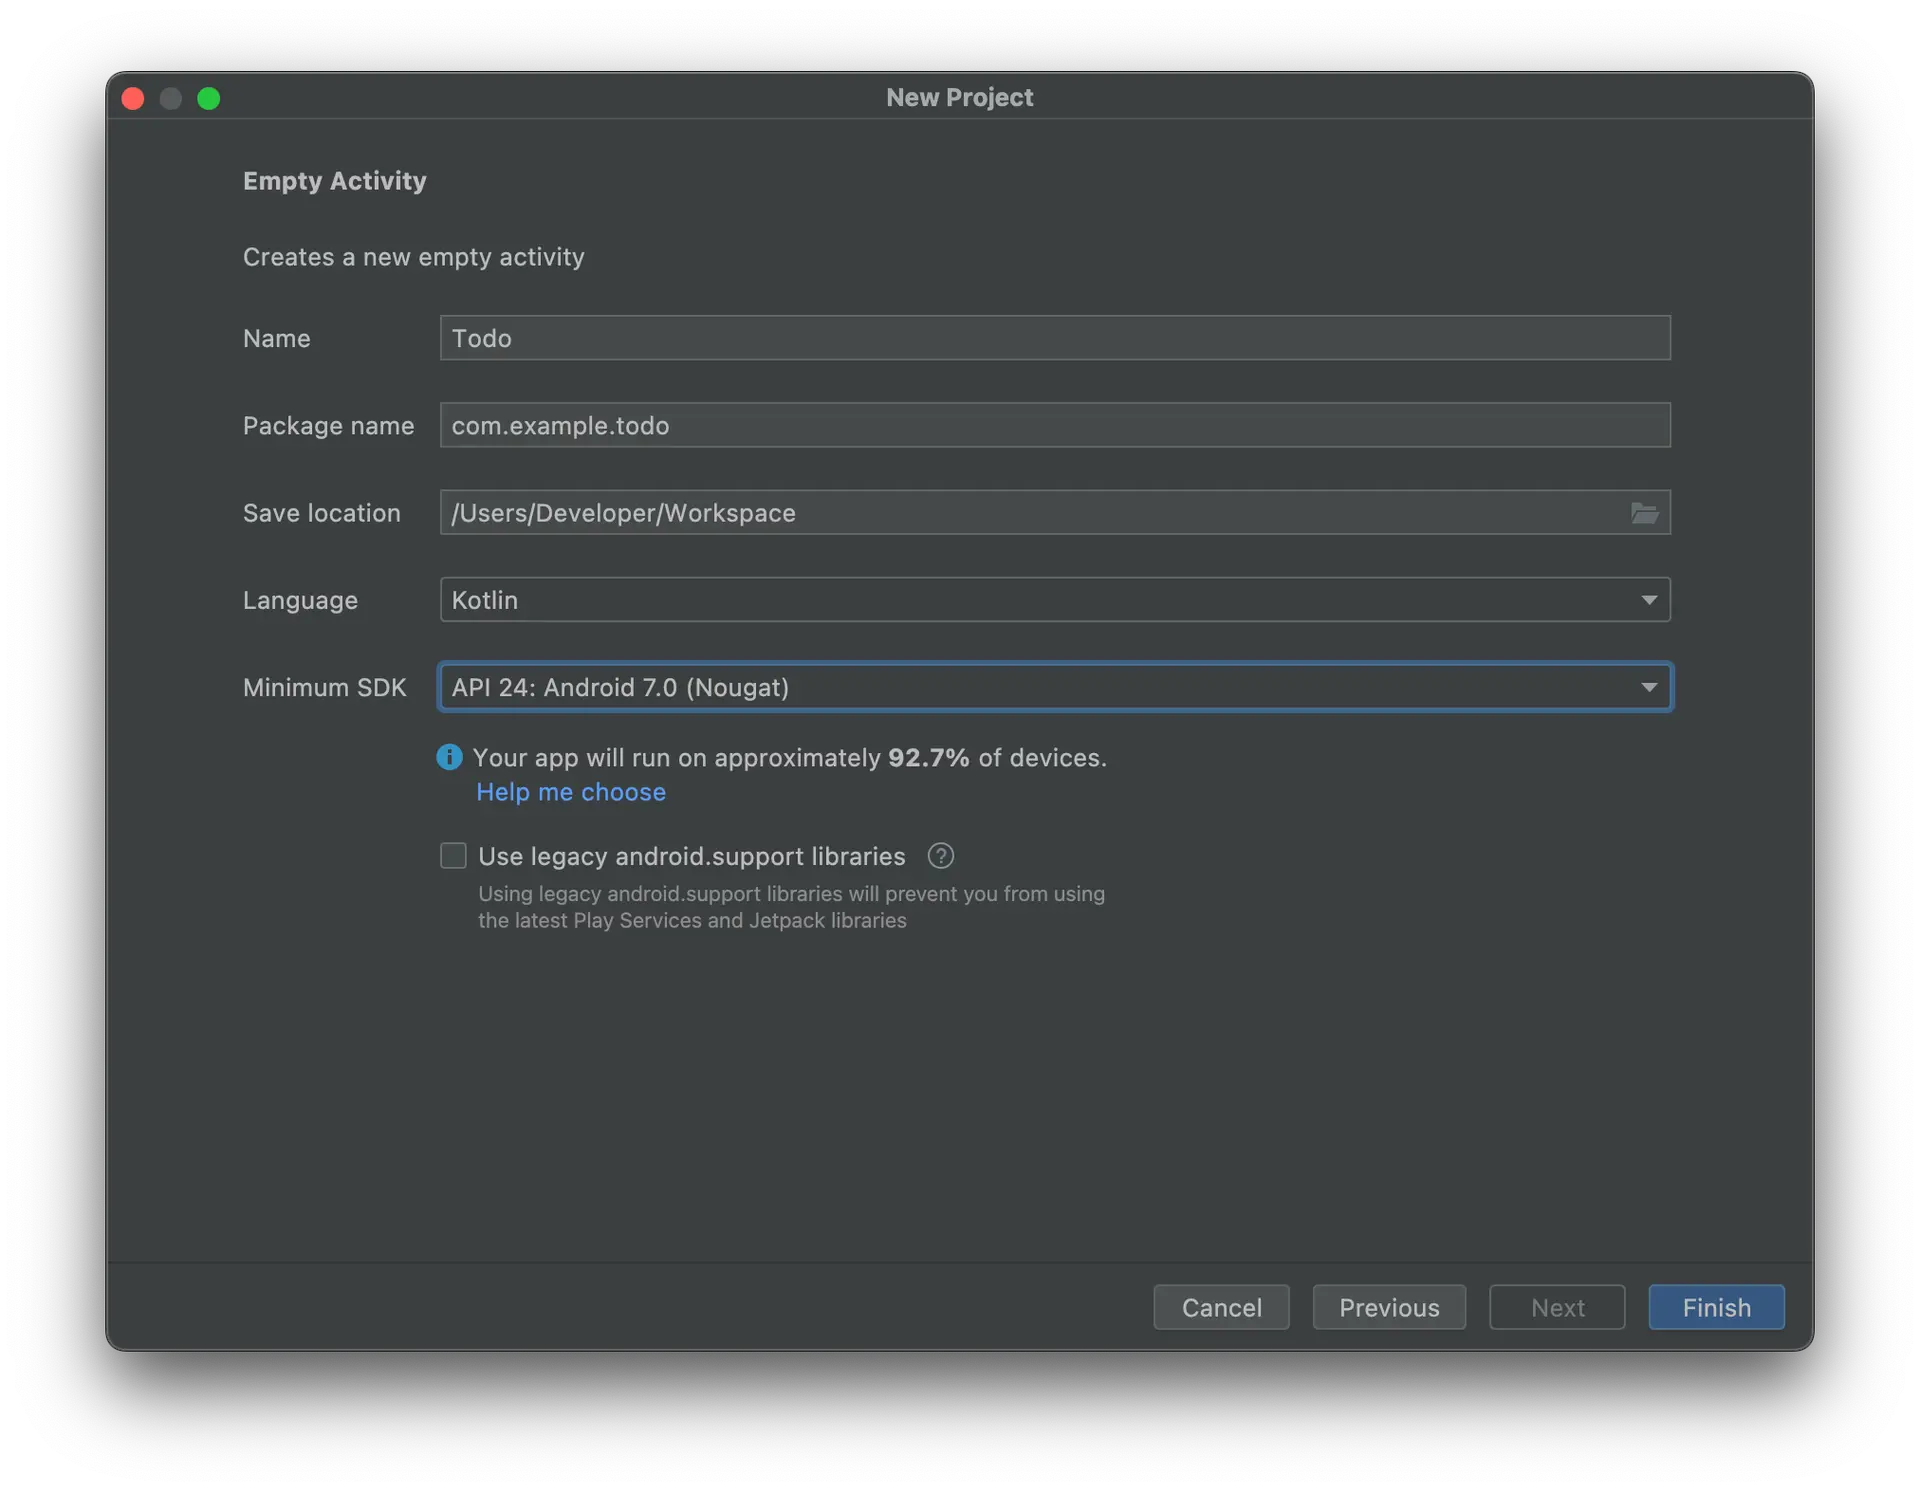
Fill in the following for your project:
- Name: Todo
- Language: Kotlin or Java
- Minimum SDK: API 24: Android 7.0 (Nougat)
- Press Finish
You should now have an empty Android project without Amplify.
Add Amplify to your application
Amplify Library for Android is distributed as an Apache Maven package. In this section, you'll add the packages and other required directives to your build configuration.
- Open a terminal window and change to the directory for your application project. For example, if you created the previous Todo project in the folder
~/Developer, you can type the following:
cd ~/Developer/Todo- To create the Amplify project, first you will need to use the
amplifyCLI you previously installed. Run the command:
amplify initEnter the following when prompted:
? Enter a name for the project `Todo`? Initialize the project with the above configuration? `No`? Enter a name for the environment `dev`? Choose your default editor: `Android Studio`? Choose the type of app that you're building `android`? Where is your Res directory: `app/src/main/res`? Select the authentication method you want to use: `AWS profile`? Please choose the profile you want to use `default`Upon successfully running amplify init, you will see a configuration file created in ./app/src/main/res/raw/ called amplifyconfiguration.json.
This file will be bundled into your application so that the Amplify libraries know how to reach your provisioned backend resources at runtime.
- Under Gradle Scripts, open build.gradle (Module :app).
Add the following lines:
android {    compileOptions {        // Support for Java 8 features        coreLibraryDesugaringEnabled true        sourceCompatibility JavaVersion.VERSION_1_8        targetCompatibility JavaVersion.VERSION_1_8    }}
dependencies {    // Amplify API and Datastore dependencies    implementation 'com.amplifyframework:aws-api:ANDROID_VERSION'    implementation 'com.amplifyframework:aws-datastore:ANDROID_VERSION'
// Support for Java 8 features coreLibraryDesugaring 'com.android.tools:desugar_jdk_libs:1.1.5'}- Set
coreLibraryDesugaringEnabled,sourceCompatibility, andtargetCompatibilityto allow your application to make use of Java 8 features like Lambda expressions - Add Amplify API, Datastore, and Desugaring libraries to the
dependenciesblock
-
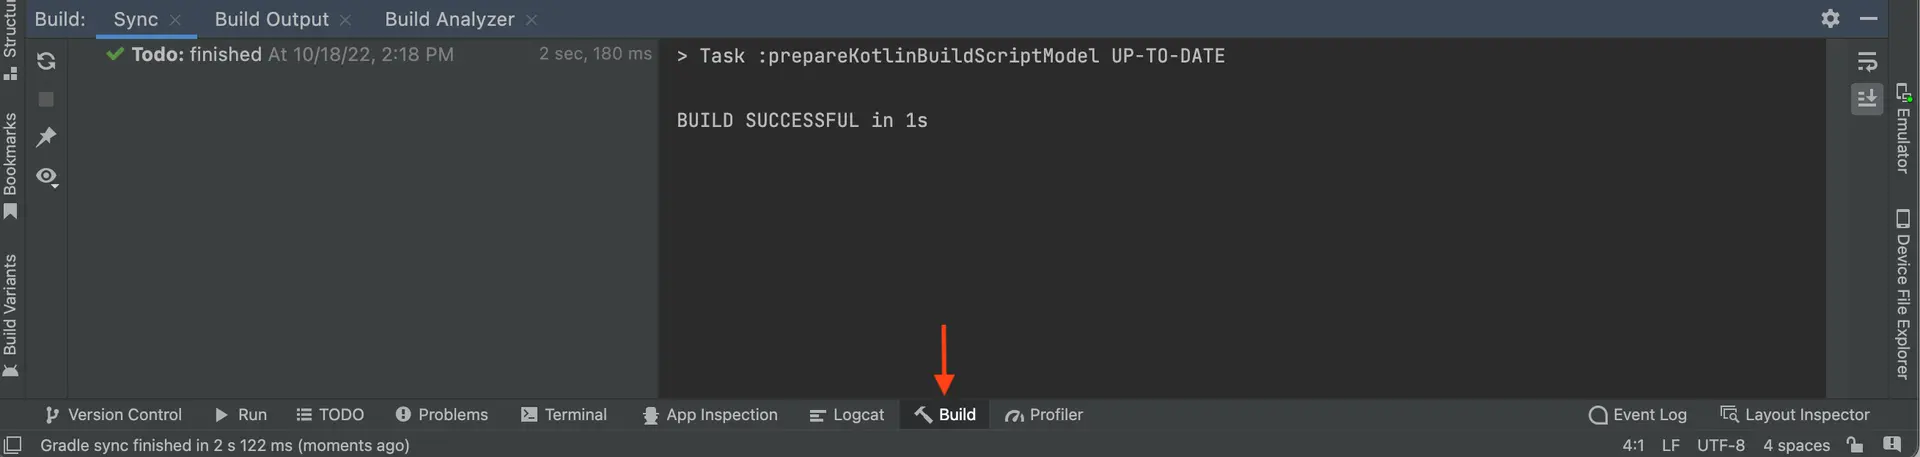
Run Gradle Sync
Android Studio requires you to sync your project with your new configuration. To do this, click Sync Now in the notification bar above the file editor.

When complete, you will see BUILD SUCCESSFUL in the output in the Build tab at the bottom of your screen.
You are ready to start building with Amplify! 🎉